How to Decorate a Paper Heart
Decorating a paper heart is a fun and creative activity that can be enjoyed by people of all ages. Whether you’re looking for a cute gift idea or just want to add some personalized decorations to your home, decorating a paper heart is the perfect way to get creative and express yourself. In this guide, we’ll go over the basics of how to decorate a paper heart and provide some tips and tricks to make your project a success.

Materials Needed
Before you begin decorating your paper heart, make sure you have all the necessary materials. Here are some common items you may need:
- Colored paper or cardstock
- Scissors
- Glue or tape
- Markers, pens, or other decorative elements (such as stickers or glitter)
12 Steps on How to Decorate a Paper Heart
Step 1: Choose Your Paper
The first step to decorating a paper heart is choosing the right paper. You can use any type of colored paper or cardstock, but make sure it’s sturdy enough to hold its shape. You can also mix and match different colors for a more vibrant look.
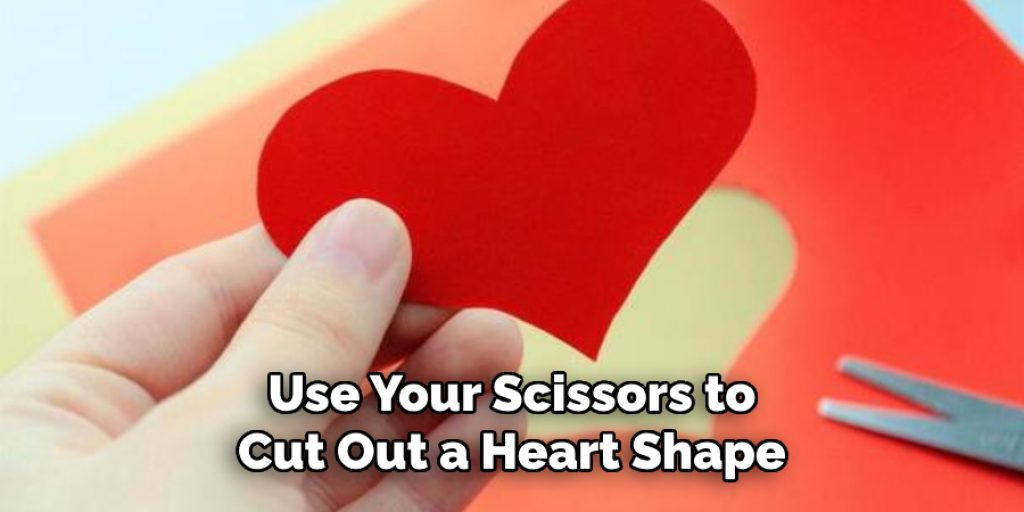
Step 2: Cut Out Your Heart Shape
Use your scissors to cut out a heart shape from the paper. You can freehand it or use a template if you prefer a more precise shape. Make sure the size of the heart is suitable for your intended purpose, whether it’s for a card or a wall decoration.
Step 3: Decorate the Border
Using markers, pens, or other decorative elements, decorate the border of your heart. You can draw patterns, write messages, or add any other designs you like. This is a great opportunity to add your personal touch to the paper heart.
Step 4: Create a Folded Heart
If you want to create a 3D effect, fold your heart in half along the center. You can also fold it into thirds for a more intricate design. Even if you’re not going for a 3D look, folding the heart can add some dimension to your decoration.
Step 5: Add Texture
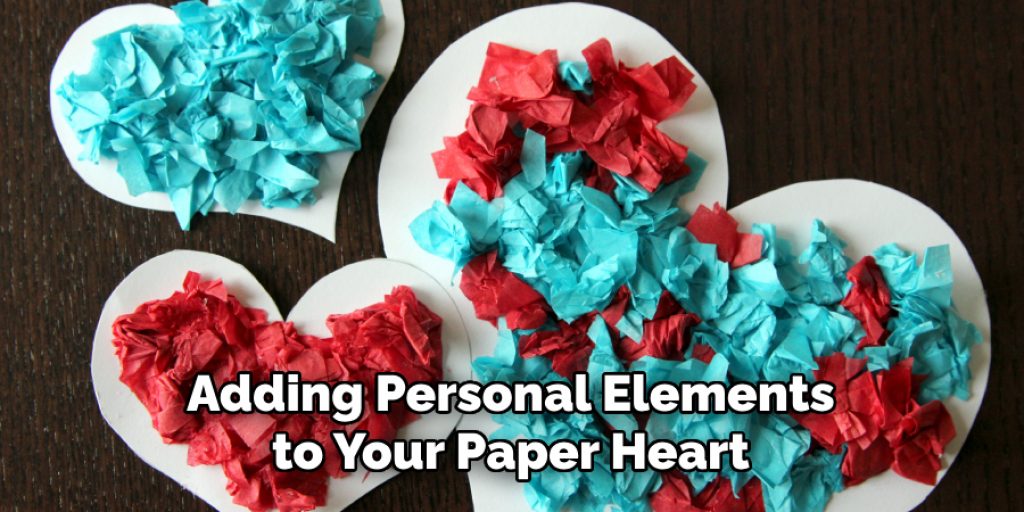
To make your paper heart more interesting, try adding some texture. You can crumple up small pieces of tissue paper and glue them onto the heart or use textured paper to add a unique element. Like with the border, this is another way to make your decoration stand out.
Step 6: Use Stickers
Stickers are a quick and easy way to decorate your paper heart. You can find them in various designs and themes, making it easy to personalize your heart for any occasion. Plus, stickers are great for kids who may not have as much experience with decorating.
Step 7: Write a Message
If you’re creating a paper heart as a gift, consider writing a message on it. You can use markers or pens to write directly on the heart or create a small card to attach to the decoration. Your heartfelt words will make your paper heart even more special.

Step 8: Add Glitter
For some extra sparkle, add glitter to your paper heart. You can use glue or double-sided tape to create a design and sprinkle glitter on top. Or, you can mix glitter with glue and paint it onto the heart for a more even coverage.
Step 9: Incorporate Photos
If you’re making a paper heart as a gift for someone special, consider incorporating photos into your decoration. You can print out small pictures and glue them onto the heart or use a photo transfer technique to create a more seamless look.
Step 10: Make Multiple Hearts
Instead of just decorating one paper heart, make multiple hearts and string them together for a banner or garland. This is a great way to add some festive decorations to your home for holidays or special occasions.
Step 11: Personalize with Initials
To add a personal touch to your paper heart, include initials on the decoration. You can use stickers or draw them yourself using markers or pens. This is a fun way to make your decoration even more unique and meaningful.
Step 12: Display Your Creation
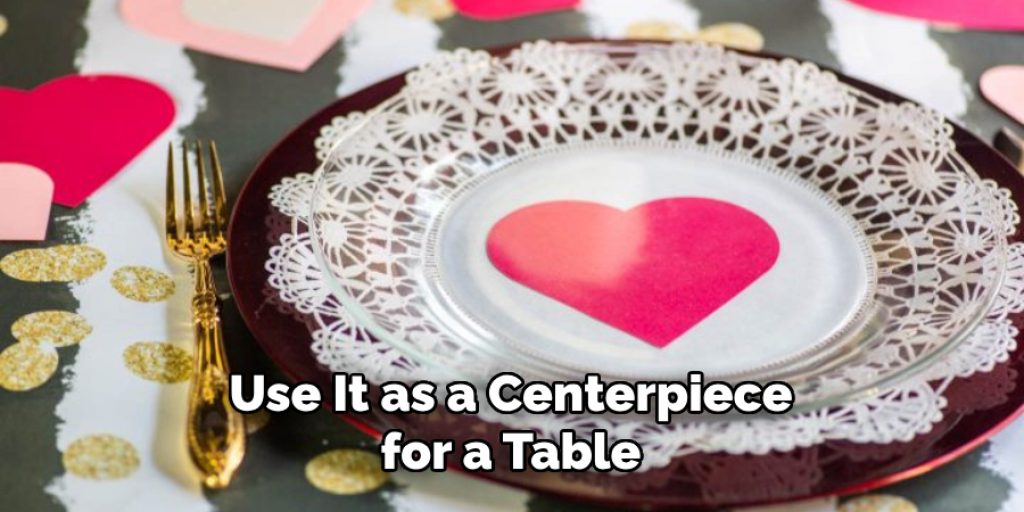
Once you’re finished decorating your paper heart, find a special place to display it. You can hang it on a wall, use it as a centerpiece for a table, or attach it to a gift. Wherever you choose to put it, your paper heart is sure to bring joy and brighten up any space.
Decorating a paper heart is not only an enjoyable activity but also a great way to express your creativity and personalize your decorations. With these 12 steps, you can create a unique and beautiful paper heart that will make the perfect gift or home decor. So gather your materials and let your imagination run wild as you decorate your own paper heart!
9 Safety Measures to Keep in Mind
While decorating a paper heart may seem like a harmless activity, it’s important to keep safety in mind. Here are 9 safety measures to follow while creating your paper heart:
1) Use Child-safe Scissors
If you’re doing this activity with children, make sure to provide them with appropriate scissors that are safe for their age. Also, make sure to supervise them closely while they are using scissors. As an alternative, you can pre-cut the heart shape for younger children.
2) Keep Glue and Other Adhesives Out of Reach
Glue, tape, and other adhesives can be harmful if ingested. Make sure to keep them out of reach of small children and supervise older children when using these materials. While they are an essential part of decorating a paper heart, safety should always come first.
3) Use Non-toxic Materials
When choosing markers, pens, or other decorative elements, make sure they are non-toxic. This is especially important if children will be using them. Look for products labeled as “non-toxic” or “safe for children” to ensure the materials are safe to use.
4) Beware of Small Parts
If you’re adding small decorative elements like stickers or glitter, be aware of any potential choking hazards. Again, this is especially important when children are involved. Consider using larger stickers or avoiding small decorations altogether.
5) Be Careful with Sharp Objects
If you’re using sharp tools like pins or needles for more intricate designs, be extra cautious. Keep them out of reach and always supervise children when they are handling these objects.
6) Clear Your Workspace
Make sure your workspace is clear of any potential hazards that could cause accidents. This includes removing any sharp objects, cleaning up spills, and keeping cords or other obstructions out of the way. A clear workspace is a safe workspace.

7) Use Proper Lighting
It’s important to have adequate lighting when doing any type of craft or activity. This will not only help you see better but also prevent accidents from occurring due to poor visibility. If possible, work near a natural light source or use a lamp to illuminate your workspace.
8) Take Breaks
Decorating a paper heart can be time-consuming and may involve repetitive movements. Make sure to take breaks and rest your hands and eyes as needed. This can help prevent strain or fatigue. Then, you can return to your decoration with renewed energy and focus.
9) Clean Up Properly
Once you’re finished decorating your paper heart, make sure to clean it up properly. Put away any materials or tools that could be hazardous if left out. This will also help maintain the longevity of your supplies, making them safe for future use.
Following these safety measures on how to decorate a paper heart will ensure a fun and accident-free experience while decorating your paper heart. Remember to always prioritize safety, especially when children are involved. Decorating a paper heart is an enjoyable activity that allows you to express your creativity and personalize your decorations.
8 Things to Avoid When Decorating a Paper Heart
While decorating a paper heart can be an enjoyable and fun activity, there are some things you should avoid to ensure the best results. Here are 8 things to avoid when decorating a paper heart:
1) Ripping or Tearing the Paper
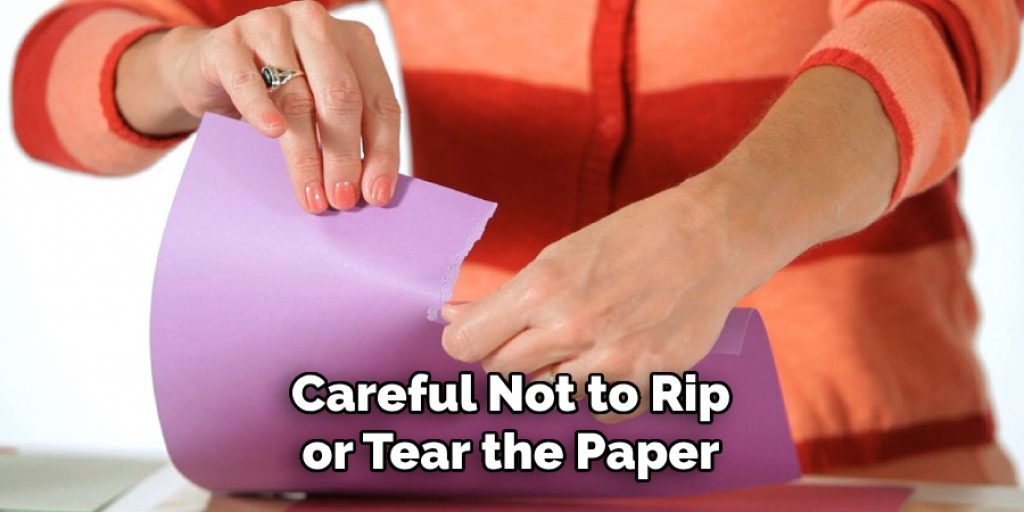
The main element of a paper heart is, of course, paper. Be careful not to rip or tear the paper while handling it. This can be especially tricky when using delicate materials like tissue paper. Handle the paper gently and with care to avoid any tears.
2) Using Too Much Glue
It can be tempting to use a lot of glue to ensure your decorations stay in place, but this can result in a messy and uneven appearance. Use just enough glue to hold your decorations in place and avoid excess amounts.
3) Overcrowding the Design
While it may be tempting to add as many decorations as possible, overcrowding the design can make it look cluttered and unappealing. Instead, choose a few key elements or use them sparingly for a more balanced and visually appealing result.
4) Neglecting the Back of the Heart
While it’s important to focus on the front of your paper heart, don’t forget about the back. Adding decorations or personal touches to the back can make your creation more interesting and complete. Also, make sure to cover any visible glue or tape on the back for a polished look.
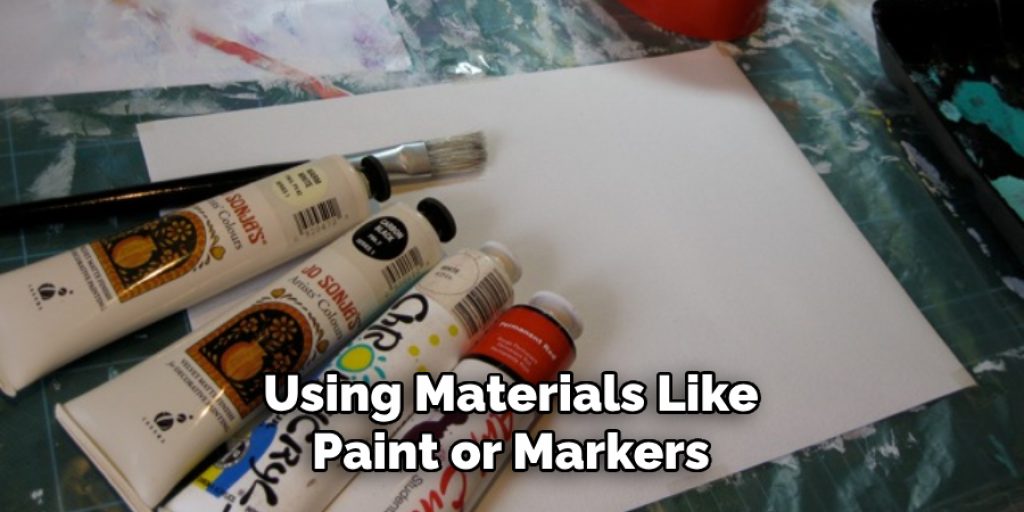
5) Using Wet Materials
If you’re using materials like paint or markers, make sure they are completely dry before adding any other elements. Wet materials can smudge and ruin your design, so be patient and let them dry before moving on to the next step.
6) Skipping Steps
While you may be eager to see the end result, make sure to follow all the steps in order for the best outcome. Skipping steps or rushing through the process can lead to mistakes and a less-than-desirable final product.
7) Using Sharp Objects on Thin Paper
If you’re using thinner paper, avoid using sharp objects like scissors or needles. These can easily rip or tear the paper, making it difficult to create a neat and precise design. If possible, opt for materials like stickers or markers instead.
8) Being Afraid to Experiment
Don’t be afraid to try out different techniques and materials. The beauty of decorating a paper heart is that it can be customized and personalized in many ways. Don’t limit yourself to traditional methods, and have fun experimenting with new ideas!
Overall, the key is to take your time, be mindful of safety measures, and have fun while decorating your paper heart. With these tips on how to decorate a paper heart in mind, you can create a beautiful and unique decoration that will make any space feel more festive and full of love.
8 Additional Tips for Decorating a Paper Heart
To make your paper heart decorating experience even more enjoyable and successful, here are 8 additional tips to keep in mind:
1) Use High-Quality Materials
Investing in high-quality materials can make a big difference in the outcome of your paper heart decoration. Quality materials will be easier to work with, produce better results, and last longer, making them a worthwhile investment.
2) Gather Inspiration
Before starting your decoration, gather inspiration from various sources like magazines, websites, or social media. This will help you come up with creative ideas and give you a better understanding of different techniques and styles.
3) Plan Ahead
Take some time to plan out your design before diving in. This can help you avoid mistakes and create a cohesive and well-executed decoration. Consider making a rough sketch of your design or gathering all the materials you need before starting.
4) Incorporate Personal Elements
Adding personal elements to your paper heart, such as photos, quotes, or drawings, can make it more meaningful and special. This is especially great for gifts or decorations that will be displayed in your home.
5) Use Different Textures
Incorporating different textures, such as glitter, fabric, or ribbons, can add depth and visual interest to your paper heart. Don’t be afraid to mix and match textures for a unique and eye-catching design. If you’re unsure, do a test run on a small piece of paper before applying it to the heart.
6) Take Breaks
As mentioned earlier, decorating a paper heart can be time-consuming and involve repetitive movements. Make sure to take breaks to rest your hands and eyes as needed. This will prevent strain or fatigue and allow you to return to your decoration with a fresh perspective.
7) Clean Up As You Go
It’s easy to get carried away with the decorating process and forget about cleaning up. But taking a few moments to tidy up after each step can save you time and prevent a big mess at the end. It will also help you stay organized and focused on your creation.
8) Have Fun!
Above all, don’t forget to have fun! Decorating a paper heart should be an enjoyable and creative experience. Don’t stress too much about perfection, and allow yourself to make mistakes and experiment. The end result will be a unique and personalized decoration that you can be proud of.
So go ahead, gather your supplies, put on some music, and enjoy the process of decorating a paper heart! Remember to take your time, be patient and careful, and most importantly, have fun while creating a beautiful and meaningful decoration.
Frequently Asked Questions
What Type of Paper is Best for Decorating a Paper Heart?
Any type of paper can be used, but thicker or cardstock paper will hold up better and provide more stability for your decoration. You can also experiment with different textures and patterns for a more unique design.
Can I Decorate Both Sides of the Paper Heart?
Yes, you can decorate both sides of the paper heart. Just make sure to let each side dry completely before flipping it over to avoid smudging or damaging your design.
How Long Does It Take to Decorate a Paper Heart?
The amount of time it takes to decorate a paper heart will depend on the complexity and size of your design, as well as your personal speed and skill level. It can take anywhere from 30 minutes to several hours, so make sure to set aside enough time for your project.
Can I Use the Decorated Paper Heart as a Gift?
Yes, a decorated paper heart can make a beautiful and thoughtful gift for a loved one. Just make sure to consider the durability of your decoration if it will be transported or shipped. You may also want to laminate or frame it for long-term preservation.
Can I Use Other Shapes Besides a Heart?
Absolutely! While this guide focuses on decorating a paper heart, you can apply these tips and techniques to decorate other shapes as well. Some ideas include stars, flowers, or animals. Let your creativity run wild! Keep in mind that larger and more intricate shapes may take more time and skill to decorate.
Is Decorating a Paper Heart Safe for Children?
Decorating a paper heart can be a fun and safe activity for children. Just make sure to supervise them and use age-appropriate materials. Children may need assistance with more complex techniques, such as cutting or using hot glue. Consider involving children in the planning and design process to make it a collaborative and enjoyable experience for all!
Conclusion
Decorating a paper heart is a fun and creative way to add some love and warmth to your home or make a meaningful gift for a loved one. By following these tips on how to decorate a paper heart and incorporating your own unique ideas, you can create a beautiful and personalized decoration that will bring joy and love wherever it’s displayed. So gather your materials, plan out your design, and don’t forget to have fun while decorating your paper heart!


