How to Unravel Garter Stitch Safely
Garter stitch, a popular and versatile knitting technique, is known for its simple structure of alternating knit rows that create a beautifully textured fabric. While it is beloved for its elasticity and ease of handling, situations can arise where unraveling garter stitch becomes necessary, whether due to errors, the desire to repurpose yarn, or simply starting anew.
Understanding the proper techniques to safely unravel garter stitches is essential, as it helps to prevent yarn damage and maintains the integrity of your project. In this guide on how to unravel garter stitch safely, we will explore effective methods to safely undo garter stitch, ensuring a smooth transition back to the beginning of your knitting journey.
What is a Garter Stitch?
Before diving into the unraveling process, let’s first define the garter stitch and its characteristics. As mentioned earlier, garter stitch is a simple knitting technique that involves alternating knit rows to create a bumpy texture on both sides of the fabric. This creates a reversible fabric that lies flat and has good stretch and elasticity.
Aside from being used for entire projects such as scarves, blankets, or sweaters, garter stitch can also be incorporated into other knitting patterns as borders, accents, or edging. Its versatility makes it an essential skill for any knitter to master.
Safety Precautions
When it comes to unraveling garter stitch safely, there are a few precautions to keep in mind to avoid any mishaps or damage.
- Use a sharp pair of scissors for cutting yarn, as dull scissors can cause frayed ends and make it difficult to pick up stitches later on.
- Work slowly and carefully, especially when dealing with delicate or fine yarns. It is better to take your time and unravel correctly rather than rushing and potentially damaging the yarn.
- Keep track of your stitches by using stitch markers or counting rows, particularly if you need to unravel multiple rows or sections. This will help ensure that you do not lose your place or accidentally unravel more than intended.
Tools Needed
To safely unravel the garter stitch, it’s important to have the right tools at your disposal. Here’s a list of essential items that will help facilitate the process:
Sharp Scissors:
A good pair of sharp scissors will allow you to cut the yarn cleanly without fraying it.
Tapestry Needle:
This is useful for weaving in any loose ends after unraveling and ensures a neat finish if you plan to reuse the yarn.
Stitch Markers:
These can help identify your stitch counts and prevent losing track of your place while unraveling.
Row Counter:
Keeping a record of the rows you’ve unraveled can aid in maintaining your project’s structure and integrity.
Yarn Bowl or Bag:
A bowl or bag will help keep your yarn organized and tangle-free, especially if you’re working with multiple strands or colors.
Having these tools on hand will make the unraveling process more efficient and less stressful.
8 Step-by-step Guideline S on How to Unravel Garter Stitch Safely
Step 1: Identify the Direction of Your Stitches
Before you begin unraveling your garter stitch, it’s crucial to identify the direction in which your stitches were knitted. A garter stitch is created by alternating knit rows, making it essential to understand whether you are working from the right side or the wrong side of the fabric. Gently lay the fabric on a flat surface to inspect the stitches; they should appear uniform and bumpy.
Pay attention to the way the yarn lays—knit stitches will have a slight V shape while purl stitches will appear more horizontal. By knowing the stitch orientation, you can carefully plan your unraveling process, ensuring that you do not inadvertently create additional twists or knots in your yarn.
Step 2: Plan Your Unraveling
Once you’ve identified the direction of your stitches, it’s time to plan your unraveling. Take a moment to assess how many rows or sections you need to undo and mark them with stitch markers if necessary. If you’re only unraveling a few rows, it’s best to work from the beginning of your project; however, for larger sections, starting from the end can be more manageable.
It may also be helpful to take a photo of your project before unraveling it, especially if you plan on reusing the yarn for another project. This will serve as a reference in case you need to recreate a specific pattern or design.
Step 3: Cut the Yarn
With your plan in place and your stitches identified, proceed to cut the yarn carefully. Using your sharp scissors, locate the yarn strand at the beginning of the row you wish to unravel. Ensure you are cutting a strand that is securely fastened and not one of the live stitches. Cut the yarn several inches from the fabric to allow for any adjustments.
After cutting, be mindful that the newly exposed ends of the yarn may begin to unravel. To maintain control, you can thread the cut end through a tapestry needle and secure it temporarily. This will help prevent any accidental shifting of the stitches as you start the unraveling process.
Step 4: Unravel the Stitches
Gently pull on the yarn strand that you have cut. The stitches should start to unravel smoothly, and if done correctly, they will all come undone in one continuous piece. Avoid pulling too hard or too quickly as this can cause tension on the live stitches and potentially damage your project.
Continue unraveling stitch by stitch until you reach your desired stopping point or complete unraveling the section. If working with multiple strands of yarn, be sure to keep them organized and detangled throughout the process.
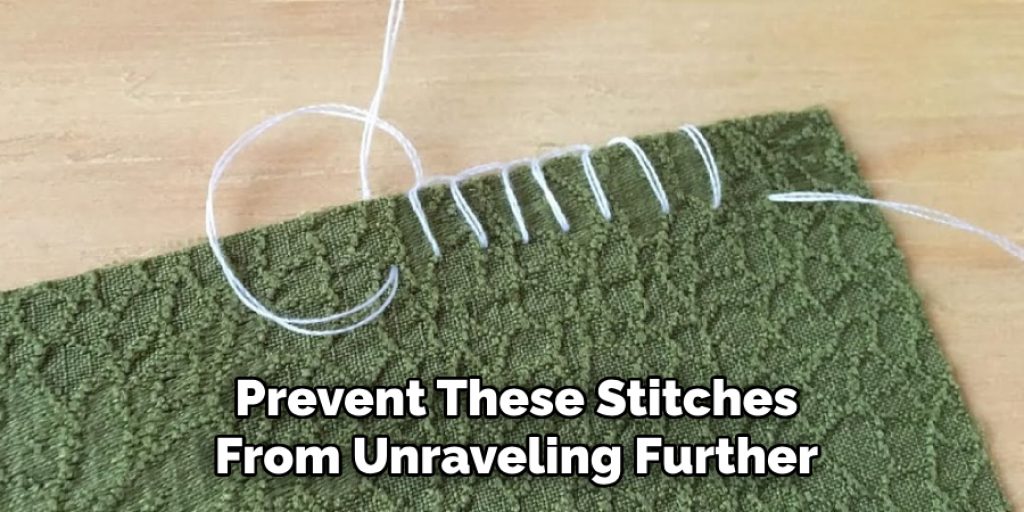
Step 5: Secure Live Stitches
After unraveling, you may encounter a few live stitches at either end of your fabric. These are the stitches that were not undone during the process and are still attached to your working yarn. To prevent these stitches from unraveling further, you can thread them onto a stitch holder or secure them with a stitch marker.
There may also be instances where you need to pick up live stitches during the unraveling process. This is when a sharp pair of scissors and tapestry needle come in handy, as they will allow you to cut and thread any remaining stitches onto a holder or marker.
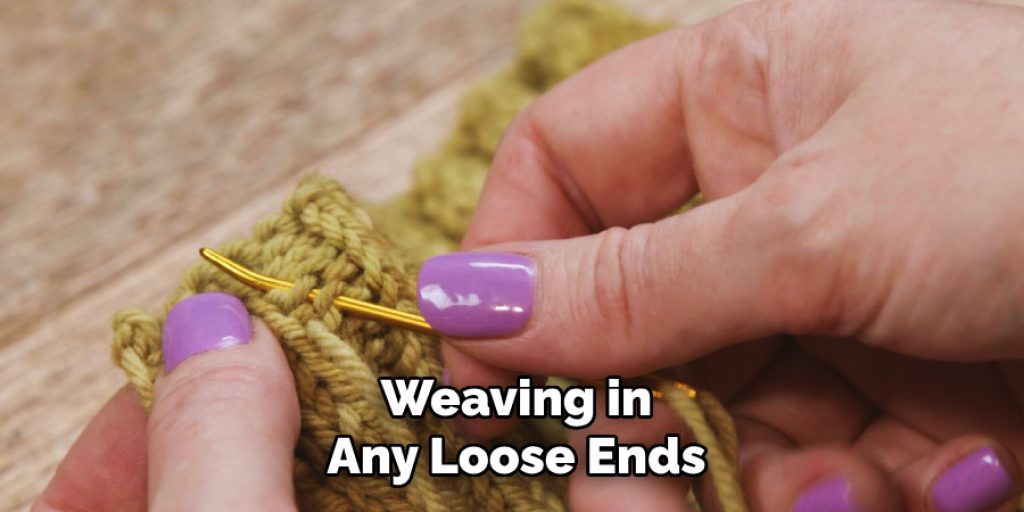
Step 6: Weave in Loose Ends
With your live stitches secured, you can now weave in any loose ends that may have been left from the unraveling process. Using a tapestry needle, carefully weave the yarn through the surrounding stitches on the wrong side of the fabric. This will ensure a clean finish and prevent any potential unraveling.
There may also be instances where you have multiple yarn strands to weave in from different sections of your project. In this case, it’s best to tie off the ends and trim them down, ensuring they are hidden within the fabric.
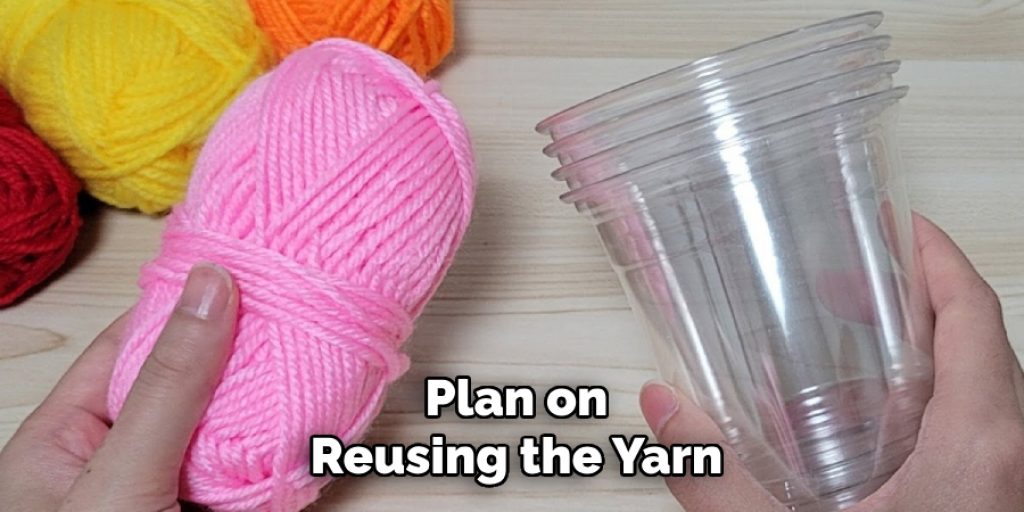
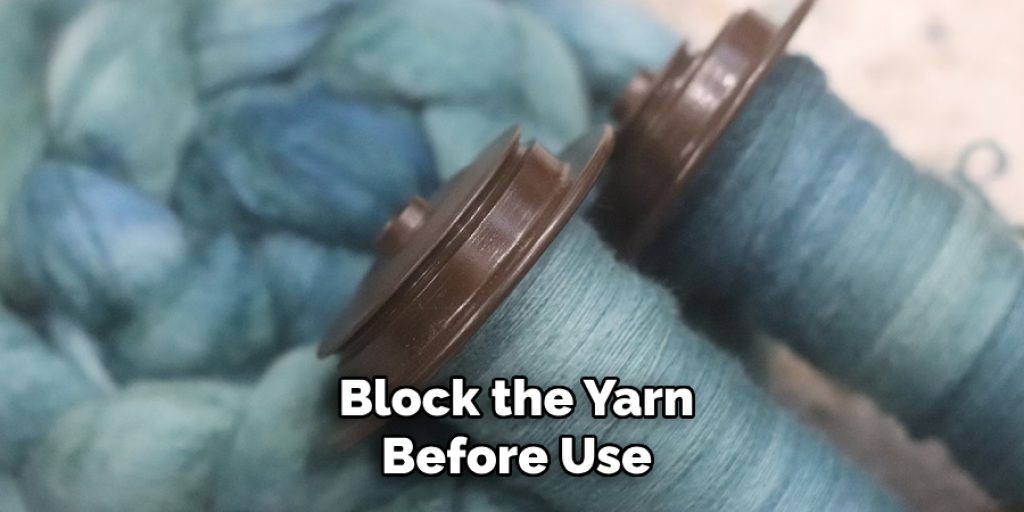
Step 7: Reuse or Block Yarn (Optional)
If you plan to reuse the yarn for another project, it’s essential to block it before use. This step will help remove any kinks or twists that may have developed during unraveling and make it easier to work with.
To block your yarn, wrap it around a swift or a similar tool to create tension, then mist it with water and let it air dry. This will help relax the yarn and make it easier to wind into a ball or work with directly.
Step 8: Continue Your Knitting Journey
After successfully unraveling your garter stitch project, you can now continue your knitting journey with the newly reclaimed yarn or move on to a completely new project. Regardless of what you choose, remember that unraveling is all part of the process and allows for endless opportunities to create and experiment with different designs and techniques.
Following these guidelines on how to unravel garter stitch safely will help ensure a safe and stress-free unraveling process, allowing you to maintain the integrity of your yarn and project. Happy knitting!
Frequently Asked Questions
Q: Can I Unravel a Garter Stitch Project Without Cutting the Yarn?
A: Yes, it is possible to unravel the garter stitch without cutting the yarn by carefully undoing each stitch. However, this process can be time-consuming and may result in more tangles and knots, so it is not recommended.
Q: Can I Reuse the Yarn After Unraveling?
A: Yes, you can reuse yarn after unraveling. It’s essential to block the yarn before use to remove any kinks or twists that may have developed during unraveling.
Q: How Do I Prevent Tangled Yarn During Unraveling?
A: To prevent tangled yarn, make sure to keep your strands organized and detangled throughout the unraveling process. You can also use stitch markers or holders to keep live stitches in place. Additionally, working with smaller sections at a time can help prevent tangles.
Conclusion
Unraveling a garter stitch project can be a daunting task, but with the right approach and techniques, it can be achieved smoothly and efficiently. By following these steps on how to unravel garter stitch safely, you not only preserve the integrity of your yarn but also allow yourself the opportunity to restart and experiment with new designs.
Remember to take your time during the unraveling process, as patience will lead to a more enjoyable knitting experience. Whether you choose to reuse your yarn or embark on a new project, embrace the journey and creativity that comes with each stitch. Happy knitting and enjoy the endless possibilities ahead!
Elizabeth Davis
Elizabeth is a creative writer and digital editor based in the United States. She has a passion for the arts and crafts, which she developed from a young age. Elizabeth has always loved experimenting with new mediums and sharing her work with others. When she started blogging, she knew that DIYquickly would be the perfect platform to share her tutorials and tips. She's been writing for the blog from the beginning, and her readers love her helpful advice and easy-to-follow instructions. When she's not writing or editing, Elizabeth enjoys spending time with her family and friends.