How to Balance a Bench Grinder
Introduction
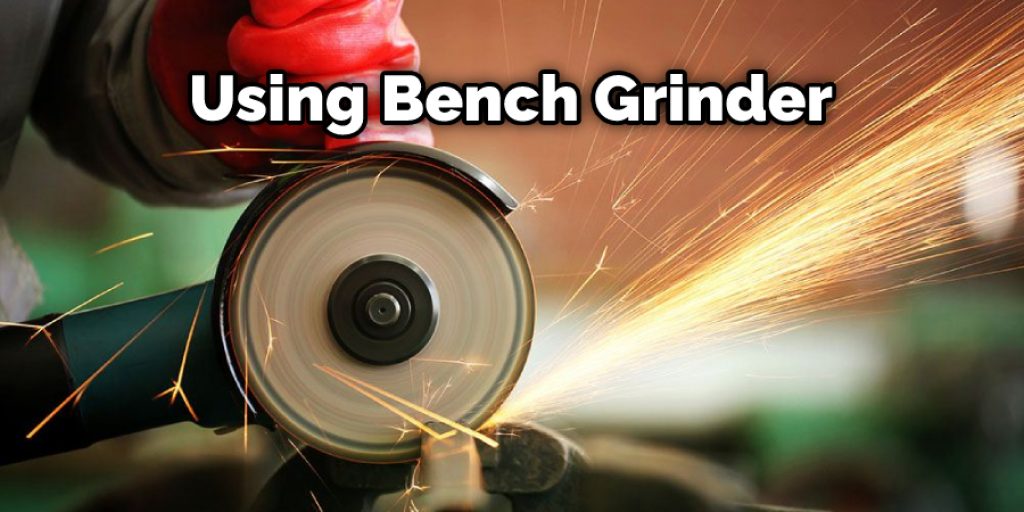
Bench grinders are a type of tool used for grinding with abrasive wheels. They’re found in many workshops and factories as they have been around for a long time and are still very widely used today. There is one main difference between bench grinders and other types of grinders – the moving parts that do the grinding are above the workpiece. They let you clean up edges, remove burrs from welding seams, shape metal, etc. Today I will be discussing how to balance a bench grinder. So let us get started on this topic.
What is Balancing a Bench Grinder?
Seen from close up, the unit consists of many parts: frame, motor, handle/controls, wire wheel spindle (or shaft), adjustable chuck(s) (optional), belt guard (optional). The frame is the foundation. The motor unit provides power, and the handle/controls allow you to direct that power and control rotation speed. Finally, the spindle(s) hold the grinding (cutting) wheel(s), which allows you to remove metal or shape it.
The belt guard protects your hands from getting cut by flying sparks if there is no room for a proper enclosure around the grinder head, such as when used in production environments where an enclosure would be too costly. Belt guards come in different shapes and sizes depending on the type of grinder head.
Balancing refers to keeping all parts in alignment, so they will do what they were designed to do – at top efficiency and with no vibration during operation. Proper balancing can reduce stress on moving parts, maintaining them for longer use between replacements or repairs. All moving parts need to be kept in alignment with the rest of the components in the equipment. If not, they can cause damage and even failure.
Step-wise Guide on How to Balance a Bench Grinder
- Ingenuity and good judgment can make these steps applicable to almost every bench grinder in the market!
- Get something heavy like a large piece of metal or stone that will serve as your base/stand for the grinder. This should be at least 4 times heavier than your actual grinder.
- Attach the stand with bolts and nuts (either use no washers or use big thick ones) on all four corners so that it should not move even if you shake it vigorously!
- Now, place the stand on a stable surface where you have enough space to work around it.
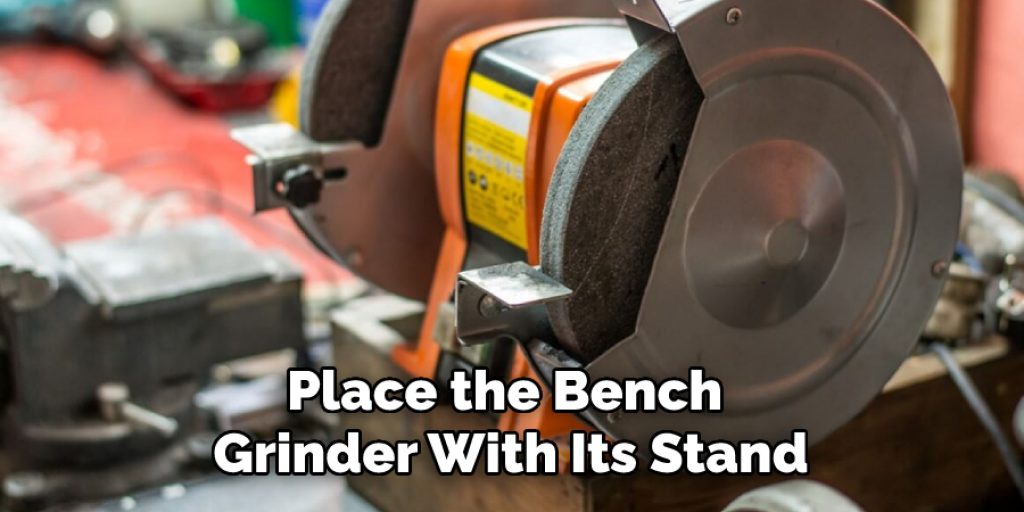
- Place the bench grinder with its stand on top of this metal base and see if the stand is stable or not. Move it left, right, up, and down until you find a perfect place where there is no shaking at all! Make required adjustments as needed.
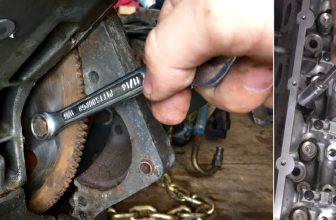
- Now, keep rotating your grinder 360 degrees in both clockwise and anti-clockwise directions, checking for any imbalances in movement. Do the same for all 4 sides like N/S/E/W (if it has different kinds of feet like rubber footed one). You have to rotate it very carefully with one hand on either side to make sure that it does not tilt or fall over when you turn it 180 degrees frontwards. If it does, then you need to try another position on the stand base.
- Once you have found a perfect balanced spot where there is no shaking, mark that place firmly and put some grease/wax on the bolts for extra safety.
- Observe the grinder for any further shaking movement, and if there is none, then it is balanced! Now you can use your grinder without worrying about any disastrous accidents happening!
If, however, even after finding a perfect spot where there is no shaking at all, still some slight trembling/shaking happens, then try adding another stand under the original stand or move one of them to another place (if possible) until you get rid of the shaking completely! Also make sure you are not moving too much while recording the audio.
This method works like a charm with heavy grinders like large stone grinders because they are too heavy to be moved very much but at the same time, big enough to make as an effective stand base for such smaller grinders whose total weight will be less than 4 times that of the stone grinder! The process of making the stand is quite simple. You will first need to find a suitable stone grinder that can be used as a base. It should have a flat top so that it can hold a variety of different grinders.
Finally, when you are satisfied with your balance and vibrations are gone completely, grease up the bolts and nuts to minimize any further shaking. Always use a very thick layer of grease, as thin ones will get dried out over time. As you can see, this problem is really not that big of a deal and it can be fixed easily. The most important thing is to follow the directions and make sure everything is in its place before driving.
Precautions While Performing How to Balance a Bench Grinder

- Grinder body should not be placed at the height of more than 500mm from the floor level.
- Both wheels should turn in the same direction, and the motor shaft should rotate clockwise, as seen from above. If it rotates counterclockwise, there are chances that the grinding wheel will fall off during operation leading to a dangerous situation. This is true for most grinders available in the market, but you must ensure this before starting your balancing operation.
- Before operating the grinder, make sure that rotating parts like pulleys, belts, etc. are properly aligned with disc guard or face-plate, and there is no play in mounting bolts which can lead to misalignment during grinding operation due to vibrations produced by the grinder machine due to which wheel may fall off suddenly.
- The spindle on which wheels are mounted must rotate freely when the grinder is turned ON but should not move horizontally while operating the machine manually. This will ensure that any imbalance produced in the grinding disc does not accumulate in the ball bearing and leads to failures due to rotating parts suddenly getting jammed. If this happens, the grinding disc can fall off from the spindle during operation, causing serious injury to the operator of someone else presents nearby. So keep a watch for loose play on either vertical or horizontal plane before starting the balancing process as described below:
- Always wear all protective gear, including safety glasses, headgear, etc., before doing a balancing job to don’t get injured while using sharp-edged tools like drills, grinding tools, or wrenches.
- Grinder should be unplugged from the socket before balancing operation on it so that no stray current flows through your body and you do not get injured by getting electric shocks. Remember that high voltage electricity is flowing through both wheels when the grinder is plugged ON, so keep a watch for loose wiring connections while working on them with sharp-edged grinding tools like drills, etc.
- Once the grinding machine has been balanced with 0.5 to 1% accuracy using this method, do not attempt to re-balance it again as there will be two sets of weights (spacers) mounted, and only one set will remain in place after repeated rebalance operations which can lead to misalignment of discs.
How Do You Maintain a Bench Grinder?
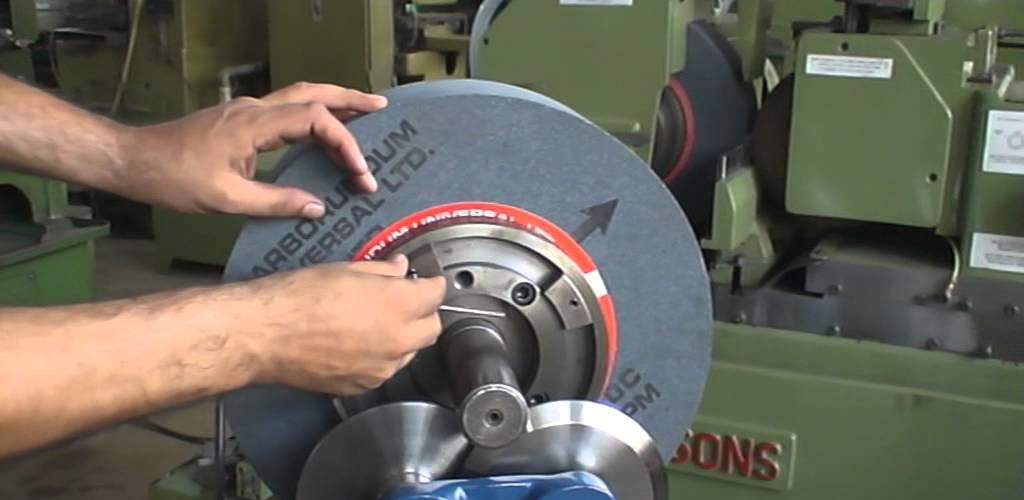
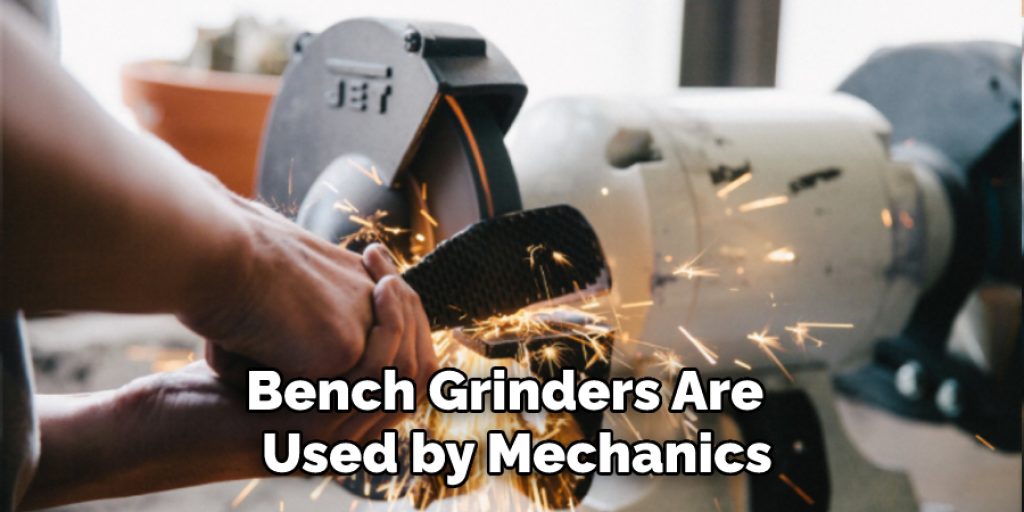
A bench grinder is a machine used to grind, sharpen, and smooth metallic items and objects. Bench grinders are commonly used by mechanics, welders, electricians, and artists. They are also popular with people who do woodwork or metalwork in their homes as they can be used for sharpening chisels, planes, knives, and other tools of these sorts. The abrasive wheels of a bench grinder are usually made from aluminum oxide or silicon carbide. The abrasive particles on these wheels are much larger than those on other types of grinding machines, such as power sanders.
If you own a bench grinder, you must know how to maintain the machine’s function at its best ability for long periods of time. It is easy to become frustrated with a worn-down grinding wheel or dull blade when you have invested your time into making them look new once again but didn’t take any steps to ensure this can happen regularly so you can enjoy the use of your bench grinder for years to com It’s easy to become frustrated with a worn-down grinding wheel or dull blade when you have invested your time into making them look new once again but didn’t take any steps to ensure this can happen regularly so you can enjoy the use of your bench grinder for years to come.
Maintenance Tips:
– To maintain a bench grinder, you should take into consideration how often you will be using it as well as what kinds of materials you are grinding against it with. For example, if you live in an environment where you grind rusty metal or metals that get coated in oil frequently, your machine will need more frequent cleaning than someone who is grinding wood.
Also, if you tend to leave particles from the material being worked on your bench grinder (such as small pieces of metal leftover after sanding), these items can eventually collect on the wheel causing slower turning and rougher grinding, which will also increase wear. The frequency at which you should clean your machine will depend on how often it is in use.
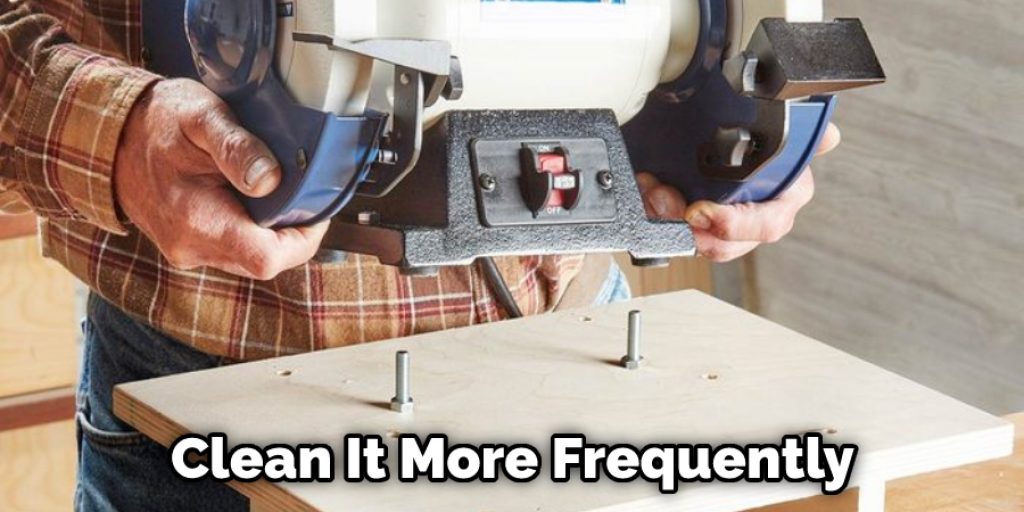
However, most people who own a bench grinder end up cleaning it more frequently than necessary because they are worried about damaging the material, but this fear can actually become a pain if you have to disassemble and reassemble the machine with every session of grinding or sharpening. For example, if you leave metal shavings on your wheel, inside your bearings, and all over the place when working on an object for four hours straight, then it would be wonderful to thoroughly clean and oil the machine right away.
If you don’t do this, you will probably find that your parts are rusting (from any moisture left in these little particles) and possibly melting. So, it would be better to clean the machine immediately after a long session so that you don’t have to worry about corrosion anymore.
However, if you use your bench grinder on a minimal basis or only when needed, you can choose to do a quick cleanup after each time you use it and an even more thorough cleaning once every two weeks. To properly clean your bench grinder, take out any removable parts (such as wheels) and rinse them off in soap water or water mixed with vinegar (with the power cord unplugged).
Allow these pieces to dry thoroughly before replacing them in the machine. Then, wipe down the unit’s base with rubbing alcohol because this will kill germs and prevent rusting. The rest of the machine can be wiped down with water and a detergent. When you are done cleaning, make sure to dry all the parts as well. Finally, reattach the wheel or wheels to the base of your bench grinder and put it away until you need it again.
Conclusion
I hope this article has been beneficial for learning how to balance a bench grinder. If you are new to using these grinders, you must take help from professionals to avoid any injuries, and you should also ensure proper safety while performing these steps. Thank you and have a nice day!