How to Connect Mixer to Audio Interface
If you’re starting in the world of home recording, one of the first things you’ll need to do is connect your audio mixer to your audio interface. It can be difficult to know how to connect mixer to audio interface, but it’s not too difficult with the right tools and some basic knowledge.

In this blog post, we’ll outline the steps you need to take to make the connection and give some tips for getting the best sound quality. Let’s get started!
Why Connect Mixer to Audio Interface
There are a few reasons you might want to connect your mixer to your audio interface. First, it will give you more control over your sound. With an audio interface, you can fine-tune your sound, whereas, with a mixer alone, you’re limited to the settings on the mixer.
Second, connecting your mixer to your audio interface will allow you to record multiple tracks at once. This is especially useful if you’re recording a band or multiple voices. Finally, connecting your mixer to your audio interface will improve the sound quality of your recordings. So if you’re looking to get the best possible sound quality, connecting your mixer to your audio interface is the way to go.
Required Materials
- Audio mixer
- Audio interface
- XLR cables
To connect your mixer to your audio interface, you’ll need some XLR cables. These cables allow you to transfer the audio signal from your mixer to your audio interface. There are a few things to keep in mind when choosing XLR cables.
How to Connect Mixer to Audio Interface Step by Step Guide
Step 1: Get Your Audio Interface
There are many different audio interfaces on the market, so you’ll need to research to find the one that’s best for you. Once you’ve found the right one, make sure you have all of the cables and adapters you’ll need to connect it to your mixer.
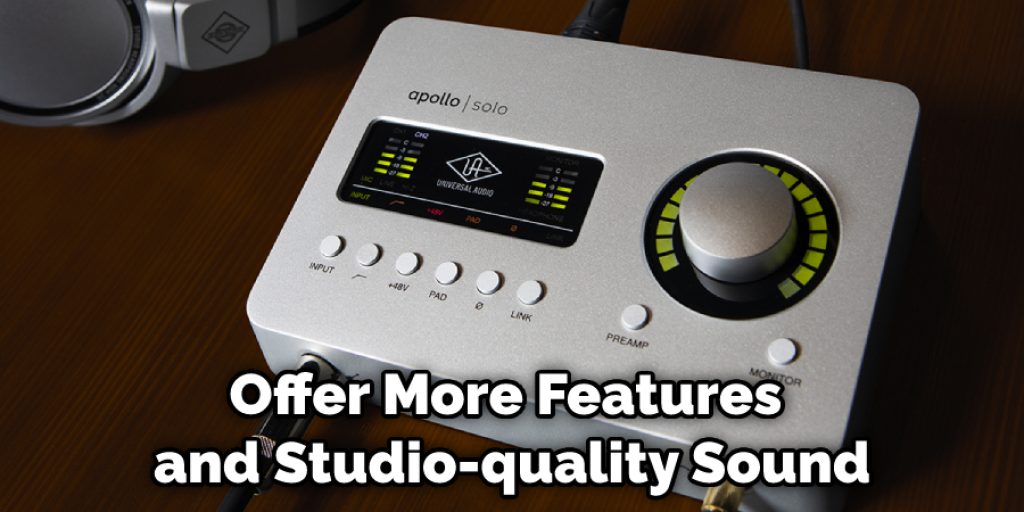
The two most common types of audio interfaces are USB and Thunderbolt. USB interfaces are typically less expensive and easier to use, while Thunderbolt interfaces offer more features and studio-quality sound.
USB audio interfaces:
USB audio interfaces are typically less expensive and easier than Thunderbolt audio interfaces. They offer a variety of features, and most are compatible with both Windows and Mac computers.
The most popular USB audio interfaces include the Steinberg UR22 MKII, the Presonus AudioBox iTwo, and the Behringer U-Phoria UMC204HD.
Thunderbolt audio interfaces:
Thunderbolt audio interfaces offer more features and studio-quality sound than USB audio interfaces. In addition, they are compatible with both Mac and Windows computers and require a Thunderbolt port to connect to your mixer.
Some of the most popular Thunderbolt audio interfaces include the Rode NT-USB, the Apogee Duet, and the MOTU UltraLite MkIII.
Step 2: Connect the Audio Interface to Your Mixer
The best way to do this will vary depending on the mixer and audio interface. But typically, you’ll want to connect the left and right outputs of the audio interface to the corresponding inputs on the mixer.
Plug the mixer into the input jack on the back of the audio interface. Most mixers have 1/4″ jacks, so you’ll need a 1/4″ to 3.5mm adapter if your audio interface has a different connector.
Step 3: Connect Your Microphones and Instruments
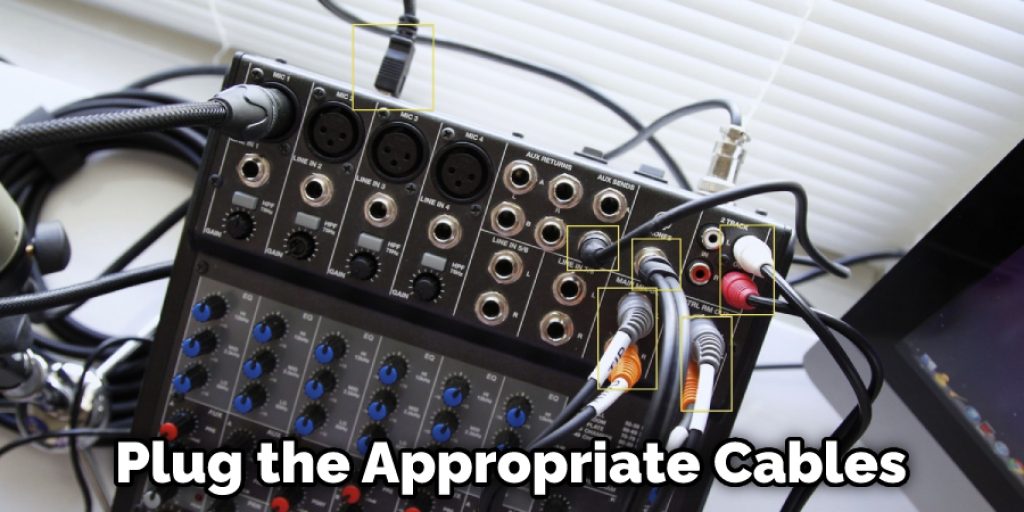
Now it’s time to connect your microphones and instruments to the mixer. Again, this will vary depending on the mixer you’re using, but most have XLR or 1/4″ inputs for microphones and TS or RCA inputs for instruments.
Plug the appropriate cables into the corresponding input jacks on the mixer, and you’re good to go.
Step 4: Connect the Audio Interface to Your Computer
Now that your mixer and audio interface are set up, it’s time to connect them to your computer. This is simply a matter of plugging the appropriate cables into the correct ports.
First, plug one end of the USB cable into the audio interface and plug the other end into an open port on your computer. Next, plug the power cord into the audio interface and plug it into an outlet.
Once everything is connected, open up your DAW and start recording! Be sure to test all of your levels and settings beforehand to make sure you’re getting the best possible sound.
Step 5: Enjoy You Work:
Now that everything is connected and set up, it’s time to start mixing! Play around with the different levels and effects to create the perfect sound for your project. Once you’re satisfied, please save your work and export it as an MP3 or other format for playback.
You’ll need to consider a few other things before starting your project. First, make sure you have the right software installed on your computer. Your DAW (digital audio workstation) of choice will likely come with various plugins that can be used for mixing and mastering.
You’ll also need to have the correct drivers for your audio interface installed. Most audio interfaces come with a CD or download file that contains the drivers and software needed to get started.
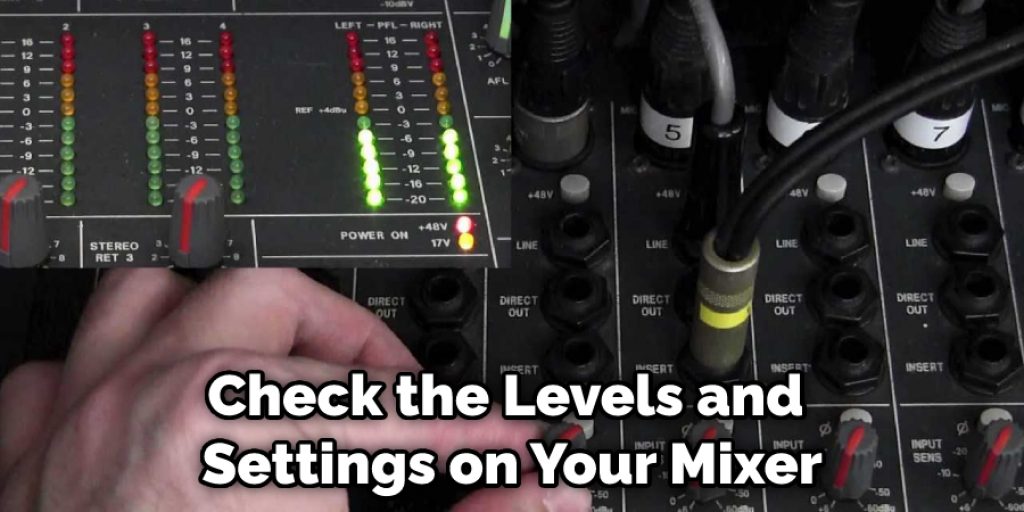
Finally, check the levels and settings on your mixer to make sure you’re getting the best possible sound. You may need to adjust some of the knobs and sliders to get the perfect mix. If you want to know more about how to connect mixer to audio interface keep reading.
Ways to Use a Mixer in a Recording Studio
1. Recording More Microphones:
One of the most popular ways to use a mixer in a recording studio is by using it to record more microphones. By connecting multiple microphones to the mixer, you can create a more dynamic and full sound in your recordings. This is especially useful for instruments like vocals and drums, which can benefit from having multiple microphones capturing different aspects of their sound.
2. Routing Signals:
Another popular use for mixers in recording studios is routing signals. This means that you can use the mixer to control how different sounds are mixed. This can help achieve the desired sound for your recordings. It can also be useful for fixing any problems during the recording process.
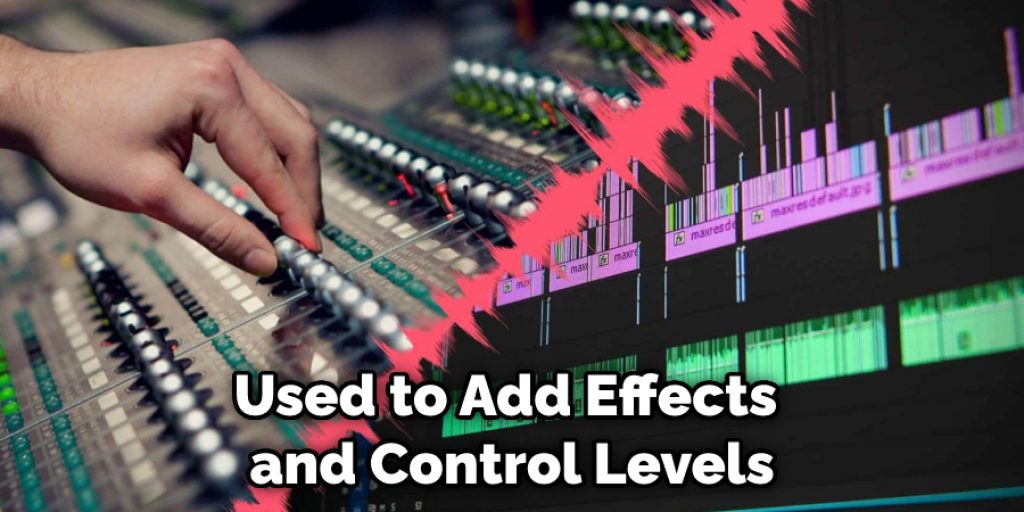
3. Adding Effects:
Mixers can also be used to add effects to your recordings. This can be a great way to enhance the sound of your music and make it more interesting. Again, there are different effects that you can use, so be sure to experiment until you find the ones that work best for you.
4. Controlling Levels:
Last but not least, mixers can be used to control levels. This means that you can use the mixer to ensure that all of the different sounds in your recording are at the right volume. This can be essential in ensuring that your recordings sound good.
5. Mixing and Mastering:
Another common use for mixers in recording studios is mixing and mastering. By adjusting the levels and EQ of each track separately, you can create a more polished final product. Additionally, mixers can be used to add effects like reverb and delay to tracks, giving them a more professional sound.
6. Live Performances:
Mixers can also be used in live performances. By routing different signals to different channels, you can create a more dynamic and interesting performance. Additionally, mixers can be used to add effects and control levels, making your performance sound even better.
7. Podcasting:
Mixers can also be used for podcasting. You can create a more dynamic and interesting podcast by routing different signals to different channels. Additionally, mixers can be used to add effects and control levels, making your podcast sound even better.
As you can see, there are many ways that mixers can be used in a recording studio. If you’re looking to improve your recordings, then give a mixer a try. You may be surprised at how much of a difference it can make. Keep reading for more information about how to connect mixer to audio interface.
Frequently Asked Question
Do You Need an Audio Interface with A Mixer?
If you’re starting, the answer is probably no. Many mixers include built-in preamps and converters, so you can get started without spending extra money on an audio interface. However, if you’re looking for better sound quality or more features, you’ll probably need to invest in a mixer and an audio interface.
Does a Mixer Improve Sound Quality?
A mixer can improve sound quality, especially with a higher-end model with better preamps and converters. It’s also important to ensure that all of your cables and connectors are in good condition and properly grounded in your mixer.
Do I Need a Mixer if I Have an Audio Interface?
If you’re starting, the answer is no. You can get started using a mixer with a built-in audio interface. However, if you’re looking for better sound quality or more features, you’ll need to invest in a mixer and an audio interface.
Is a Mixer the Same as An Audio Interface?
No, a mixer is not the same as an audio interface. An audio interface is designed to capture and convert audio signals, while a mixer is used to control those signals’ levels, routing, and effects.
Is a USB Mixer the Same as An Audio Interface?
No, a USB mixer is not the same as an audio interface. An audio interface is designed to capture and convert audio signals, while a USB mixer is used to control those signals’ levels, routing, and effects.
You Can Check It Out to: Connect Passive Speakers to Mixer
Conclusion Paragraph
Now that you know how to connect a mixer to an audio interface, it’s time to mix! Be sure to experiment with different combinations of instruments and effects until you find the sound that works best for your music. And if you ever run into any problems or have questions, our team is always here to help. Thanks for reading our post about how to connect mixer to audio interface.
You Can Check It Out to: Use Fx on Behringer Mixer