How to Film Switches
Are you looking to add a new technique to your artistic arsenal? Filming switches can be an amazing way of producing some high quality visual effects without requiring any expensive or complex tools. Regardless of whether you’re planning to create special videos for friends and family, professional recordings, or just experimenting with something different – learning how to film switches offers creativity and convenience.
If you’re new to filmmaking or even an experienced filmmaker, filming switches can be a tricky thing to get right. Capturing the action of flipping a switch on and off takes some planning and skill, but with the right technique, you’ll have great shots in no time!
This post will cover why it’s important to film switches correctly and provide helpful tips for getting the perfect take – from choosing an appropriate lens for your shot to finding just the right angle.
What Are the Importance of Filming Switches?
One of the main reasons to film switches is that they can add a unique visual element to your videos, allowing you to capture eye-catching effects and dynamic transitions.
Additionally, switching between different types of footage or using lighting effects can help create a more compelling narrative for your audience.
Another key reason for filming switches is that they can help achieve a specific aesthetic or look for your video. For example, using slow motion to capture the change in lighting as a switch is flipped on and off can produce beautiful visual effects that will impact viewers.
Overall, there are many benefits to filming switches in your videos, including visual interest, narrative enhancement, and creative flexibility. With the right technique and approach, you can create truly stunning footage that impresses your audience and sets you apart from other filmmakers.
10 Easy Steps on How to Film Switches
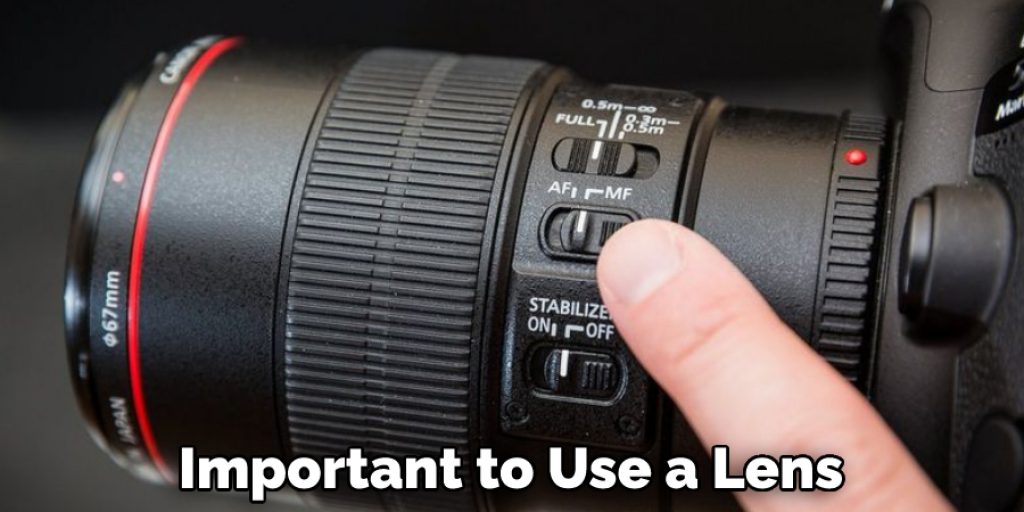
Step 1. Start by Choosing the Right Lens:
When filming switches, it’s important to use a lens that provides the right level of focus and clarity for your shot. A telephoto or zoom lens is ideal, as they allow you to get closer to the action while still retaining sharpness and detail in your shots. Be careful not to use too wide a lens, as this can introduce distortion that can make it harder to achieve the right level of focus.
Step 2. Determine Your Angle:
The angle at which you film the switch can significantly impact how well it comes across in the final video. To capture a clean and clear switch flip, try filming from a side angle – ideally with your camera about 12 inches away from the action. If you’re looking for a more dramatic effect, you can try filming from a low angle or overhead position. Just be sure to avoid capturing any unwanted obstructions or reflections in your shot.
Step 3. Experiment With Different Shot Types:
There are many different types of shots that you can experiment with when filming switches, including close-ups, pans, zooms, and slow motion. Each of these shot types can produce unique visual effects that can increase the impact of your video and keep your audience engaged. Don’t be afraid to play around with different techniques and see how they can enhance your footage.
Step 4. Pay Attention to Lighting:
Lighting is another key factor that can significantly impact how well your switches come across in the final video. Consider using natural light for your shots whenever possible, as this will provide better contrast and help enhance the visual effects of your switch flips. If you need to use artificial light sources, try adjusting their positioning and intensities until you achieve the desired effect.
Step 5. Record Multiple Takes:
While filming switches may seem simple, it often requires multiple takes to get right. To avoid wasting time or ending up with poor footage, be sure to record multiple takes of each shot – giving yourself plenty of room to experiment with different techniques and angles without risking missing out on what works best for your project. It will also help to time each take so that you can review your footage later and see how long it takes for the switch to flip fully.
Step 6. Edit Your Video:
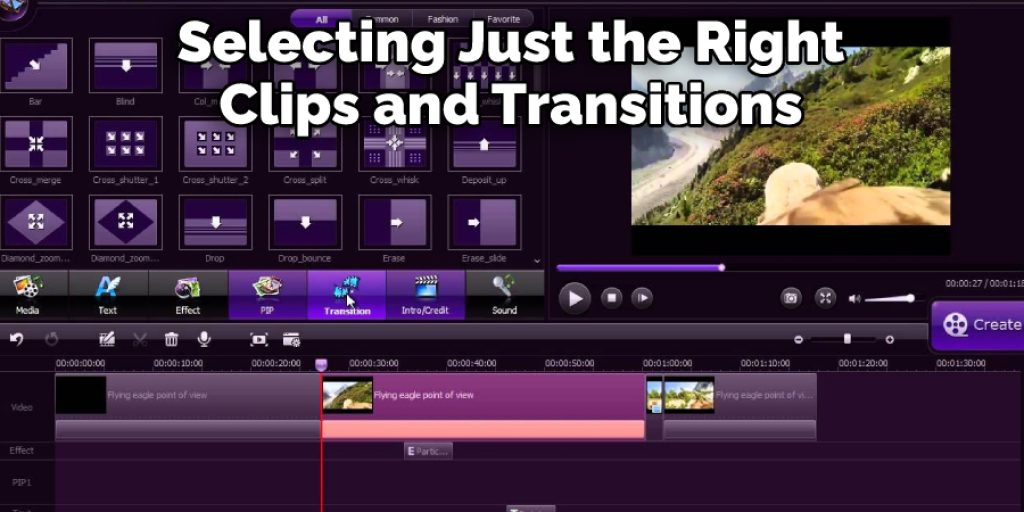
Once you’ve finished filming all of your shots, the next step is to edit them together into a cohesive video. This process involves selecting just the right clips and transitions, along with other visual effects like text overlays or soundtracks, to create a high-quality final product that effectively captures the essence of your switches. Remember that your video’s overall look and feel are also important, so be sure to focus on incorporating a consistent style or theme.
Step 7. Incorporate Special Effects:
Switches are often used in videos as visual effects or transitions between scenes, making them an ideal element to experiment with when it comes to adding special effects. Some popular techniques include using slow motion or time lapse to capture how quickly the switch flips, overlaying text over the top of the action for additional narrative impact, and even incorporating sound effects for greater realism. The key is thinking creatively about how you can use switches in new and interesting ways to enhance your overall video content.
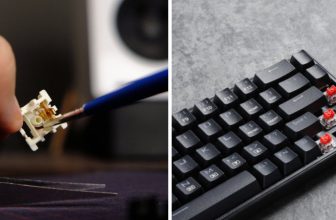
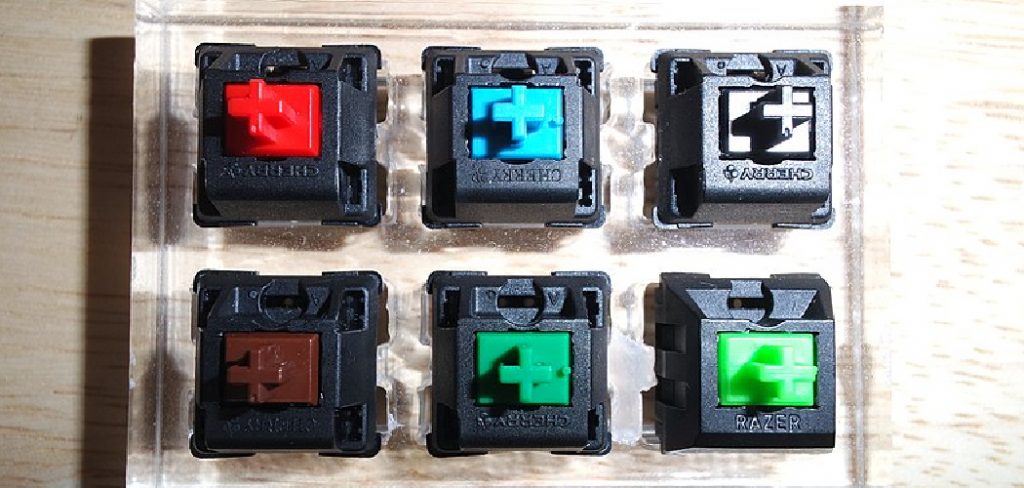
Step 8. Consider Using Different Types of Switches:
The type of switch you use can also significantly impact how well it comes across in your footage. Some common options include slide switches, toggle switches, pushbutton switches, and rotary switches. Each offers a slightly different visual effect that may be more or less suitable depending on the video content you’re producing. So take some time to experiment with different types of switches and see how they can enhance your overall video quality.
Step 9. Practice:
The key to successfully filming switches is practicing and experimenting until you get it right. This may involve trying out different shot types or camera angles, adjusting the lighting in your shots, timing how quickly your switch flips or incorporating special effects into your footage. The more time you spend experimenting and practicing different techniques, the better prepared you’ll be when it comes time actually to record your video content. So don’t be afraid to take things slow and try out new ideas along the way – as this will help ensure that your final product looks great!
Step 10. Showcase Your Work:
Once you’ve successfully filmed and edited your switch flips, be sure to share your final video with others. This could involve uploading it to social media platforms like YouTube or Vimeo, submitting it to film festivals and competitions, or simply sharing it with friends and family for feedback. No matter how you choose to showcase your work, the important thing is that you take pride in your final product – as this will help encourage you to continue experimenting and exploring new techniques in the future!
By Following these steps, you can successfully film and edit switches into your video content. Whether you are looking to add visual effects, create transitions between scenes, or simply capture how quickly a switch flips in action, these tips will help ensure that your final product looks great and is sure to capture your audience’s attention. So be sure to practice, experiment, and confidently showcase your work!
5 Additional Tips and Tricks
- If possible, find a good vantage point from which to film the switches. Ideally, this should be a spot that offers both an unobstructed view of the switch and enough distance that other elements of the scene are not visible in the frame.
- Try to use a shallow depth of field when filming switches. This will help highlight the switch while minimizing any visual distractions in the background.
- Experiment with different lighting techniques to find the best way to illuminate your subjects and highlight the switch.
- Use a tripod or a steady hand when filming switches, as this will help to minimize any camera shake or motion blur.
- If possible, try to film switches in a controlled environment, such as a studio or soundstage. This will help you to control the lighting, background elements, and other factors that may impact the final video.
Overall, filming switches can be a challenging but rewarding process. With the right planning and preparation, you can capture high-quality, engaging footage that effectively highlights the importance of this crucial element in any video. Good luck!
Conclusion
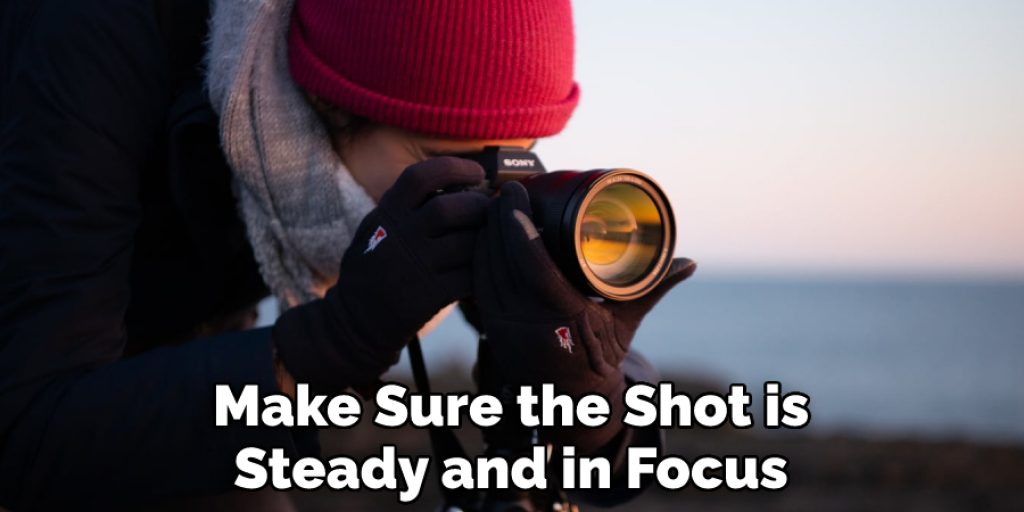
Switches can be filmed a few different ways, depending on the mood you’re trying to capture. If you want to add some suspense or tension, film the switch being turned slowly. For a more playful vibe, show the switch being flipped quickly. And for something in between, film it at normal speed. No matter how you film it, just make sure the shot is steady and in focus.
Now that you know how to film switches get out there and start filming! With practice, you’ll be able to capture the perfect shot every time. And who knows? Maybe one day you’ll be able to teach other people how to do it too.
Hopefully, these tips and tricks will help you successfully film switches in your videos. Good luck!
Elizabeth Davis
Elizabeth is a creative writer and digital editor based in the United States. She has a passion for the arts and crafts, which she developed from a young age. Elizabeth has always loved experimenting with new mediums and sharing her work with others. When she started blogging, she knew that DIYquickly would be the perfect platform to share her tutorials and tips. She's been writing for the blog from the beginning, and her readers love her helpful advice and easy-to-follow instructions. When she's not writing or editing, Elizabeth enjoys spending time with her family and friends.