How to Fix Messed Up Iron on Transfers
Introduction
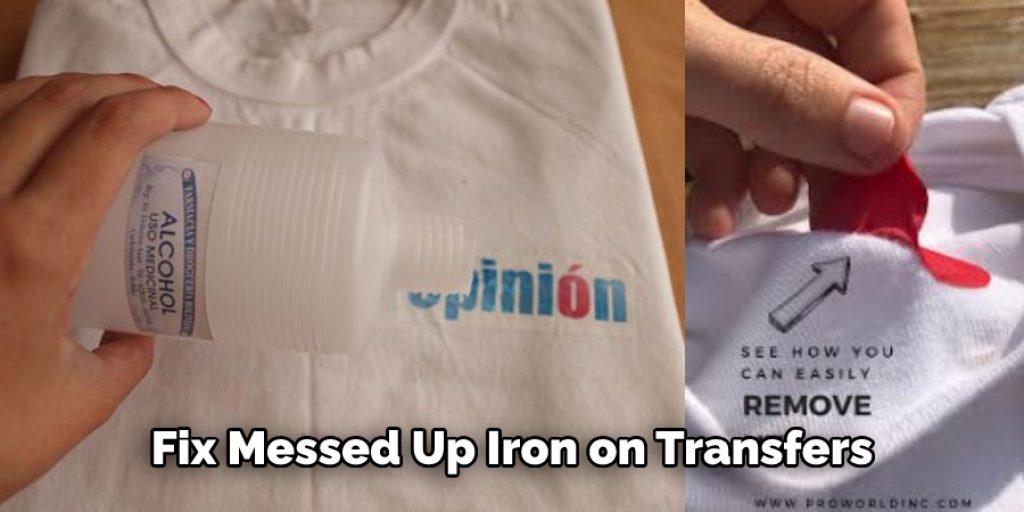
Sometimes, when we plan to make the DIY design on our t-shirts using the heat transfer on vinyl, the letters and the models get messed up. This happens due to the inadequate amount of heat supply on all the parts, so the design. For this reason today, we are going to suggest an easy technique on how to fix messed up iron on transfers. This will be of much help for the beginners, and the cloths can be corrected much easily.
Procedure
This task is easy to do, but you need to know some essential rules and follow them so that you don’t make the vinyl more ruined. At first, you have to remember that all these vinyl attachments come with an instructional time limit. The messed up aspects occur when the timeframe is not maintained correctly. When you plan to do this aspect, make sure that you always wear gloves because iron is quite hot while using.
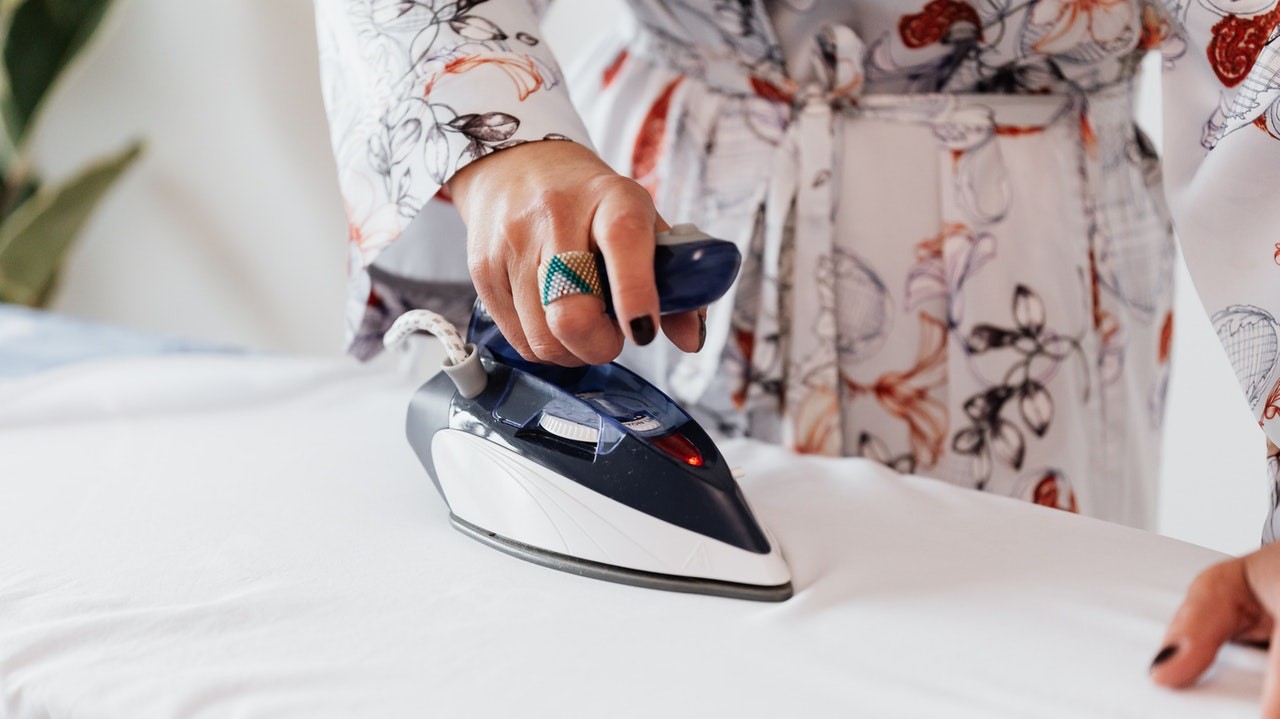
Now you have to heat the iron and then place it on each work or part of your design and keep it for fifteen seconds, do not go for less time then again the vinyl will get ruined, and pressing them for more time will also be harmful to the plastic. Afterward, you might observe that the letters and the designs are not correctly attached at some points. In this case, you have to use another easy technique to get them properly attached.
In this case, you will require multi-purpose paper, and these papers can retain heat for a significant amount of time without letting the heat penetrate the surface, you can also use soft clothes for this process, which will also be helpful. Next, you have to place the paper on the messed up part of the design and then apply the iron on it. Before that, you have to set the iron to the desired temperature. For ordinary irons, we recommend keeping the average temperature.
Next, you need to place the iron on the paper. You should only apply heat to the messed-up part, because if the iron is misplaced, the letters can get even more messed up. So we have to make sure that the iron is in the right spot. Now you need to press the iron and hold it for ten to twenty seconds. Always do this by pressing down on the paper.
After the stipulated time is over, you can take off the iron, and also, the paper can be taken off, and then you will find that the messed up vinyl has been restored. In this way, you can easily make use of the iron to correct the designs accurately. This will be much helpful for the users and can be of much need in terms of emergencies.
Conclusion
Lastly, we hope that the technique we have mentioned here has helped solve the messed-up issues during the iron transfer. This process can much benefit beginners. Happy crafting! Have a beautiful day!!
Check it out to learn to make glitter iron on transfers.