How to Light a Water Heater With Electronic Pilot
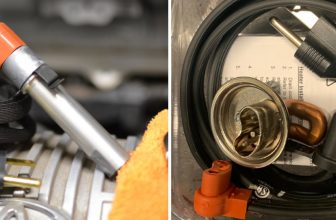
Are you looking for a simple, cost-effective way to light your water heater? Do you want an efficient and safe way of doing so that won’t require any special tools or equipment? If the answer is yes, electric pilot lighting may be the perfect solution.
If you’re tired of cold showers and need to know how to light a water heater with electronic pilot, this blog post is perfect! Learning how to light your water heater can be intimidating and confusing, but we’re here to walk through all the steps needed to enjoy cozy hot showers again.
In this blog post, we will provide a full step-by-step guide covering everything from initial preparations and safety measures to testing your new flame temperature control system.
What Will You Need?
Before you begin, you will need the following items:
- New electronic pilot light
- Match or lighter to light the pilot flame
- Screwdriver for attaching the new pilot light to your heater
- Safety goggles and gloves for protection during installation
Once you have gathered the necessary items, you can begin learning how to light your water heater with an electronic pilot light.
10 Easy Steps on How to Light a Water Heater With Electronic Pilot
Step 1. Shut Off All Power Sources
Before you begin attempting to light your water heater, be sure to shut off all power sources and fuel lines. This will prevent any accidental fires or explosions from occurring. Be careful not to let any water get onto the power sources as this can cause electrical shocks.
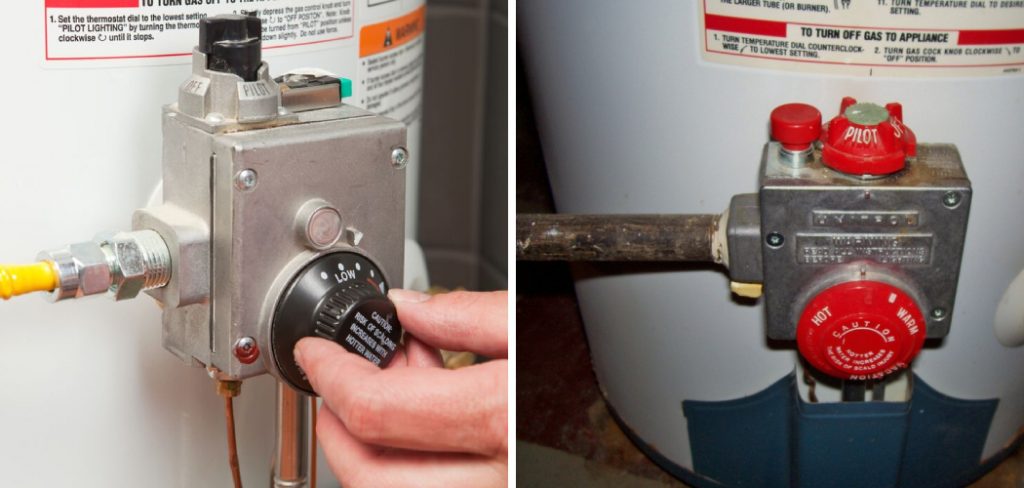
Step 2. Remove the Old Pilot Light
Your next step will be to remove the old pilot light. To do this, locate the screw that holds it in place and unscrew it using your screwdriver. Carefully pull out the old pilot light and dispose of it properly.
Step 3. Install New Pilot Light
Now you can install the new electronic pilot light by attaching it to where the old one was located. Be sure to follow instructions on how to connect it correctly; if you doubt how to attach the new pilot light, consult a professional for assistance. You can also refer to the manufacturer’s instructions.
Step 4. Turn on the Gas Valve
Once your new electronic pilot light is securely in place, turn on the gas valve and wait for the pilot light to ignite. Be careful not to overheat the gas valve as this can cause it to shut off unexpectedly. If you smell gas, turn off the gas valve immediately and consult a professional for help.
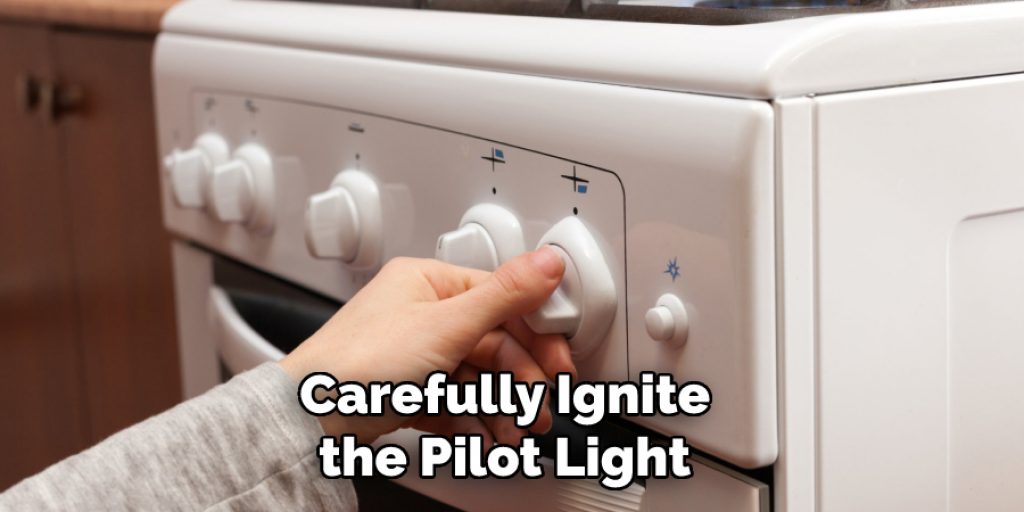
Step 5. Ignite Pilot Light
Using your match or lighter, carefully ignite the pilot light until it is glowing steadily. Don’t forget to wear your safety goggles and gloves during this step. Keeping the flame safe from your face and any flammable materials is important.
Step 6. Adjust Flame Height
Adjust the flame height to ensure that it stays at a sufficient level without burning too hot or too low. This will help you get an optimal temperature control system in place for your water heater. Remember, the higher the flame, the hotter your water heater will be.
Step 7. Check for Leaks:
Once the flame is adjusted correctly, check all connections around the pilot light for leaks using a soapy water solution, which should form bubbles if any leaks are present. If there are, seal them up before moving forward with testing. Otherwise, the heat from the flame could cause the gas to leak out and create a hazardous situation.
Step 8. Test the Flame Temperature Control System
Set the flame temperature control system to its highest setting and wait for it to reach its peak, at which point you can lower it slightly. This will help you determine how hot your water heater can get before it’s too dangerous or uncomfortable. Ensure that the flame temperature control system is set to a safe and comfortable level before using your water heater.
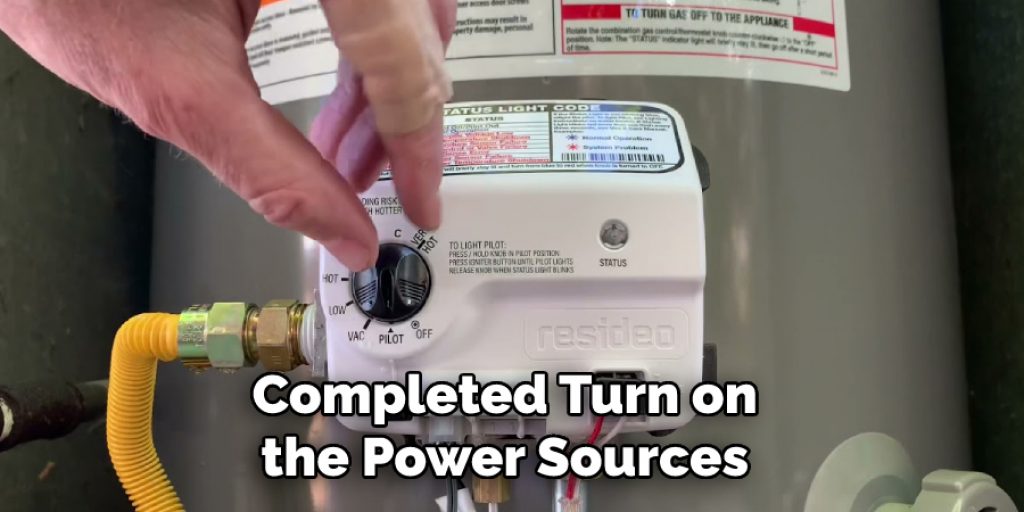
Step 9. Turn On Power Sources
Now that all tests have been completed turn on the power sources again so that your electronic pilot light is ready for use! You can now enjoy hot water without any worry. Be careful not to leave the pilot light on for too long, as this can cause it to overheat and shut off unexpectedly.
Step 10. Enjoy Hot Showers Again!
You’re now ready to enjoy hot showers and baths again – how exciting! Just be sure to keep an eye on the flame and adjust accordingly if needed. We hope this guide has provided you with enough information and guidance on how to light a water heater with an electronic pilot. Enjoy!
By following these steps, you can now successfully light a water heater with an electronic pilot. Remember to practice safety measures throughout the process and make sure all connections are secure. Good luck, and we hope you enjoy your hot showers!
5 Additional Tips and Tricks
- Ensure the gas supply to the water heater is turned on.
- Make sure all electrical connections are secure and correct.
- Clean any dust or debris from the ignition area.
- Use a long match or lighter to light the pilot and adjust the control knob until you see a blue flame.
- Wait for the pilot light to stay lit before turning on the main gas switch or valve.
Remember, if you ever have trouble relighting your water heater’s electronic pilot, you should contact a professional for assistance. Doing so will help ensure that your water heater is functioning safely and efficiently.
5 Things You Should Avoid
- Never use a match, lighter, or any other open flame to light the electronic pilot. This could cause an explosion or fire.
- Don’t attempt lighting the electronic pilot if you don’t have handy tools and manuals for your water heater model.
- Never force the electronic pilot assembly open when it does not respond to commands from the control panel.
- Be sure not to shut off the electrical power or gas supply before you finish lighting the water heater with the electronic pilot.
- Do not exceed manufacturer-specified settings while adjusting knobs and switches on the control panel during the setup process of lighting a water heater with the electronic pilot. Doing so may lead to serious damage to internal components.
Following these tips and avoiding the above mistakes can help you light a water heater with an electronic pilot safely and efficiently.
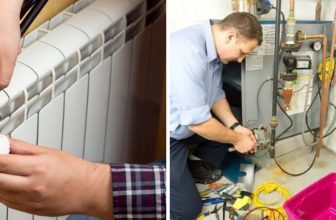
Can You Manually Light a Water Heater With Electronic Ignition?
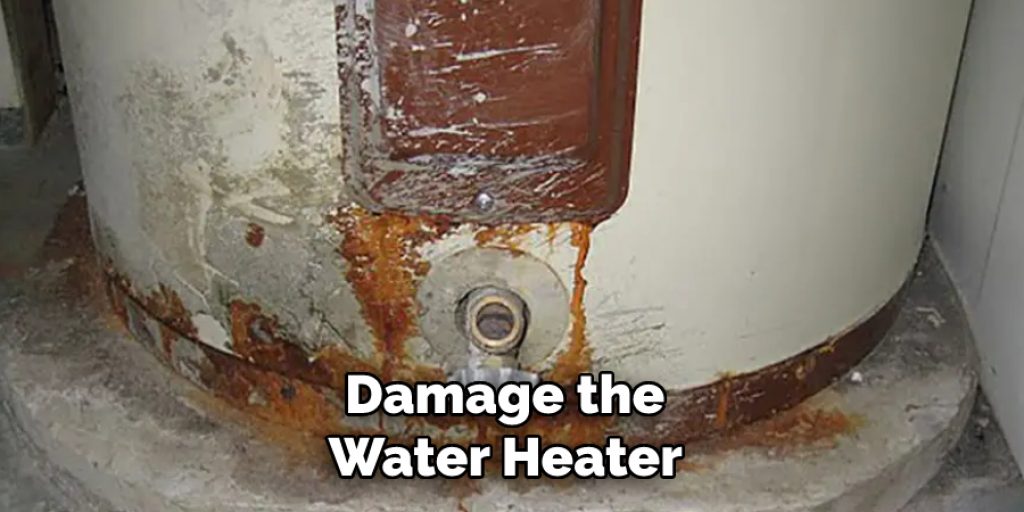
It is not recommended to light a water heater with electronic ignition manually. Doing so could damage the water heater’s internal components and lead to expensive repairs or replacements. If you have any issues with your electronic pilot system, it’s best to call a professional for assistance.
Additionally, most new models of water heaters come with a manual switch for how to light your water heater with the electronic pilot. Simply locate the switch and follow the manufacturer’s instructions on how to use it correctly.
We hope this guide has provided you with enough information on how to light a water heater with an electronic pilot. Lighting a water heater with an electronic pilot can become simple and straightforward with practice and care!
What is the Method to Test an Electronic Igniter?
Testing an electronic igniter is an important step to take when troubleshooting how to light a water heater with the electronic pilot. It’s also a good practice to maintain the longevity of your water heater, as worn or dirty parts can reduce its efficacy over time.
To start, ensure you have all the tools and materials needed to test an electronic igniter. This includes safety goggles, insulated gloves, a multimeter, a screwdriver, and wire cutters. Once you have these items on hand, you can begin testing as follows:
- 1Shut off power to the water heater at the circuit breaker or fuse box.
- Disconnect any wires connected to the igniter, then remove it from its housing using a screwdriver.
- Inspect the igniter for any signs of damage or corrosion and replace it if necessary.
- Test the igniter using a multimeter, following the manufacturer’s instructions.
- If necessary, wire cutters trim any frayed or damaged wires connected to the igniter.
- Re-install the igniter in its housing and connect all wiring correctly according to the manufacturer’s directions.
- Turn on power to the water heater at the circuit breaker or fuse box and test how your electronic pilot system functions!

Following these steps will help ensure that your water heater is running properly and safely. Doing so will help maintain the performance of your system and save you money in the long run!
Conclusion
In summary, lighting a water heater with an electronic pilot can seem intimidating, but it doesn’t need to be. With the proper steps, it’s possible to troubleshoot safely and get your hot water running again in no time.
However, if something feels wrong or you don’t feel confident about taking on the challenge yourself, make sure to contact your electrician or gas provider for a professional opinion. So long as safety is taken into account and caution is exercised, lighting an electric water heater isn’t difficult, and the rewards are plenty, knowing that you have saved yourself time, money, and the headache of dealing with a broken appliance.
Knowing how to light a water heater with electronic pilot is always helpful, and with this guide, it is now within reach to do so!
Angela Ervin
Angela is the executive editor of DIY quickly. She began her career as an interior designer before applying her strategic and creative passion to lifestyle and home. She has close to 15 years of experience in creative writing and online content strategy for housekeeping, home decorations as well as other niche efforts. She loves her job and has the privilege of working with an extraordinary team. She lives with her husband, two sons, and daughter in Petersburg. When she's not busy working she spent time with her family.