How to Line a Christmas Stocking
Introduction:
In this article, our topic how to line a christmas stocking. This packing design for Christmas is a fun method of keeping gifts, any candy, or any other little present you choose to fancy up a bit. However, the best part about such an approach is that you can blast the Christmas stocking template and create stockings as large as you would like by using the same simple technique. (And who wouldn’t want to please Santa with shiny, trendy stockings?)

So begin by drafting the stocking template or creating your design. To make two stocking forms from 2 distinct materials, the cloth specifications must be sufficient material. Time to unroll the fabric. To produce a symmetrical form, put the material in half.
Instructions on How To Line A Christmas Stocking
Cut Up storing forms of your outer cloth and your cuff/liner fabrics and the wrong ends. Essential: please ensure the toe meets each fabric in all ways. (That’s why adding wrong faces together would ensure you have parts going all instructions.) Now line up one outer cloth with one coating/cuff cloth with the toes pointed in the same way.
Join the exterior fabric and lining material from each pair of right edges and stitch a 1/4′′ seam over all parts. Start opening bits and force the border. Repeat on the opposite side. Also, fit front and rear stitched systems right sides with matching outer garments and identical interior garments. This is possible by dividing the front pieces into upper and lower areas, so that they are identical to the back parts.
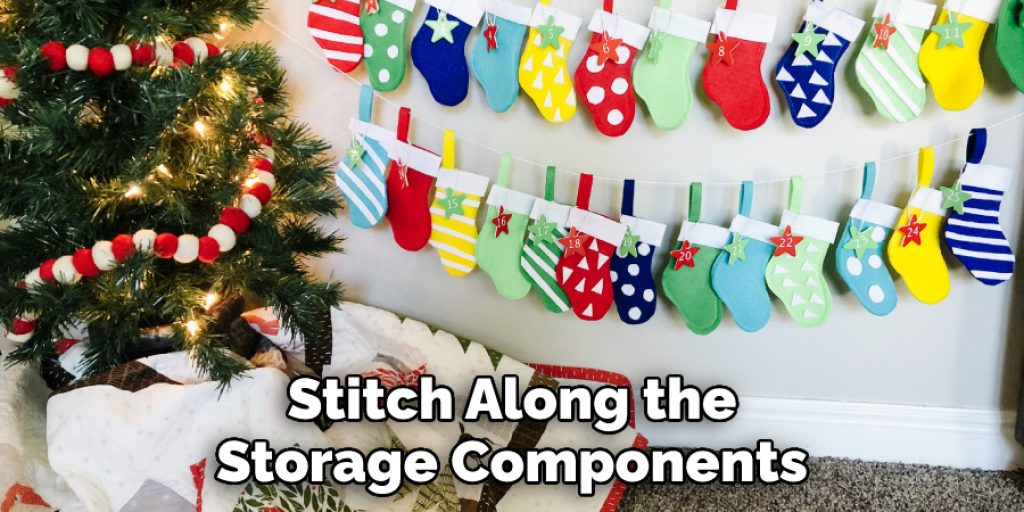
The seams of the middle can align, too—pin for bringing on two arms. Then, leaving a gap in the liner cloth to move away, stitch along the storage components (- where the gray line should be drawn). I stitched along the outside [polka-dot cloth] a 1/4′′ seam allowances and 3/8′′ seam allowance across the green covering material, except the gap left free to change. Stitch the shoulder seams and sides together on both the outer-and inner-layer—pinning by first matching up the arms to see if they’re oriented correctly.
That will also reduce any of the lining fabric’s thickness. But if it is too hard for anyone, then knit 1/4′′. Cut edges in the curves-particularly the toe-before turning it correct-side out. When done, it will make the toes appear better. Look out not to clip into the fabric. Attach the lining next to the edge on the liner edge.
This would also eliminate absolute pressure on the covering. Now take it all right-hand down. Form the outer portion cautiously before the shapes appear fine and click. Tuck the opened sides into the stocking and cover the opening topstitch. Now tuck the liner gently into the jacket. Optional: Topstitching for a much more classy finish across the upper portion. If you’re a fan of modern quilting, you’ll love this jacket pattern too.
Precautions:
- Use a stocking that is the right size for your recipient. How you line it will depend on how big or small it is, so make sure to measure the person’s hands and feet first (or stand in front of them with their hand outstretched).
- Avoid using wool if the person has sensitive skin. If they don’t, you can substitute a different type of yarn for the lining, like cotton or acrylic.
- Use needles that are fine and sharp to sew.
- You’ll want two knitting needles per row when working with thinner yarns (like embroidery floss) and one needle per row for thicker yarns (like worsted weight).
- How many stitches per row will vary depending on what kind of yarn you use. For example, when working with embroidery floss: one stitch for every two rows and vice versa.
- Knit the opposite way you would to line a hat – make sure your work is tight enough that you can’t see the knitting on the opposite side.
What’s the Best Type of Object to Put Into a Stocking?
A stocking is a common gift given to children and adults alike for Christmas. These days, people often put small toys or other items in a person’s stocking. Traditionally, it was thought that the best type of object to place in someone’s stocking would be candy canes because these items were shaped like reindeer antlers.
There are many different types of objects that you could put in a stocking. For instance, if a golfer, some golf balls would be an excellent choice to put in their stocking. However, if they have a hobby or interest that isn’t listed here, it’s best not to choose something for them because they might already have it.
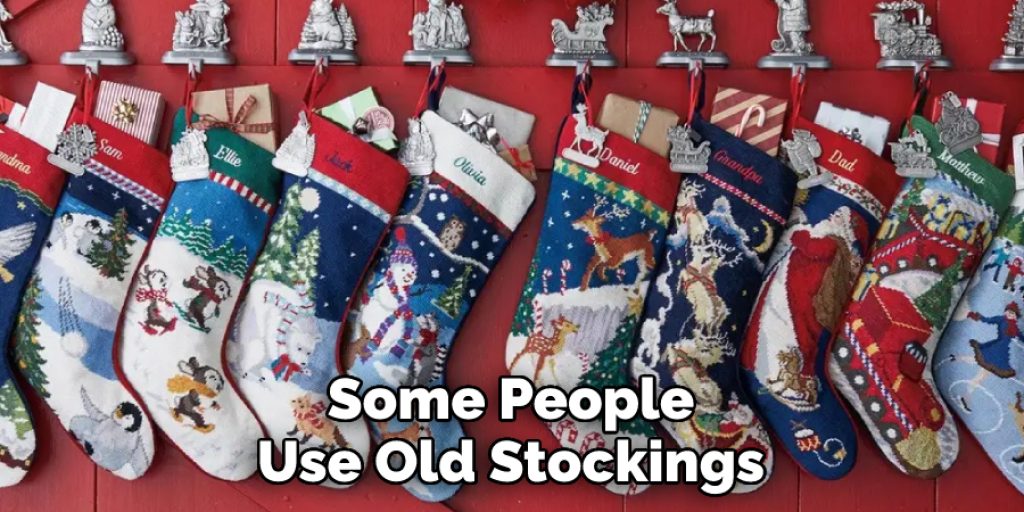
Is Old Stocking Helpful For This Process?
It’s difficult to say for sure. Some people use old stockings just as a lining, and some might reuse the same stocking year after year. I think it is up to you whether or not you want to line your own with an old sock, but if you decide to go this route, make sure they’re clean!
Which Fabric is Best for Stocking?
A stocking can be made of any fabric, but which one is best? Remember that the lining and foot have to work together. Quilted or padded nylon might look good on the outside, with cotton filling inside. Or you could use wool for both parts – it’s durable!
The most important thing about your choice is how well it will go with what’s already in your home. If you’re looking for something neutral that matches everything else, choose silk or felt (see some examples below). The wool goes nicely with tweed skirts and leggings around the house during winter months, while linen lends itself better to warmer summer styles like sundresses and shorts.
Conclusion:
In conclusion, we hope that the process we have stated here can help you lining a Christmas stocking. You should follow the steps properly. Thank you and have a nice day!
Check it out to learn to stitch name on stocking.
Elizabeth Davis
Elizabeth is a creative writer and digital editor based in the United States. She has a passion for the arts and crafts, which she developed from a young age. Elizabeth has always loved experimenting with new mediums and sharing her work with others. When she started blogging, she knew that DIYquickly would be the perfect platform to share her tutorials and tips. She's been writing for the blog from the beginning, and her readers love her helpful advice and easy-to-follow instructions. When she's not writing or editing, Elizabeth enjoys spending time with her family and friends.