How to Make a Choker Necklace out of Fabric
With each day passing by, we are getting introduced by fashion trends. If this week has one fashion and the next week we will have something else. If you are a bit of fashion concern, you will want to try those trendy items. One of the trends of fashion accessories that have been around for long is wearing a choker necklace. But buying them could be a little tough sometimes, so why not make your own. That is why we will teach you here how to make a choker necklace out of fabric.
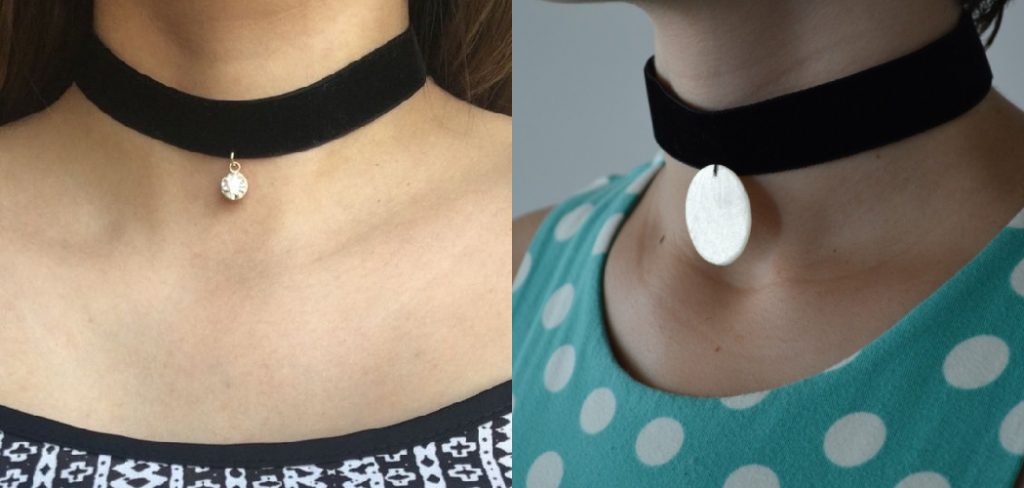
What Is A Choker Necklace?
A choker necklace is a fashion accessory to wear on your neck that will stay tightly adjusted to your neck. The name is choker because of the tightness as if it could choke you (but it doesn’t).
Now, using the scissors, cut the appropriate amount of fabric. The length should be as long as you think your neck is, and for the width, it depends on how wide or slim you want your choker to be.
A choker necklace is a necklace that goes around your neck and is usually tight-fitting. You can buy choker necklaces, but they can be expensive. You can also make your own choker necklace at home with some simple materials. This tutorial will show you how to make a choker necklace out of fabric. It’s easy to do and doesn’t cost much money.
DIY: How To Make A Choker Necklace Out Of Fabric
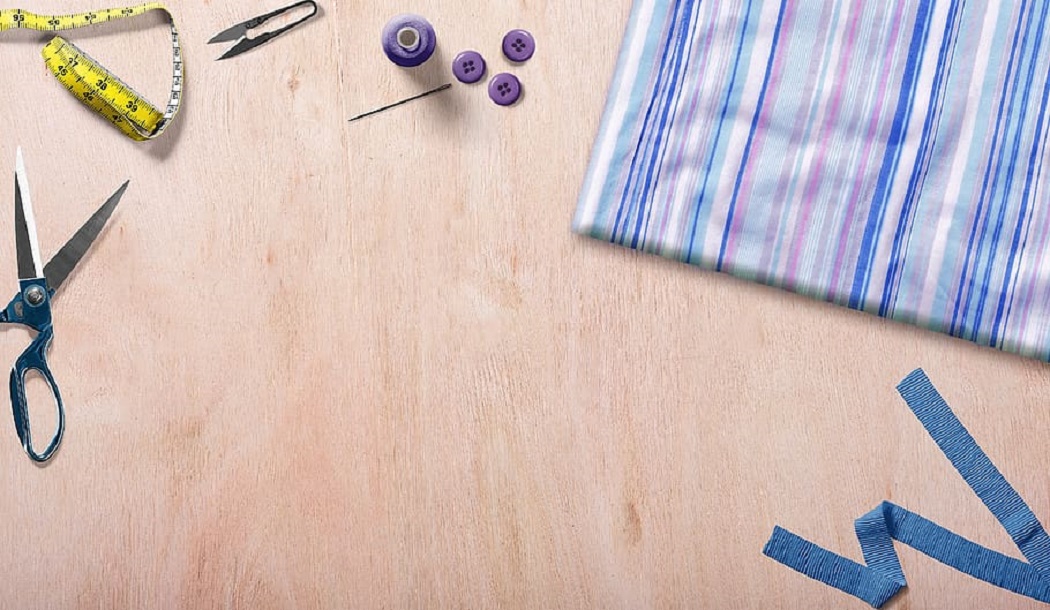
Materials You Need
There is nothing much you need to make chokers. They are-
- Suitable fabric
- Scissors
- Sewing machine or needles (optional)
- Clasp (optional)
- Decoration (optional)
Steps To Follow
Step 1: Get Your Favorite Fabric
The most important part of this project is the fabric you use. You can use an old shirt or any other piece of fabric you can find. There are lots of different patterned fabrics to choose from. You can make a plain choker or one with lots of patterns and designs; it is up to you.
Step 2: Measure Everything Up
Now, using the scissors, cut the right amount of fabric. The length should be as long as you think your neck is, and for the width, it depends on how wide or slim you want your choker to be.
If you think you are not good at cutting the sides, then cut the fabric wider enough that when you fold it in half, it will become the width of what you want.
Step 3: Ready
Now, if you want, you can sew the fabric in half and then iron it to get the sewing part on the hiding spot.
But if you do not, you can use it as it now.
You can add clasps if you want or just knot it around your neck.
Step 4: Decoration (Optional)
This step is optional. You can add beads, pendants, or decorative things in your choker to make them more extra. You can add a tassel to your choker for an extra touch of trend. Place the tassel over the second jump ring, then close it. Make sure that you move the tassel in such a way that it doesn’t sit on top of the first jump ring since it will make it difficult to close the ring.
What Fabric Are Chokers Made of?
Chokers are typically made from a variety of fabrics, including leather, velvet, lace, satin, and plastic. Leather chokers often feature metal hardware such as buckles and studs.
Velvet and lace chokers are typically adjustable with a clasp or ribbon closure. Satin chokers may be decorated with beads, sequins, or gems. Plastic chokers come in a variety of colors and styles.
Final Thoughts
See! It is not tough to learn how to make a choker necklace out of fabric. Now that you know how to do it, you can make all the choker necklaces you want to match your outfit and go with the trend.
Check it out to learn to make a choker necklace out of string.
Jane Hubbard
Jane has always been passionate about hair and beauty. After many years of working as a hairdresser specialist, she decided to start her own consultancy business. She is an experienced haircare and beauty consultant, and she loves helping others find the perfect look for them. She has been writing articles for DIY quickly for over 3 years. In her free time she enjoys keeping up with the latest news in the industry, practicing yoga, and spending time with her friends and family.