How to Make a Folding Table Look Nice
Most of us have one of those classic white folding tables. Due to their old design and style, we usually put them out of sight in our garage or basement. Even we use them one or two times a year. But are they deserve this type of treatment? Is it going to be worth your investment for this table? Of course not. So, what to do then? How to reuse these tables? If you bring them to your room, it can hamper the modern design of your room. Don’t worry; I will show you some simple hacks, and you can transform your boring table into an elegant one with them. So, before thinking of throwing it outside, you can ask me how to make a folding table look nice.
Sometimes you may want a new table in your newly designed room. For extending the overall appearance or for storing necessary items in both cases, a table bears the utmost importance. So, you can feel the want of a table naturally. But if you are on a tight budget, you can simply make the job done with your old and classic folding table. This means in every case, the old table is important. So, let’s get started with my simple hacks and turn your table into an elegant one to attract your guests.
How to Make a Folding Table Look Nice
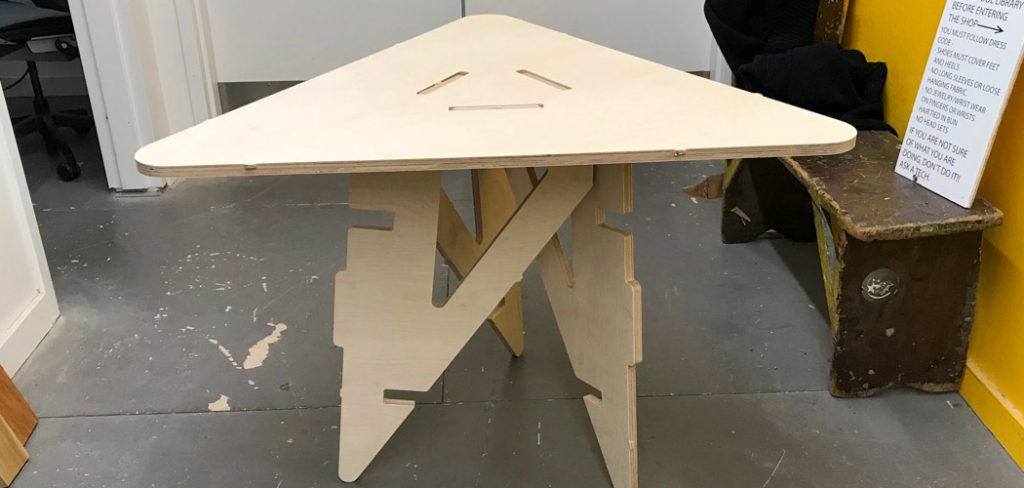
Step 1 – Setting Up the Table:
Yes, of course, you have first to set up the table. Ensure a suitable place in your room and set the table there.
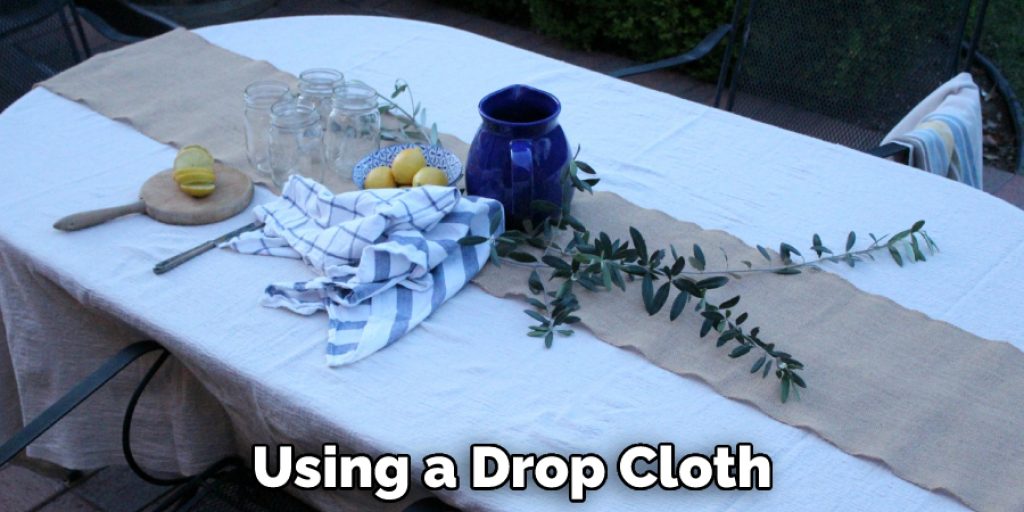
Step 2 – Cover the Table:
Now to do this, I am going to use my favorite way. I am going to use a drop cloth for this. When using a drop cloth, I do recommend washing the cloth from your laundry and then drying it properly. If the cloth is too wrinkly, you won’t have to put it on the ironing board. You can use your iron on the table if you want, but you must take proper measurements before applying it to its surface. Without adequate measurements, the cloth and the table can get damaged, ruining the entire process.
In this case, I very much encourage you to use an ironing pad between the cloth and the table. This is because you know these tables are made of plastics and other materials that can melt down during the process. So, use a pad or something like that between the table and the linen to protect your table. There will be enough space for ironing on your table so let’s get all the wrinkles out of your tablecloth.
In this case, I am using a hot steam iron because it offers a great way to remove those wrinkles from the cloth.
Step 3 – Setting Up a Centerpiece:
While setting up a holiday table, I would like to place the centerpiece first, and then I will build the place settings. It is my anchor point so I will start from there. I am trying to do something simple with my centerpiece. So, I took a beautiful container and found some sweet little trees in burlap bags just from the local craft stores. After bringing them to my house, I added a ribbon to tie my tree.

Okay, now I am going to fill the container with these trees. I have bought three of them, and I will just rest them in the container or bowl. Look, there not going to sink into the terrain; they won’t fit that way. However, they are gonna build a sweet little country Christmas-like appearance. I will add some Christmas ornaments to the empty space to enhance the process.
Other pieces I am going to add in are a couple of votive candles. These are vintage mercury glass candles. The ordinary ones are a bit silvery, but these are a bit golden, which will give the centerpiece a good appearance. I am going to add some more golden touches to my design. So, I have two golden color glasses on each side.
Step 4 – Building the Place Settings:
One thing I like when you have a theme like blue and white is that you can mix in different patterns. In case if you don’t have enough plates, you can mix things in to make the table a little more interesting.
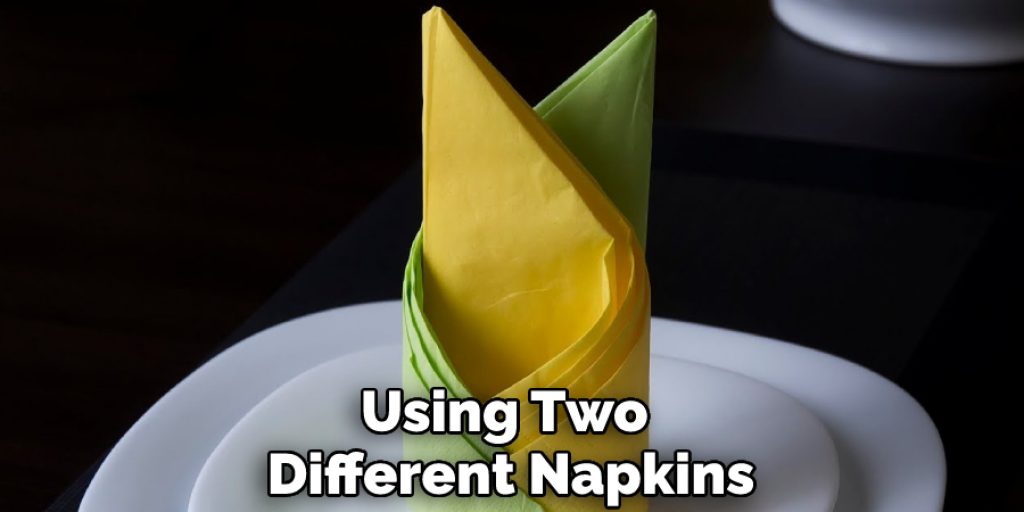
Step 5 – Adding the Napkins:
Next, I am going to add napkins. There are a million ways to go with napkins. You can have them on the left side of your plate, you can have them on your plate, or you can fold them in all interesting ways. I want something simple for this setting, so I have folded them into four quarters. In this case, I am using two different napkins. One has a beautiful linen hemstitch pattern, and the other one has a beautiful lace pattern. I want the edges of these napkins to show, so I have folded them in such a way. After that, I will add the salad plates, the glasses, and the essential items to the table. That’s it; the boring table is now ready with its beautiful appearance.
Final Thoughts
Hopefully, you have understood the above process, and you won’t have to ask anyone how to make a folding table look nice to anyone. There are several other ways to make the old folding table beautiful, but I have covered the easiest way. If you have any questions, you can feel free to ask me through the comment section below.
You may read also –
How to Weatherproof a Picnic Table
Elizabeth Davis
Elizabeth is a creative writer and digital editor based in the United States. She has a passion for the arts and crafts, which she developed from a young age. Elizabeth has always loved experimenting with new mediums and sharing her work with others. When she started blogging, she knew that DIYquickly would be the perfect platform to share her tutorials and tips. She's been writing for the blog from the beginning, and her readers love her helpful advice and easy-to-follow instructions. When she's not writing or editing, Elizabeth enjoys spending time with her family and friends.