How to Make a Package Drop Box
If you’re like most people, you probably receive packages from time to time that you need to drop off at a local package dropbox. But did you know that you can do a few things to make the process easier? First, you can make your own package dropbox for easy, convenient drop-offs.
All you need is a few supplies and some basic carpentry skills. In this blog post, we’ll provide some tips on how to make a package drop box. So, read on whether you’re looking for a new way to receive packages or just want to make the process easier for yourself!
What Is a Package Drop Box
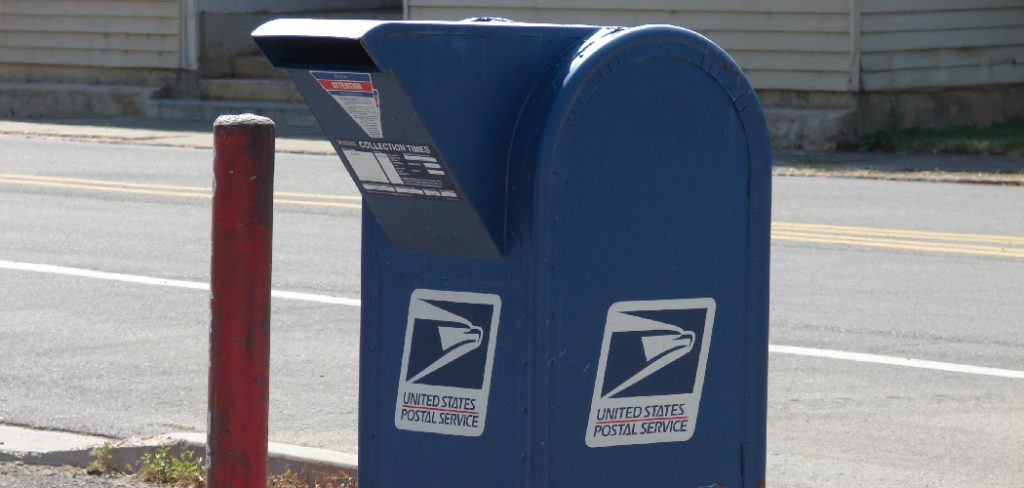
A package drop box is simply a larger version of an ordinary mailbox. They come in several shapes and sizes but are typically designed for business buildings. If you’re unsure if you have one, look around your home or business for a large metal or plastic box with a door. These are the most common types of package drop boxes.
Some businesses, like apartment buildings or condos, may use communal package drop boxes for their customers to use. Whether you have your own box or share one with other people, in this blog post, we’ll provide some tips on how to make your package drop box that is perfect for your home or business.
Step by Step Guide: How To Make A Package Drop Box
Step 1: Design and Determine Needed Measurements
The first step is to decide what you will need for people to drop off packages. Do not worry about the aesthetics of the box at this point. The design will come in the next step. We recommend you put some latch on the box to keep it closed if you are concerned about security.
You can also purchase a lock at this point, but keep in mind that if you are making this for charity, one should not be needed. Some other options include having it be solar-powered or having a built-in digital camera to take photos of people dropping off packages.
Step 2: Draw the Box Design on Paper
Use pencil and paper to design your package dropbox. You can use the measurements you already calculated or design them to fit your needs. This is where aesthetics are important, so take care in designing the box. If you are making this for charity purposes, consider having your organization’s logo on the outside of the box or even on the inside lining that they pass by as they drop off packages.
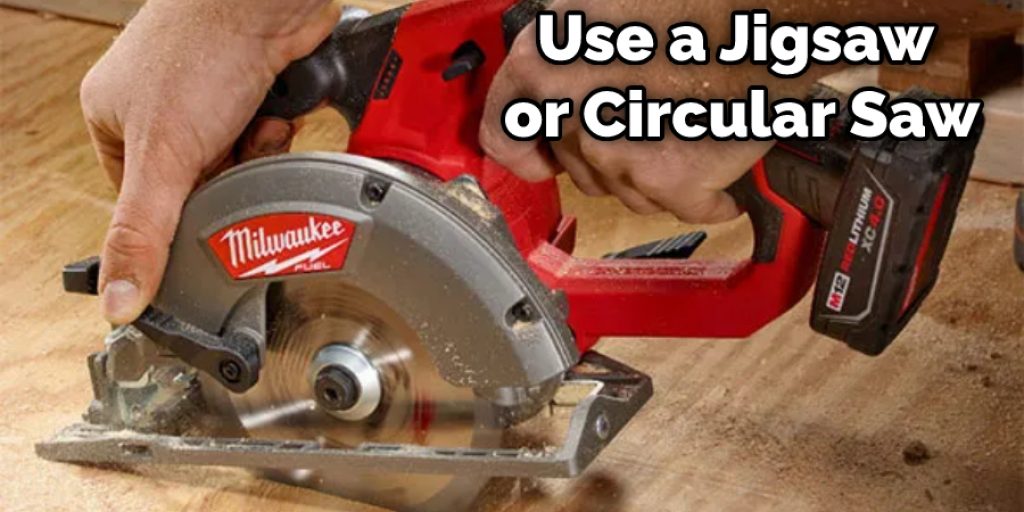
Step 3: Cut Lumber and Plywood
Now that you know your dimensions, it is time to cut the wood down to size. Use a jigsaw or circular saw for this. Make sure all joints fit tightly together. You can use a sander to smooth out the wood if you need it, but sandpaper will do fine. If you are inserting a lockbox, find where you would like it to be placed and measure it carefully.
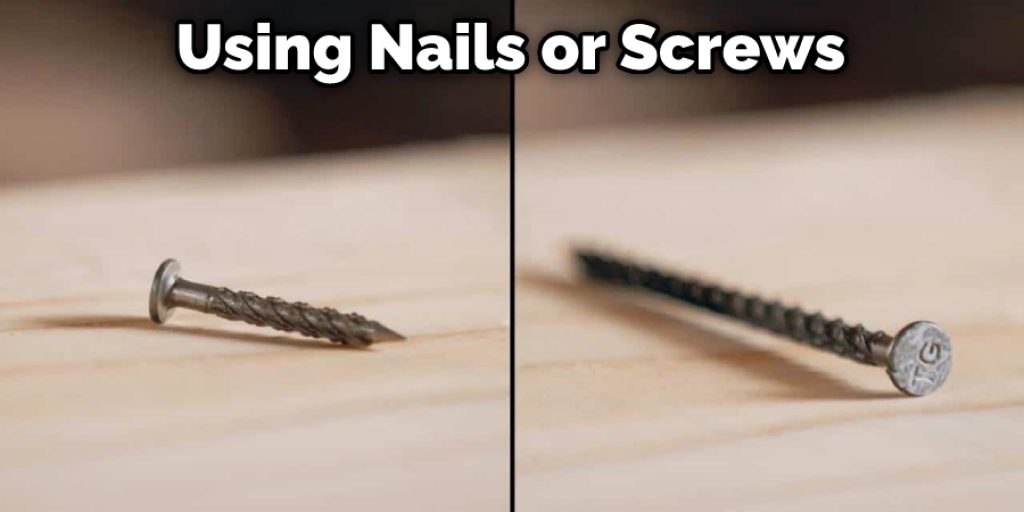
Cut an extra piece of wood that is the same size as what will fit in your side panel with room for screws. Now you are ready to attach your pieces of wood. Take care to use the right sized nails or screws. Make sure they are attached firmly so that there is no chance of them coming apart during use.
Step 4: Paint the Box.
Use a paintbrush or roller for this step, whichever you prefer. You can find colors at your local hardware store. Make sure you use enough paint but do not worry too much about putting on multiple layers of paint for it to be effective. You can put a clear coat on at the end if you want.
Step 5: Attach Flap of Some Sort
Place the plywood with one of the cutouts on top of the box. If you are attaching a lockbox, now is where you will need to find out how deep it takes up inside your box. First, measure the flap and make sure that it will be wide enough to cover this space when you close your drop-off box.
Keep in mind that if you are making this for a charity, it will be the responsibility of whoever has been assigned to pick up donations from the drop-off box to check that their donation fits inside. Use nails or screws to attach the plywood flap securely where you want it on your package dropbox.
Step 6: Assemble Box Frame
Now that all your pieces of wood are cut and attached, it is time to put the box together. Using nails or screws (or glue if preferred), attach one end of your long piece of wood to one end of your short piece of wood. If you are using a lockbox, this is where you will need to figure out where you would like it to be placed.
Make sure that the hinges of your lockbox are placed on the end with the attached long piece of wood.
Step 7: Attach Plywood Interior Lining
Once you attach the top and bottom pieces of plywood, you will notice that there is a gap where you can see the box frame. You can now place the other piece of plywood you cut for this purpose on top. Be careful to line it up with the edges and screws and secure them together well, as this is where donations will be placed before being picked up by their recipients.
Step 8: Build Internal Slide Shelf
You can use whatever material you would like for this (including plywood) but make sure that the height will be enough to hold the bottom of packages high enough off the ground so that they cannot be easily stolen if people are allowed to place their own packages inside. Finally, attach the shelf to the box frame.
Step 9: Mount Upper Door Hinge
This is where you will need to figure out where the door for your drop-off box will be. You can attach it by screwing in hinges with screws or nails into the side of wherever you decide to place your door and then attaching a chain (or something equivalent) through the hinges to keep it closed.
Remember to measure and ensure that the door you are building will open without being obstructed by any other part of your package drop-box.
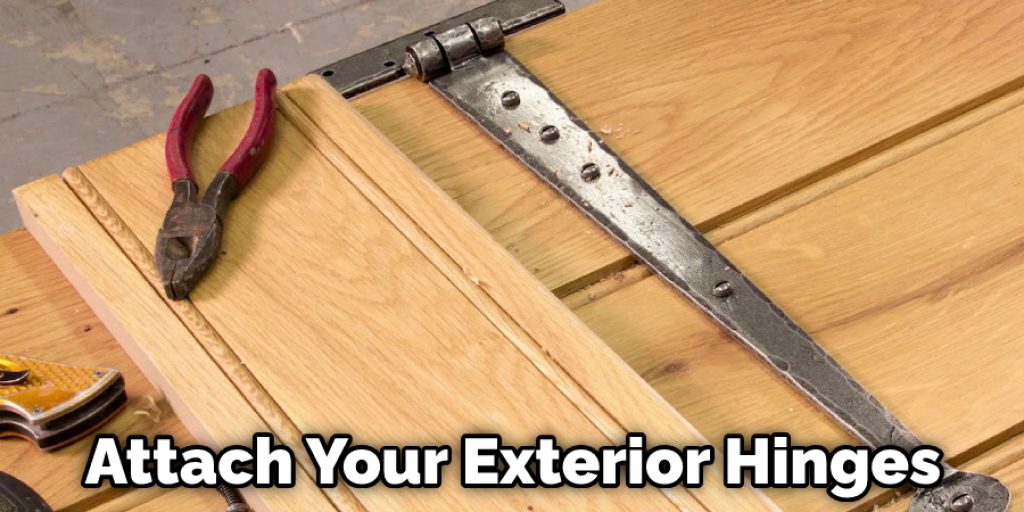
Step 10: Put Everything Together
Now that your box is put together, the last step is to attach your exterior hinges and door latch to secure it in place. Again, you can use nails or screws for this, although you may also be able to use adhesive. You can also use a lock if you know how to or want to and if the box will be used in a high-traffic area where packages may need extra protection from theft.
That’s it! Your package drop-box is ready for use. All that is left to do now is set it up in the chosen location and fill it with donated items or parcels that need to be sent. You can attach a sign, if you want, asking for donations of goods and money to cover the cost of shipping these boxes to their destinations.
Conclusion
If you are looking for a way to deter package thieves, dropbox is an affordable and easy option. In addition, the drop boxes can be customized with your company’s logo or branding colors so that it matches any building exterior. Dropboxes also has an anti-theft design which includes steel locking clamps at each corner of the top panel.
This prevents tampering with people who would like to steal packages they don’t pay for! We hope this blog post on how to make a package drop box has been helpful for you. If you have any questions about this topic or want to know more, then feel free to comment below!