How to Make an Oil Burner Pipe
The oil burner pipe is an essential part of your home heating system. It provides heat to the rest of your house, and it also improves the efficiency of your furnace by acting as a draft inducer. You can make one for yourself using items you may already have at home! This blog post will walk you through the steps involved in how to make an oil burner pipe.
Making an oil burner pipe is a relatively simple process that can be completed in a few hours. The first step is to find the right size piece of copper tubing, typically ranging from 3/8-inch to 1-inch in diameter. Copper tubing should not have any holes or kinks as it will affect the flow of smoke and cause clogs.
Summary: Making an oil burner pipe is a fun and easy project that can be done with just a few simple supplies. All you need is a piece of metal pipe, some oil, and a match. First, cut the metal pipe to the desired length. Next, heat up the oil until it is hot but not burning. Then, pour the oil into the metal pipe, light the match, and watch the oil burn!
10 Ways on How to Make an Oil Burner Pipe
1. Apply a Thin Coat of Oil
You can use a thin coat of oil on the inside of the bowl to help the burner pipework more efficiently. Make sure to use a heat-resistant oil, such as olive oil, sunflower oil, grape seed oil, or safflower oil.
2. Use a Pipe Cleaner
Before applying the oil, use a pipe cleaner to clean out the bowl of the burner pipe. This will help the burner work more efficiently and prevent any leftover residue from interfering with the oil’s taste.
3. Leave a Gap at the Top
A small gap at the top of the bowl will allow excess heat to escape, resulting in more even heating and, therefore, less risk of breaking the glassware. In addition, this method prevents you from using a lot of excess flame during your experiment.

4. Use a Collar
You can use a collar to elevate the burner pipe and bowl off the work surface. This will help dissipate excess heat and prevent any damage to your work surface.
5. Apply Heat-resistant Paint
A layer of heat-resistant paint, such as enamel or ceramic, can be applied to the exterior of the pipe bowl. This will prevent it from becoming too hot during use.
6. Apply Heat-resistant Rubber Grips
Heat-resistant rubber grips can be also be attached to the exterior of the burner pipework, preventing burns if you touch it by accident or while moving it around your work surface. These are especially helpful if you are using a glass bowl.
7. Use a Wire Mesh Screen
A wire mesh screen can be placed on the top of the burner pipe to protect the flame from objects that may fall into it accidentally. This also helps to ensure that the flame is directed upwards towards the bowl.
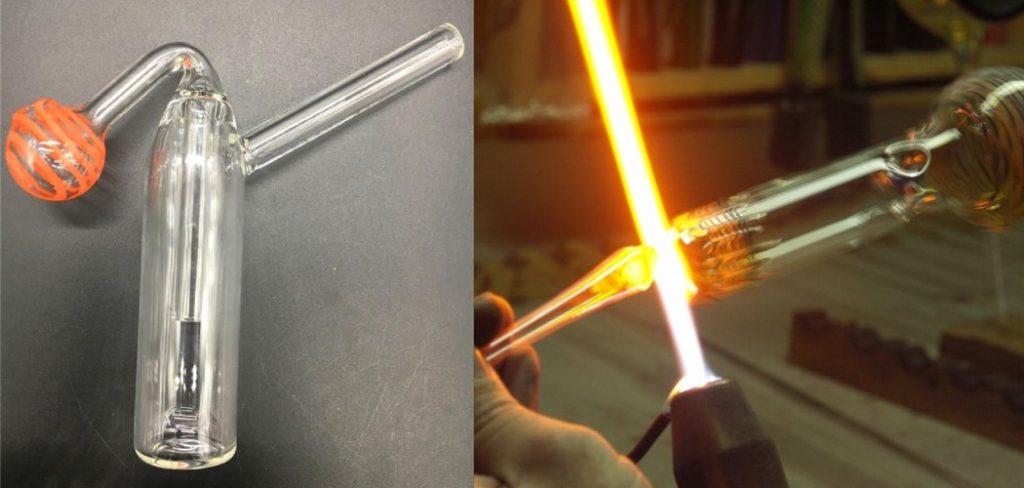
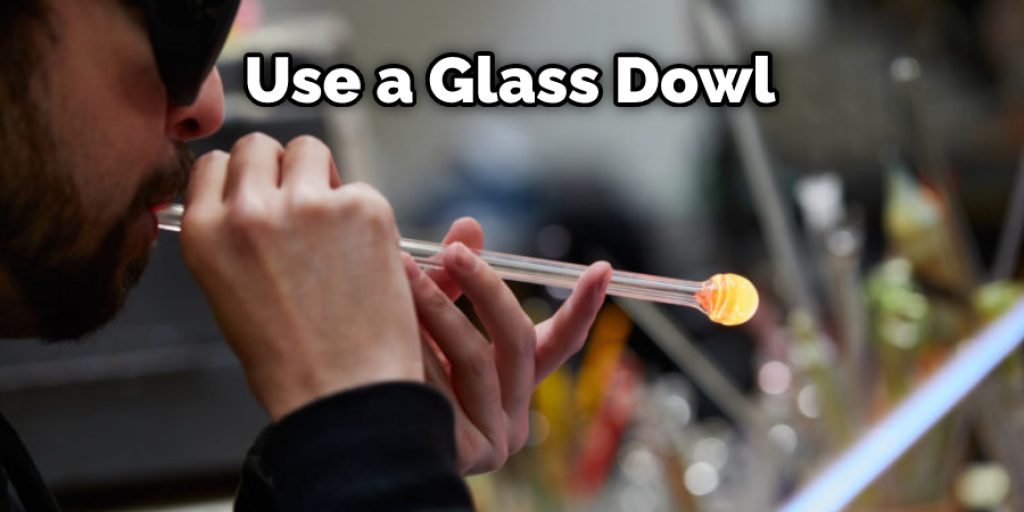
8. Use a Glass Dowl
A glass bowl can be used as the burner pipe’s bowl instead of a metal one. This will help protect the flame from being blown out by any gusts of wind and look more aesthetically pleasing.
9. Use a Metal Dowl
A metal bowl can be used as the burner pipe’s bowl instead of a glass one. This will allow you to see if any particles have been left behind from cleaning, allowing for more efficient heating.
10. Use a Fume Extractor
A fume extractor can be attached to the top of the burner pipe to extract any unpleasant fumes released during use. This is an essential step if you use essential oils, as they can be quite potent.
You Can Check It Out to Stop Oil Burning
Step by Step Guide: How to Make an Oil Burner Pipe
Step 1
Collect your materials. To make an oil burner pipe, you will need a few essential items. These include a metal pipe (any size or shape will do), a drill, an oil can, and some wire.
Step 2
Drill a hole in the metal pipe. This will be the top of your oil burner pipe. The size and placement of the hole are up to you, but make sure it is large enough to fit the end of your oil can.
Step 3
Drill a hole in the side of your oil can. Make this hole as close to the bottom of the can as possible, but make sure it is still high enough that you can fill it with oil.

Step 4
Insert wire through both holes until they meet. Twist them together so they will not be separated, and tie additional wire around them to keep them together.
Step 5
Fill the oil can with oil and place it on the metal pipe. The hole in the can should be facing up.
Step 6
Light the oil burner pipe by lighting the wick of the oil can. This will slowly heat the metal pipe, which will, in turn, burn your incense.
Tips for Using Your Oil Burner Pipe
1. Be careful when lighting the oil burner pipe. Ensure the area is clear of flammable materials and do not leave it unattended.
2. If the hole in your oil can becomes clogged, you can use a needle to clear it. First, insert the needle into the hole and gently move it around until the blockage is cleared.
3. If oil accumulates at the bottom of your oil burner pipe, you can wipe it away with a piece of tissue paper or cotton wool. This may be necessary after repeated uses or if there’s too much oil in the burner pipe.
4. If you have an extra cloth, you can use it to clean your oil burner pipe when required. First, soak a piece of tissue paper or cotton wool in oil and rub it around the top part of the glass bowl (the part that holds the oil). Once you’re done, wipe away any excess oil with clean tissue paper or cotton wool.
5. If you have a piece of cloth, you can use it to wipe away the ash from your oil burner pipe after every use.
6. You can add scented oils when using your oil burner pipe if you want your room to smell nice! Just add a few drops of your favorite scented oil into the glass bowl of your oil burner pipe.
7. You can remove some water from your oil burner pipe by blowing air through it. Just put one end on your mouth and blow until you’ve removed some of the water (you should only do this when there’s not much water in the oil burner pipe).
You Can Check It Out to: Use an Oil Burner Pipe
Things to Consider When Making an Oil Burner Pipe
1. The larger the mouth/opening of your oil burner pipe is, the more smoke will be produced.
2. The longer your oil burner pipe is, the further away you can stand while inhaling the product.
3. Consider what material to use for your oil burner pipe stem (i.e., metal or plastic). Metal is preferable because it is more robust and will not melt as quickly under high heat.
4. The bowl size on your oil burner pipe should be larger than most other pipes you would use with plant substances because this allows for a longer vaporization time.
5. Oil burner pipes are most efficient when used with a dome screen or similar product. This will allow you to ‘smoke’ your favorite products more efficiently.
6. Oil burner pipes are used with plant substances and can be used with other forms of smoking material. For example, some people prefer to use an oil burner pipe rather than a bong because it is easier to maintain the temperature of the product rather than depending on a lighter with a bong.
What Kind of Pipe Do I Need to Make an Oil Burner?
To make an oil burner pipe, you will need a pipe capable of fitting oil in the bowl and burning it. The most common type of tobacco smoking pipe is made to fit tobacco inside, whereas this project requires an entirely different kind of pipe, which either has a detachable stem or can be used without one.
An oil burner-type pipe commonly has a small bowl that acts as a chamber to hold the oil. The stem is not used in this pipe to be removed or left off entirely. Instead, the stem is typically inserted into the pipe bowl to hold it and make it easier to smoke.
You Can Check It Out to: Use a Glass Oil Burner
Conclusion
To make an oil burner pipe, you will need the following supplies. An old copper or stainless steel pot is 2-3 inches deep and has a rimmed top for easy pouring off of liquid. A roll of vinyl is cut into 16-inch lengths with one side sticky to create a seal around the edge of your pot.
Fabric scrap material to use as wick strips about 3/4 inch wide by one foot long used in place of cotton string if desired because the fabric can be more accessible to light due to its inherent flammable properties.
We hope you have found this article on how to make an oil burner pipe informative and helpful. Remember, if you are looking for more information about the various ways of making a DIY oil burner or want some help with your project, be sure to contact us!