How to Make Louver Doors
Are you looking for a way to add a unique and modern touch to your home? Look no further than making louver doors! Louver doors are an easy and affordable way to update any room in your home.
If you are looking for a great way to both cover and decorate an item or piece of furniture, look no further than louver doors! Louver doors have been used throughout the years as covers for closets, pantries, and other household items.
Not only do they give off an attractive visual appeal, but their design allows plenty of ventilation, making them functional in multiple settings. In this blog post, we will delve into the basics of how to make your own louver doors quickly and easily with some everyday tools that most people already have around their homes. So let’s get started by outlining how to make louver doors!
What are the Benefits of Making Louver Doors?
The biggest benefit of making louver doors is that they look great and can be used inside and outside your home. Not only do louver doors look great, but they are also inexpensive to make and require minimal tools or skills to complete the project.
Additionally, while they can be made in any size or shape you need, making them yourself allows you to customize how many louvers your door has and how wide apart each slat is placed. By customizing this aspect of your door, you can help regulate how much ventilation and light passes through it.
What Materials Do You Need?
The materials you will need for this project are fairly basic and most likely already have in your home:
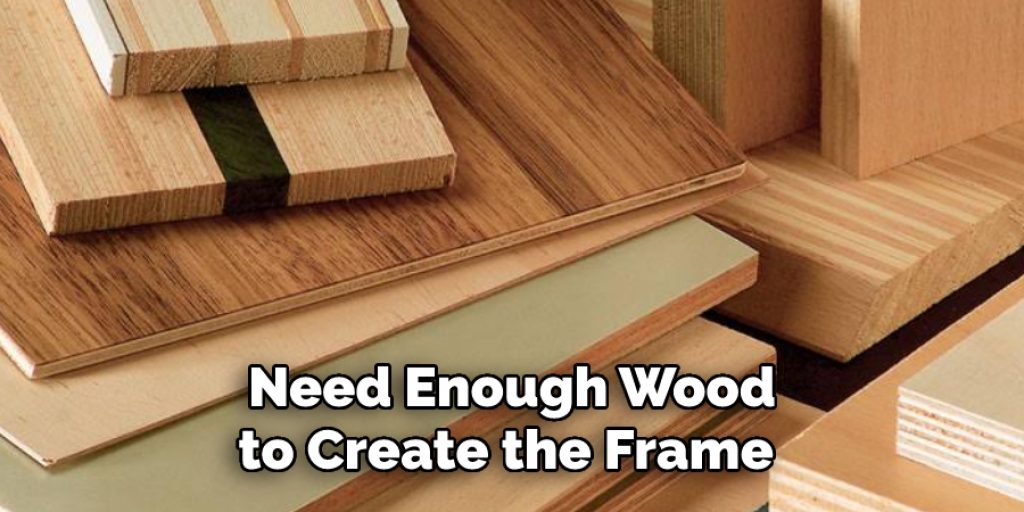
1. Wood: You will need enough wood to create the frame of the door as well as the louvers themselves. Be sure to pick sturdy wood in order to ensure your door lasts for years to come.
2. Nails/Screws: You will need nails or screws in order to attach the louvers and frame together.
3. Saw: A saw is necessary in order to cut the pieces of wood down into their desired shapes and sizes
4. Sandpaper: This is an optional step, but it’s recommended that you sand down the edges of your door for a more polished look
5. Paint/Stain: Depending on how you want to finish your louver doors, you may want to use either paint or stain as a finishing touch
Now that you have gathered all of your materials, you are ready to get started on how to make louver doors!
10 Easy Steps on How to Make Louver Doors
Step 1. Measure and Mark Out the Size
Measure and mark out how large you want your louver door to be. You can make it as large or as small as you like. Just be sure to keep the measurements accurate. Use a ruler and a pencil to mark off the size of your door on the wood.
Step 2. Cut Out Your Wood
Using the measurements you marked off in Step 1, start cutting out your pieces of wood. Be sure to use a saw for this step and make sure that each piece is cut accurately. Don’t forget to cut out the pieces for your louvers as well!
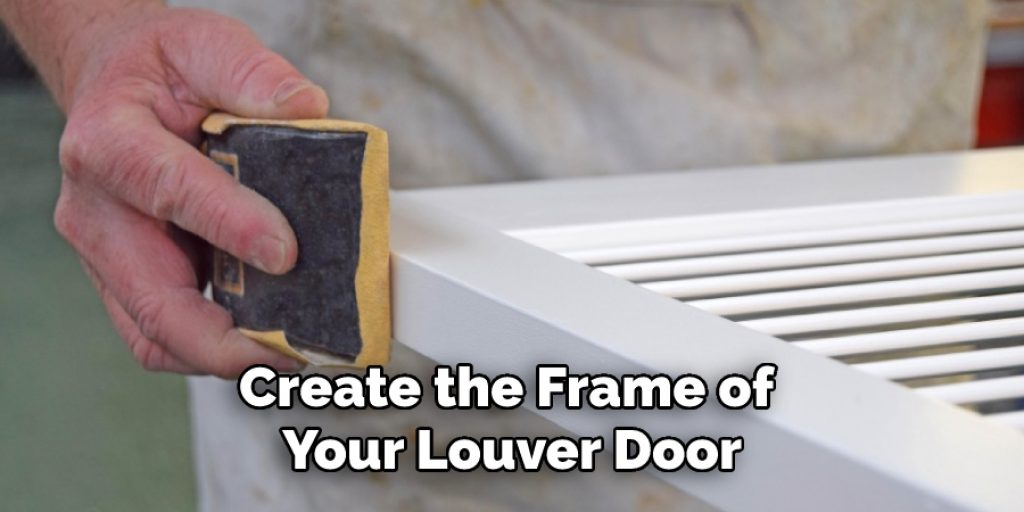
Step 3. Create Your Frame
Now it’s time to create the frame of your louver door. Take the four pieces of wood you cut out in Step 2 and assemble them into a rectangular or square shape using either nails or screws. Make sure that each corner is securely fastened together before moving on to the next step. You can use a level here to ensure the frame is even.
Step 4. Cut Out Your Louvers
Using the same technique as Step 2, measure and mark how many louvers you want on your door, then cut them out with a saw according to these measurements. There should be one louver for each slat you want in your door. If you want more slats, cut out extra pieces.
Step 5. Attach the Louvers
Now that you have all of your pieces cut out, it’s time to start attaching them together! Start by attaching the louvers to the frame using either nails or screws. Make sure each louver is securely fastened before moving on to the next one.
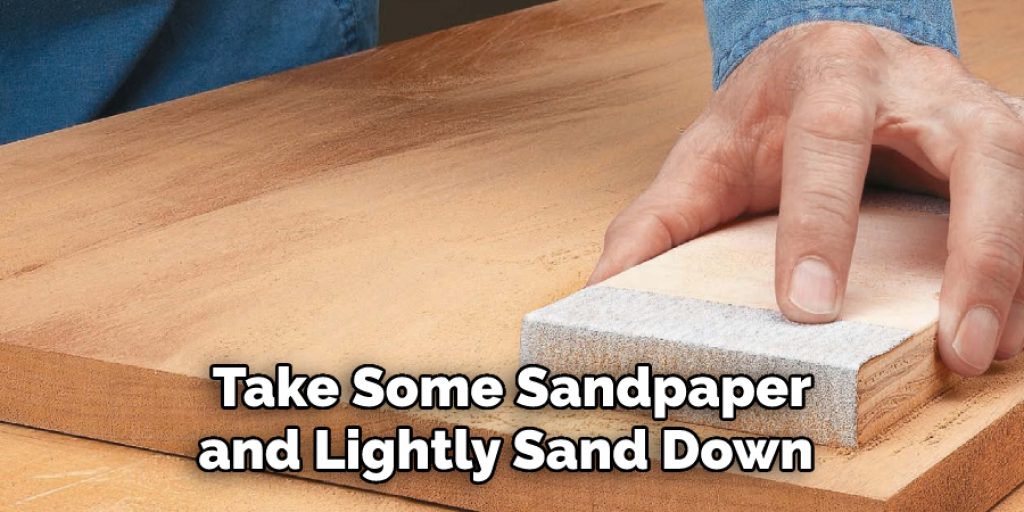
Step 6. Sand Your Door
For a more polished look, take some sandpaper and lightly sand down any rough edges on your door. This step is optional but recommended if you want a professional finish to your louver doors. Additional sanding may also be necessary if there are any uneven spots.
Step 7. Add Finishing Touches:
You can add finishing touches such as handles or hinges in order to make opening and closing your louver doors easier. Add whatever you feel will make your door look better or more functional. It will also be helpful to seal off any gaps around your door’s frame with caulk or foam to prevent any drafts.
Step 8. Paint or Stain
If you are looking for a more decorative look, consider painting or staining your louver door. This step is optional but can help add an extra layer of style and protection to your project. Be careful when using paint or stain as some materials may not be compatible with certain types of wood.
Step 9. Hang Your Door
The final step in making louver doors is to hang them up! If you have added handles and hinges, it should be fairly easy to install your door inside or outside your home. Ensure that the frame is securely attached to the wall before closing the door.
Step 10. Enjoy the Results
The last step is simply to enjoy the results of all of your hard work! Louver doors are a great way to add some unique style and flair to any room in your house. Remember to take care of your louver doors and clean them regularly in order to keep them looking their best.
By following these steps, you can easily learn to make louver doors in no time! Just remember to take your time and be careful when working with wood and tools. With the right materials and a little bit of patience, you can quickly transform any room into something special.

5 Additional Tips and Tricks
- If you’re making a louver door that swings open and shut, make sure you build the door so it opens outward. The louvers should be placed so that the wider side of them (the side with the most slats) faces outward.
- Always use high-quality screws when affixing louvers to a door frame or other surface. You want your louver door to last, so make sure you are using screws that won’t rust or corrode over time.
- Before you attach any individual louvers, be sure to measure how wide each piece needs to be based on how far apart they’ll be spaced out in the finished product. This will ensure your louver door is even and aesthetically pleasing when it’s complete.
- When cutting the pieces of wood for your louver door, don’t just measure how long they need to be; also measure how thick each piece should be. Louver doors require precise measurements to look their best and function properly.
- If you’re using paint or a stain on your louver door, ensure it’s completely dry before attaching any louvers. This will ensure that no paint or stain bleeds onto the slats, making them unsightly and potentially damaging them over time due to dripping wet paint or staining.
These last few steps are necessary for a successful louver door project, so don’t forget them! With these tips in mind, you’ll be well on your way to creating the perfect louver door for your home or business.
5 Things You Should Avoid
1. Avoid using poor quality wood: When creating a louver door, it’s important to use high-quality wood that won’t warp or crack over time. Low-quality wood may seem cheaper in the short term, but it will not last nearly as long as better quality materials.
2. Avoid Using Nails Instead of Screws: While some projects may call for the use of nails instead of screws, this isn’t ideal when working with louvers. Nails can come loose and damage your wood over time, so always opt for screws whenever possible.
3. Avoid Cutting Corners on Measurements: As mentioned above, louver doors require precise measurements in order to look and function properly. Don’t try to cut corners by eyeballing how wide each piece should be or how far apart they should be spaced.
4. Avoid Using the Wrong Type of Paint or Stain: Not all types of paint and stains are compatible with different types of wood. Be sure to research which type is best for your project before painting or staining your louver door.
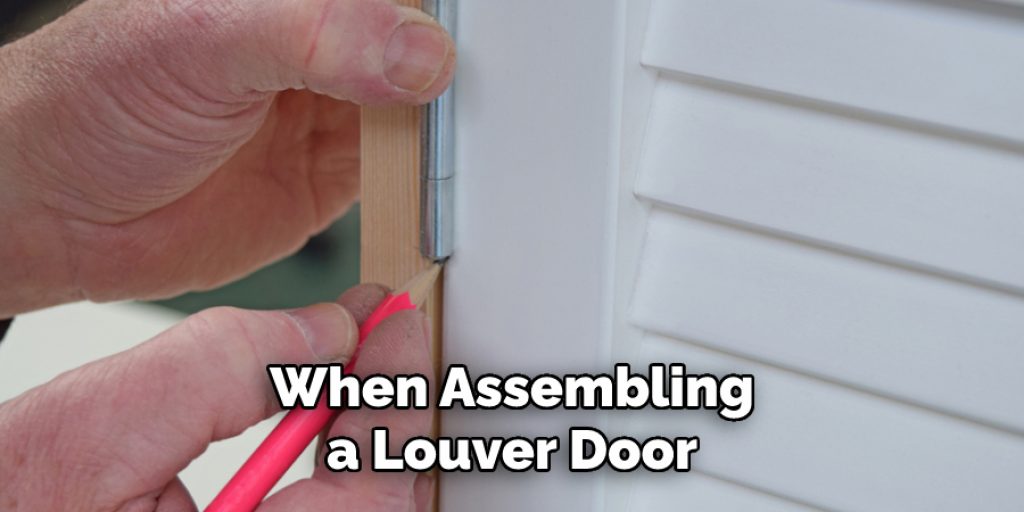
5. Avoid Leaving Unfinished Edges on Exposed Pieces: When assembling a louver door, it’s important to make sure that all exposed edges are sanded down and finished properly. This will ensure that no splinters or rough spots will be left behind once the door is put in place.
By avoiding these common mistakes when making a louver door, you can ensure that your project turns out great! Just remember to take your time, measure accurately, and use only the highest quality materials.
How Do You Cut a Louver Door?
- Measure and mark the spots where you will cut the door. Make sure these measurements are accurate, as this will ensure a straight line when cutting.
- Use a circular saw or jigsaw to make the cuts in the designated places. When using either of these tools, be sure to wear safety glasses and gloves for protection.
- Sand down any rough edges that may appear on the cut-out in order to create a smooth finish. This step is also important for achieving an even look throughout your louver door design.
- Finally, use wood glue and nails or screws to attach all pieces together and complete the louver door assembly! Be sure not to use too much glue or nails/screws, as this can weaken the overall strength of the door.
Following these steps will help ensure a successful louver door project that is sure to last for years!
What Material is Best for a Louver Door?
When choosing a material for a louver door, selecting a strong and durable one is important. For this reason, many people prefer to use solid hardwood such as oak or cherry. These materials are sturdy and look great when stained and finished!
Another option is to use engineered wood such as MDF or HDF boards. These materials are lighter in weight than solid woods and often come pre-finished, making them easier and faster to install.
No matter which type of material you choose, just be sure it is high quality so that your louver door will last for years!
Do Louvered Doors Allow Air Flow?
Yes, louver doors are designed to allow airflow. The louvers can be adjusted to control how much air passes through as the door is opened and closed. This makes them ideal for rooms that require ventilation, such as kitchens or bathrooms.
For maximum airflow, you should consider installing louvered closet doors instead of traditional hinged doors. These provide more space for airflow and will help keep your home cool during warm summer months!

The bottom line is that louver doors are a great option if you need ventilation in certain parts of your home. They are stylish, practical, and easy to install!
Conclusion
To sum it up, making louver doors is a great DIY activity that can spruce up any home. They will provide you with aesthetic benefits and are also quite functional since louvers allow more air flow to enter and exit the room. The best part of making those louver doors is that it isn’t too difficult – it just requires some time and patience.
Your effort will add more visual appeal to your home and make for a fantastic conversation piece. So if you’ve been looking for an enjoyable weekend project, constructing louver doors could be a great choice for you!
Hopefully, the article on how to make louver doors has been informative and helpful. Good luck with your project!
Angela Ervin
Angela is the executive editor of DIY quickly. She began her career as an interior designer before applying her strategic and creative passion to lifestyle and home. She has close to 15 years of experience in creative writing and online content strategy for housekeeping, home decorations as well as other niche efforts. She loves her job and has the privilege of working with an extraordinary team. She lives with her husband, two sons, and daughter in Petersburg. When she's not busy working she spent time with her family.