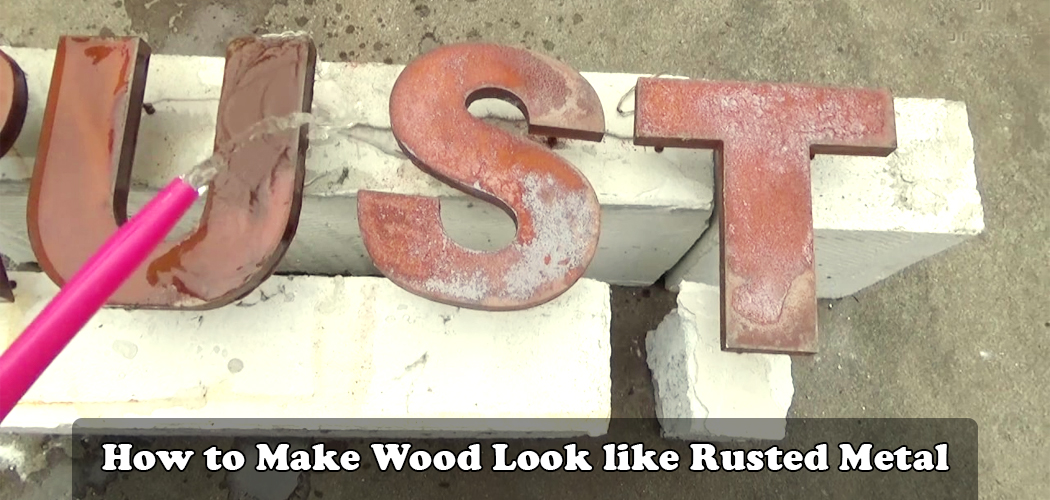
How to Make Wood Look like Rusted Metal
Many of us are in design, and we always want to decorate our house with unique and artistic objects. The people who are into artworks are more in favor of playing with colors. They like to experiment with different shades and try to bring out their desired outcome from these experiments. Sometimes there is a need for the rusty look in your interior when you plan to give an underwater vibe. This can be quickly done using some basic techniques.
The underwater vibe means to make all the surrounding objects look a bit rusty. When you design the interior of a restaurant where the theme is underwater or shipwreck, then the rusty look no, the decoration is a must. This look can be easily obtained by experimenting with chemicals, but we assure you that it will take much of your time, which can be cumbersome. But we can be off much help in this regard.
Today we are going to suggest some techniques on how to make wood look like rusted metal. This is much easy because we have shortlisted the most natural methods for you. Following the suggested procedures, you can quickly get hold of such texture on the wood, and we assure you that the quality of the wood will not deteriorate. Instead, the technique’s application will make it much more reliable in terms of quality and aesthetic value.
But before we jump to the description of these techniques, we want you to note that professionals verify these processes, so you should always be careful while performing the procedures. It is better to take help of the professionals when you are performing it for the first time. It would be best if you considered the necessary precautions as painting includes exposure to chemicals that are harmful to health. After checking all these aspects, you can quickly get into the job.
Procedure
Many techniques are used to make the wood look like rusted metal. All of these processes are much important and have their distinguishing characteristics. But for your better convenience, we have shortlisted some essential techniques that will be much beneficial and easy to perform. These techniques are much comfortable to implement, and the DIY skills will be much improved. These methods are stated below with proper explanation.
Patina Coating Method
Step One
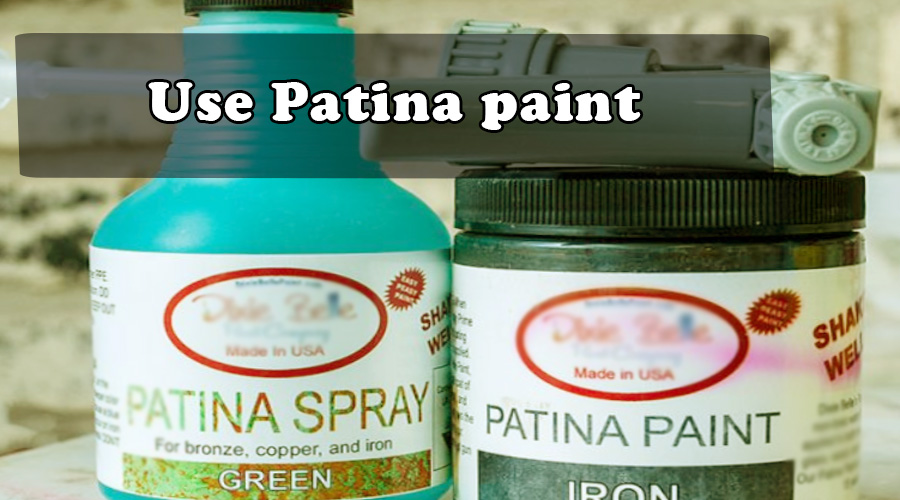
This process depends on the use of a special kind of paint, known as the Patina paint. This paint is used along with the same company spray for giving a pure rust coat on the wood. The quality of the wood is not degraded by using this paint; instead, the aesthetic value of the product will be increased manifold. This paint is also suitable for making a rust coat on the glass materials.
Step Two
The first thing you have to do is collect all the necessary materials for the process. You will need a paintbrush, and it is better to keep more than one paintbrush because you will need to apply more than one color coating to the wood, next you need to have at least three color coats. All of them will be from Dixie Bell Patina paints, and you will need to have one brown color shade, then you will need a black color shade, at last, you will need a clear coat of the same company, there is also the requirement of spray coating that will be used for the rusting effect.
Step Three
Now you have to take the piece of wood and then cut it according to the shape that you want, next you have to clean the wood properly, there are no specifications on the type of wood that you want to use, but it is better that you take cardboard for experimental purposes after you have accomplished the task you can smoothly go for higher range woods. After the wood is properly seasoned and prepared, you should go for the next step of the painting.
Step Four
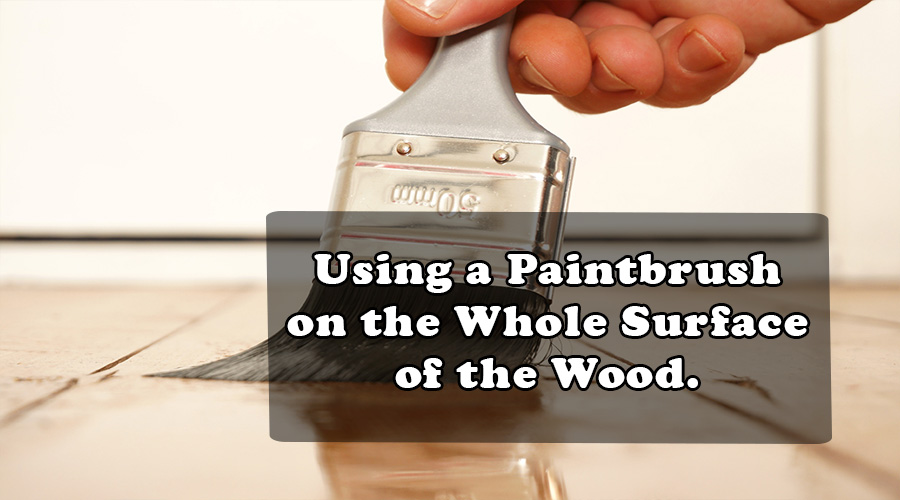
In this step, you have to start painting the wood, take the dark brown shade of the Patina paint, and open it. There is explicit instruction that you have to shake the paint bottle before opening, and this is done because sedimentation occurs inside the container. The shaking will make the sedimentation process cease to exist, and the paint will become available for the proper application. Next, you have to apply the paint using a paintbrush on the whole surface of the wood.
Step Five
Next, you have to let the paint dry for a significant amount of time after this coating has dried, you have to take the next layer of black color. But before that, you have to remember there should always be only one coat of the dark brown paint on the wood. Now open the black color paint after shaking it properly and using a paintbrush in the same manner you should apply the coating on the wood, and this should be done gently.
Step Six
You can apply the back coating in the usual manner, or there is a unique technique that you can use for applying this coating. At first, you have to give the proper black surface using the brush then you will again take some paint in the brush and spill some paint haphazardly throughout the wood, this will look much beautiful while the paint dries up and there will be a proper rusty outlook on the wood that you crave.
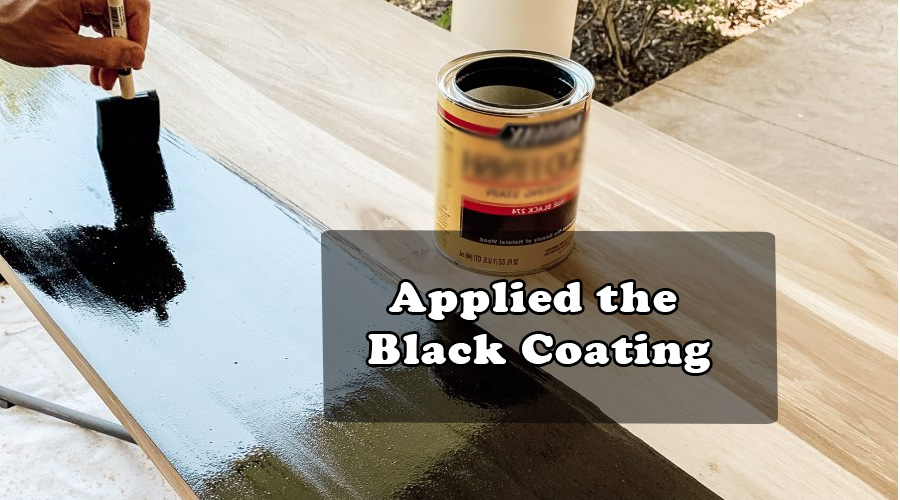
Step Seven
After you have applied the black coating, you have to take the Patina spray and use the spray on it. There is a specific procedure for using the spray, and you have to apply spray before the black coating dries up. It is better to apply both spray and paint simultaneously. This will be much help, and the process will be accelerated. In this manner, the application phase of the color on the wood is finished.
Step Eight
Now you have to apply a clear coat of Patina paint on the wood, this will help make the paint dry faster, and the clear coat will protect the paint. Next, you have to let the artwork dry for some time. This can take a couple of hours for the proper evaluation of the color. Now you have to check the paint after each hour, and you will observe that the surface will start to form a rusty texture. In this manner, as the time will pass, the rusty look will more visible on the wood.
Spray Paint Method
Step One
In this method, we are focusing on the spray paint that can be used to make your wood look rusty metal. This is done by applying certain color textures on the surface of the wood. Besides, you will need to apply some chemicals too for the proper processing of the wood. This process is much easier to perform, and the outcome of the wood will be much more aesthetic and realistic to look.
Step Two
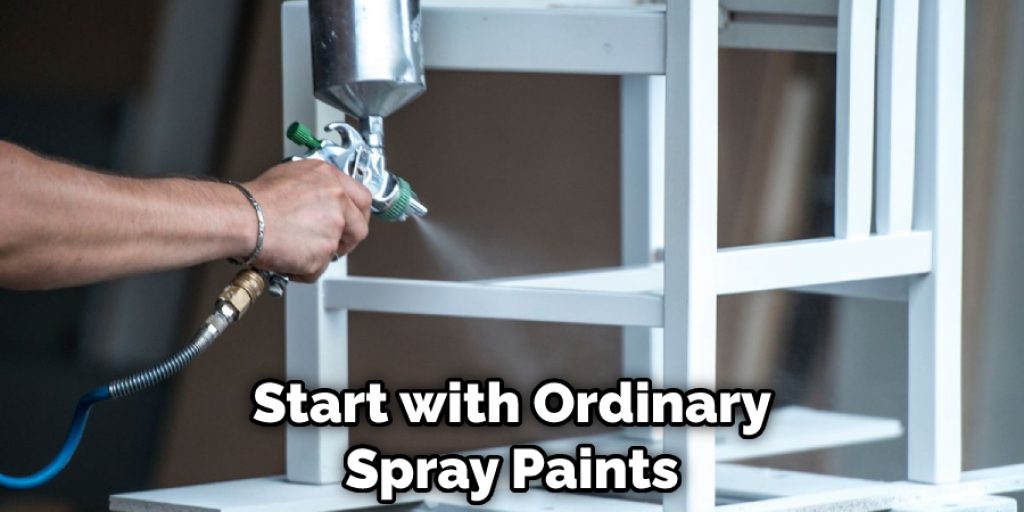
The type of color that you want to use is dependent on the work you are doing. When you are working on a professional project, then we suggest that you use professional-grade colors. For the usual indoor projects, you can quickly get hold of the non-professional colors. The professional colors are more enriched with chemicals, and for beginners, it is quite hard to handle such exposure. For this reason, we suggest that you start with ordinary spray paints for your learning purposes, which can be used for indoor purposes rather than outdoor usage.
Step Three
Before starting the work, you should always take the necessary precautions. We know that spray paints are more potent than standard colors, so you should wear required personal protective equipment. We suggest that you use gloves, goggles, and full-body protection to avoid direct exposure from the paint. This will be much helpful. Once the precautions are undertaken, we can start by mixing the colors in the spray bottle.
Step Four
Now take the wood that you want to paint and wash it properly; you do not need to use any water. Clean it with a fresh cloth. This is done because the debris attached to the surface of the wood will hinder the paint’s action, and air bubbles may be formed in some cases. So cleaning the surface before the application of the color is much necessary. This will help to accelerate pain action.
Step Five
After you have prepared the wood for painting, you should take the grey color and then pour it in the spray bottle. Then you have to shake the bottle correctly after attaching the spray head. It would be best if you were careful that there is no leakage on the jar because while painting an enormous amount of force will be generated by the spray head of any leakage might turn it to spilling go the paint outside of the bottle, which is much harmful and messy.
Step Six
After the color is thoroughly mixed inside the bottle, you have to spray the color on the surface of the wood, make sure to sprinkle evenly because uneven spraying will take more time for drying. Before applying the paint, you should always keep a piece of cloth or cardboard below the wood; this will help absorb the rest of the spray that is spilled while applying the paint. After the proper painting, you have to dry the color for some time.
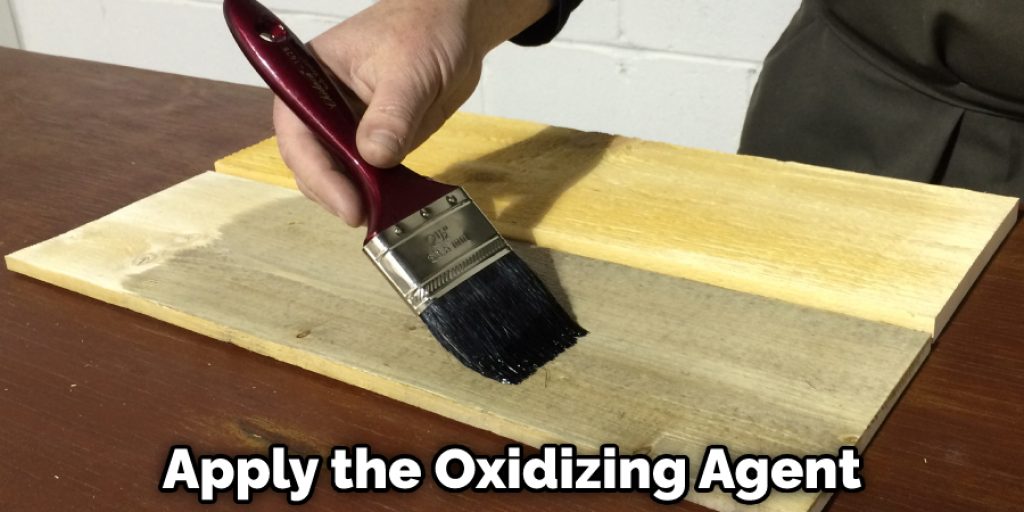
Step Seven
Now you have to apply the oxidizing agent. We know that the rust in the metal happens due to the action of oxidation, and for making our wood look like rusty metal, we should use artificial oxidation. But before that, it is much needed that the surface of the application remains entirely smooth. So we are going to use the sandpaper for this process. There is no specific grit value that you should apply for this process.
Step Eight
You have to thoroughly use the sandpaper, and then as soon as the surface gets smooth, you should apply the artificial oxidizing chemical. This is a water-based solution that is prepared in the laboratory. You have to be careful while using this chemical because the spilling of this liquid in other places will surely damage the surface. So it is better to use a spray gun and then apply the compound to the wood in an isolated area.
Step Eight
After you have applied the first coating of the oxidizing agent, you have to keep it dry. Once the layer gets dried, you will observe an accumulation of some rusty look on the wood’s surface. To make it more vigorous, you have to apply the oxidizing agent again, and in this manner, the more you will use the chemical, the rustier vibe will grow on the surface of the wood, which is much beneficial.
Step Nine
After you have obtained your desired level of oxidation on the wood’s surface, you have to wash it with water. This is done because the remainder of the chemical can affect the surrounding objects. For this reason, you have to take clean potable water and then wash the wood with it, and it is better if you perform this process in your backyard or outside your house. In this manner, your wood will have a decent look as well as a harm-free surface.
Step Ten
This is the last step of this process, till now you have already obtained the desired rusty look in your wood, but there is still a process left. Now you have to apply the rust blocker chemical on the surface. This is necessary because the even after washing with clean water, the effect of the oxidizing agent may remain, so the application of this chemical will be much practical, once you have applied the compound let the wood dry for some time and then clean it with fresh cloth and your wood is ready for display.
Conclusion
In conclusion, we would like to state that the techniques we have mentioned here to make your wood look like rusty metal will be beneficial. You can choose the method that will be more suitable for your working environment. These processes will make you much intrigued, and the learner’s skill development will be much accomplished. The beginners can easily apply these techniques and get an artistic output. Thank you for your patience! Happy crafting! Have a beautiful day!!
Check it out to learn to make pvc look like metal.