How to Modify a Pencil Torch
The Pencil Torch is a popular DIY project that you can make with just a few extra supplies. It’s an easy, fun way to add some flair to your home decor, and it’s perfect for Halloween or any other spooky occasion.
Though it seems to be fairly simple, some modifications can make the pencil torch even more useful. This article will discuss how to modify a pencil torch, which can be used for soldering and thawing. So read this full blog post to know how to do so.
What is The Use of a Pencil Torch?
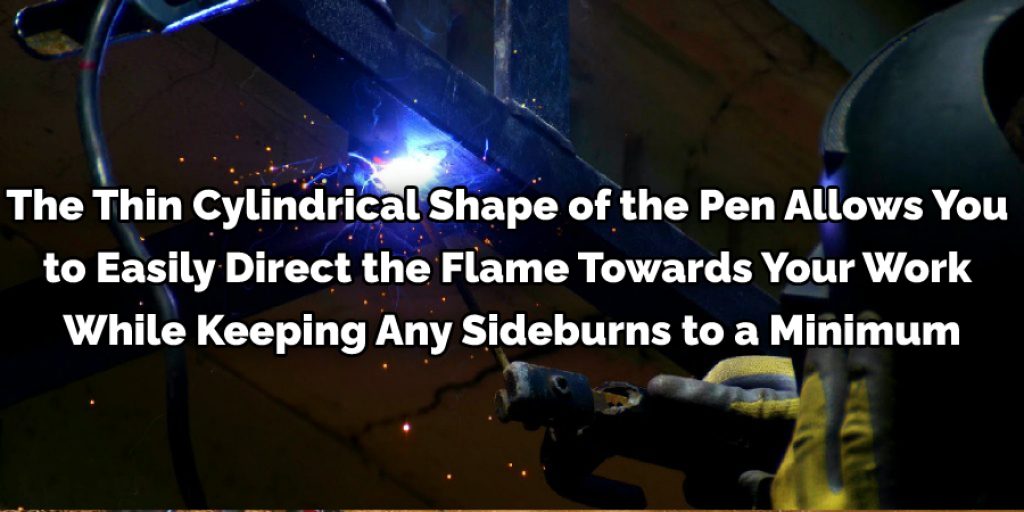
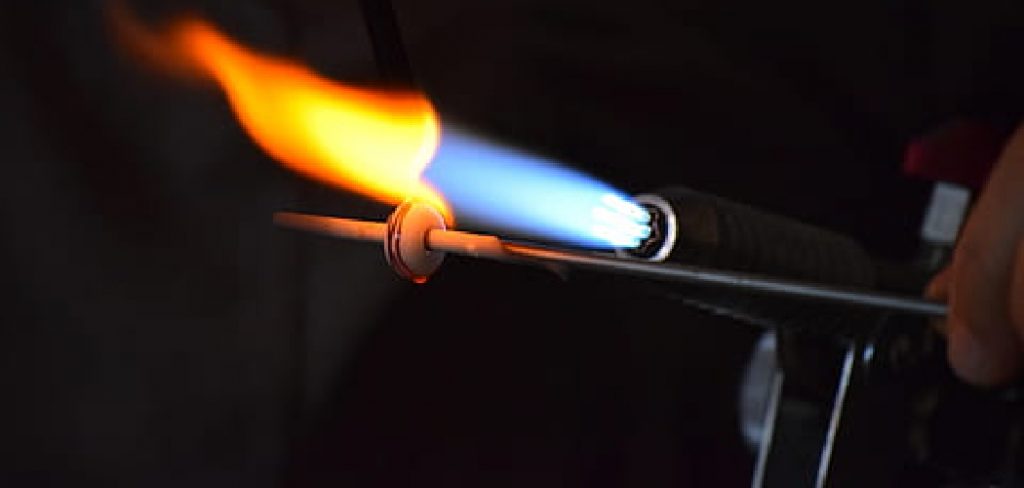
A pencil torch is a portable propane or butane flame. The thin cylindrical shape of the pen allows you to easily direct the flame towards your work while keeping any sideburns to a minimum.
Pencil torches are easy to use and can be carried in various toolboxes and kits, including other essentials for general maintenance and repair jobs. A pencil torch is a brilliant way to repair confined or small spaces that would otherwise be hard to get to by hand.
It’s also useful when traditional soldering tools, such as working with copper pipes, wires, and joints, are impractical. Pencil torches are easily refilled with propane or butane gas using the same methods for refill tanks.
Pencil torches can be pressurized with either a hand pump or an air compressor, which provides the user with a more consistent and steady blow of flame. A small hole is drilled into the bottom half of the cylinder, which attaches to the base valve assembly, allowing any excess air in the tank to escape.
Some Methods to Modify a Pencil Torch
1. Modify the Standard Pencil Torch
The standard pencil torch is a longer tool, which can come in handy for soldering. The modified torch will be made shorter to thaw out frozen food and melt ice on windshields. Though the process is easy to do, you’ll need some extra supplies because of its length.
2. Add a Switch to the Pencil Torch
Though you can touch the tip of the torch to get it going, it’s not very handy when your hands are wet or covered in grime. A switch makes things easier for the user and is an inexpensive way to modify a pencil torch.
3. Attach a Clip
If you’re going to be using the pencil torch in the kitchen or for smaller jobs, it may not be easy to hold while trying to thaw food or melt ice. Attaching a clip makes it easier if you want to attach it somewhere else, like on your belt loop. If not clipped, the modified torch is also easy to hold.
4. Add a Heat Protector
If you don’t already have one, using this modification can be an added layer of protection for your hands and arms. In addition, it makes the tool safer to use since it’s often placed on surfaces that are hot or near a fire. This is also useful when working with thinner plastics like vinyl or copper sheets.
5. Add a Handle
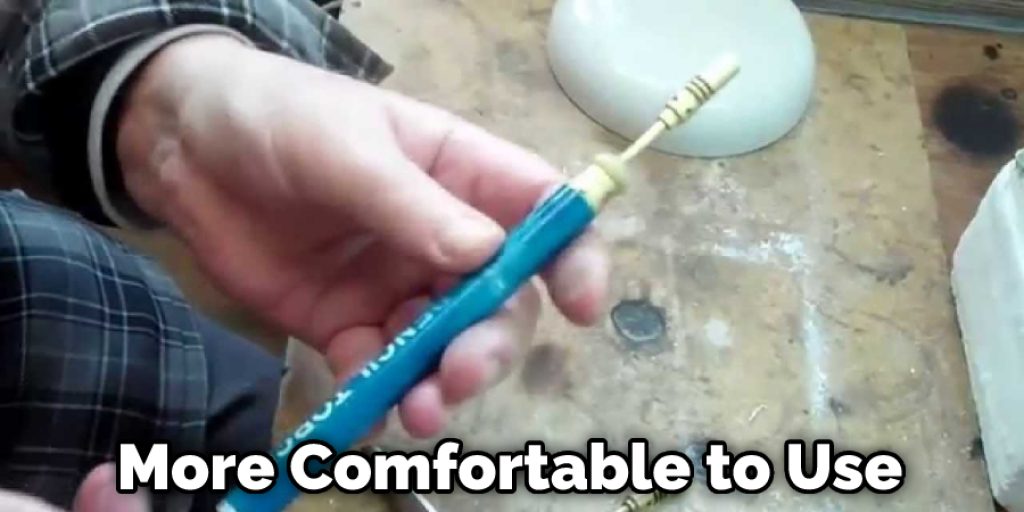
The modified pencil torch would be more comfortable to use if it had a handle for the user to hold as it’s easier and less tiring than holding it at the end. If you don’t want to risk damaging the plastic or extending its life, consider adding some padding to the top of the handle.
6. Attach a Lid to Heat Protectant
This modification is useful if you’re melting anything with hot metal, like solder or lead. The cap can be attached to the heat protector, so it won’t fly off and burn your hand when it’s placed on surfaces. This is also useful to prolong the heat-protected life of the torch. Just make sure you use a good quality heat protector, though, or else it may melt from the intense heat when used with solder.
Steps To Follow: How to Modify a Pencil Torch
Step 1:
Remove a small amount of lead from one side of the eraser with pliers or knife; a minimal amount should be removed as too much will make it difficult to light later on.
Step 2:
Light the lead with a match, and allow it to burn for 1 minute or so until it has turned red. At this point, remove the flame and allow the pencil to cool down. Then, repeat for another end of the eraser (you may find some pieces have already broken off, in which case you should use those).
Step 3:
Remove the excess lead that has now become tiny pieces by sanding them with a piece of fine-grade sandpaper. Sand only one end to make it easier to light in the next step. Repeat steps for another end of the eraser.
Step 4:
Light both ends of the eraser with a match, leaving the flame for 1 minute or so until the eraser has turned red hot and is smoking. Then, remove from the heat source and allow to cool. Repeat this step once more for each end of the eraser.
Step 5:
Replace both ends with a pencil with only one piece of lead on each side (it does not matter which end has the most lead on).
Step 6:
Test your pencil torch and enjoy. It is now ready to use as a pencil, but if you want it to be easier to light, then you can do one of two things. First, you can either sand the graphite on the eraser a bit more. Hence, there is less resistance when you light it or wrap some aluminum tape around both ends to help provide an extra barrier for oxygen and/or make it easier to hold.
Can You Refill a Pencil Torch?
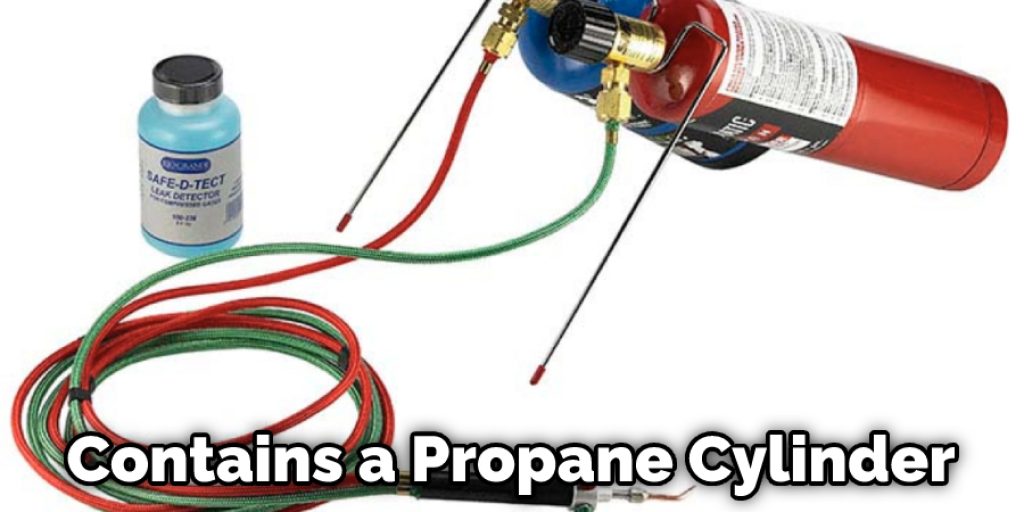
A pencil torch contains a propane cylinder that has been cut in half (like an empty plastic soda bottle). Inside the bottom tank, a narrow tube leads to the ignition source. Once the gas from the tank is ignited, it ignites a piece of fuel that sits on top of a propane burner.
A pencil torch can be refilled with two things: propane and butane. The primary difference between these two gases is their boiling point. Propane tends to have a lower boiling point than butane, so the process to refill a pencil torch is slightly different for each. However, the same refill tanks will work on both gases.
Conclusion:
A pencil torch is a great tool for artists, crafters, and anyone who needs to work in tight spaces. By modifying your own, it can be even more versatile! Here are some steps on how to modify a pencil torch.
Follow these simple instructions, and soon enough, you’ll have an instrument allowing you to sketch anywhere! If there are any other tips or tricks that you would like us to cover, please let us know in the comments below, and we will do our best to answer your question as soon as possible!
You may also read – How to Melt Aluminum Cans with a Propane Torch