How to Ship a CPU Without the Original Box
Most people would agree that online shopping has made our lives much easier in this day and age. You can buy anything you need without ever having to leave your home. However, there are a few drawbacks to this type of shopping. One of the biggest is that you can’t see or touch the product before you buy it.
This can be a problem for certain items, like CPUs. If you’re not careful, you could ship a CPU without its original box and damage it in the process. So, today we’re going to show you how to ship a CPU without the original box safely and securely. Let’s get started!
Things You’ll Need
- Paper
- Scissors
- Bubble Wrap
- Newspaper
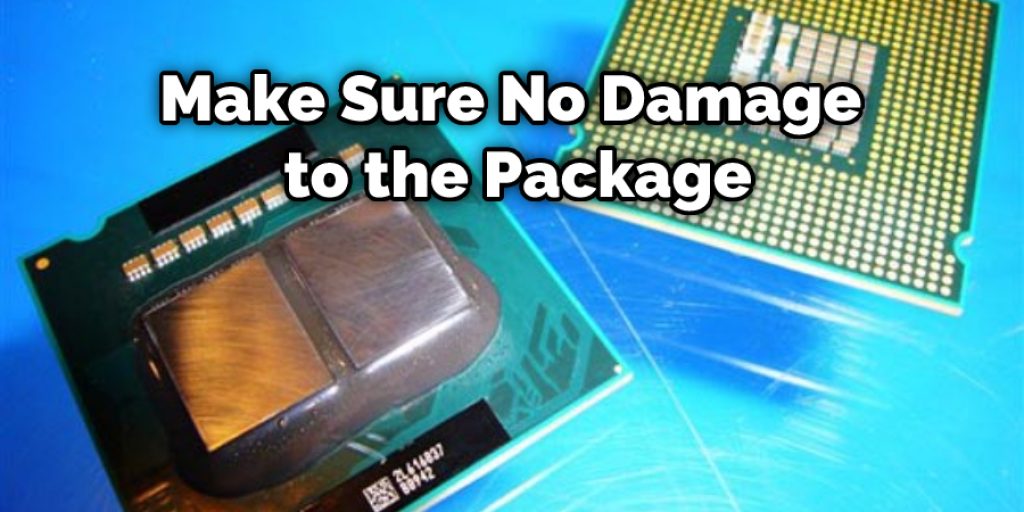
Note: The first thing you need to do is ensure that the heatsink and fan are securely fastened onto the CPU. There should be a locking lever on both sides of the CPU, and it should be in the closed position.
Step by Step Guide: How to Ship a Cpu Without the Original Box
Step 1: Clean the Cpu
The first step is to clean the computer. For an overclocked CPU market, remove your aftercooler and clean it thoroughly with a solvent meant for that task. This part is pretty self-explanatory since you are dealing with solvents, so I won’t explain much more than that.
For non-overclockers, use isopropyl alcohol (rubbing alcohol) and q-tips to clean the old thermal paste. Be very careful when you are cleaning your CPU. When you are done, you don’t want any of this stuff getting into your system or on your hands/clothes.
Step 2: Get Rid of Any Old Thermal Paste
Use your q-tips to clean any extra thermal paste off the top of the heat spreader (the thing that looks like a plate with lots of little pins coming out). You want to make sure this surface is clean and smooth for the heatsink adhesive to adhere correctly. If you are using aftermarket cooling, you do not need to remove the thermal paste before applying your adhesive.
Step 3: Clean and Prep The Heat Spreader
After removing your heat spreader (and cleaning it with solvent), you also want to make sure that it is clean and ready for gluing. If you use the method I documented earlier, you can skip this step.
Since that method requires gluing on the heatsink directly, you don’t want any extra crap to get in between your heat spreader and the heatsink (unless you are using thermal adhesive). This is why I recommend using adhesive. But, if you choose to use epoxy, make sure both surfaces are clean of any contaminants that may reduce the bond strength of the adhesive.
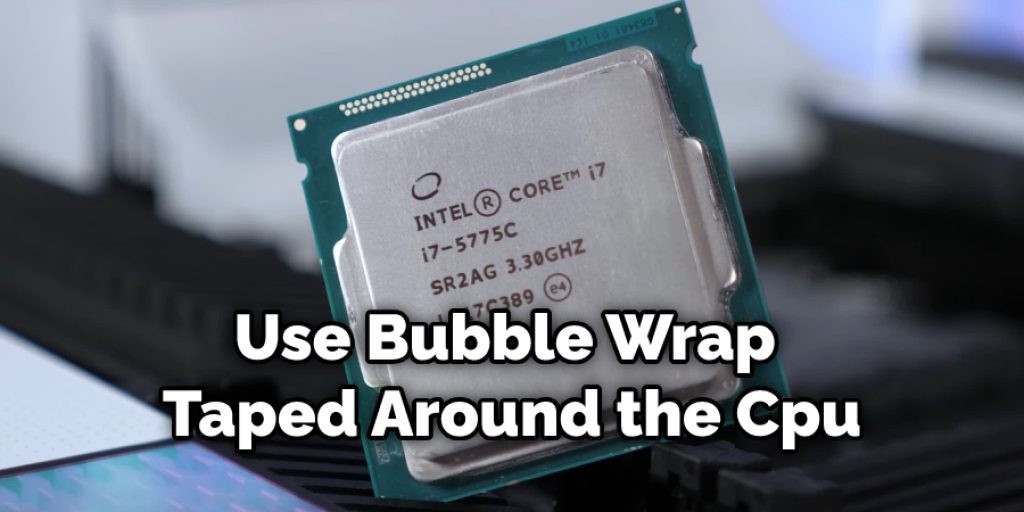
Step 4: Wrap the CPU in Bubble Wrap or Foam
This step is pretty self-explanatory. Wrap the CPU in some kind of foam to protect it from any hard objects during shipping and handling. It will hold the CPU together just fine if you get a good heatsink adhesive. This is not necessary unless you plan on throwing your box without padding around or something like that. If you do not have foam, you can use bubble wrap taped around the CPU with packing tape.
Step 5: Add Protective Filler or Cushioning Material
This step aims to keep your CPU from bumping up against the sides of the box, which can cause damage. I recommend using foam peanuts or something similar. They are cheap and work well for this task.
If you have no other alternative, use newspaper or paper towels woven into balls taped with packing tape around the CPU. Also, glue the heatsink to the CPU if you have not done that already.
Step 6: Add Padding or a Box to Your Shipping Container
At this point, everything should be ready except for your final box design. This includes padding around the CPU and filling in extra space with filler material (foam peanuts). I recommend using a box with at least 2″ of foam on all sides and 2 or 3cm thickness. This will protect your CPU from any international shipping bumps and bruises.
Step 7: Seal and Label the Box
Once you have determined your box design, it is time to seal and label your package. If you used heat-resistant tape or something else that will show up in an x-ray machine, make sure the outside of your box looks professional. I recommend using a bubble envelope to ship CPUs. You can cut off the top and tape it back on, so you won’t have to buy new shipping materials every time you send out a CPU.
Step 8: Inspect the Package
Please inspect the package, looking for any damage to it or its contents. There is a minor rip in the side of the bubble envelope I used to ship my CPUs, but it seems the tape is holding up well so far.
If you choose to go with a professional box, make sure there are no holes or dings in it. If there is any damage to the package, you should probably use another one. If it looks good, you can go ahead and ship your CPU!
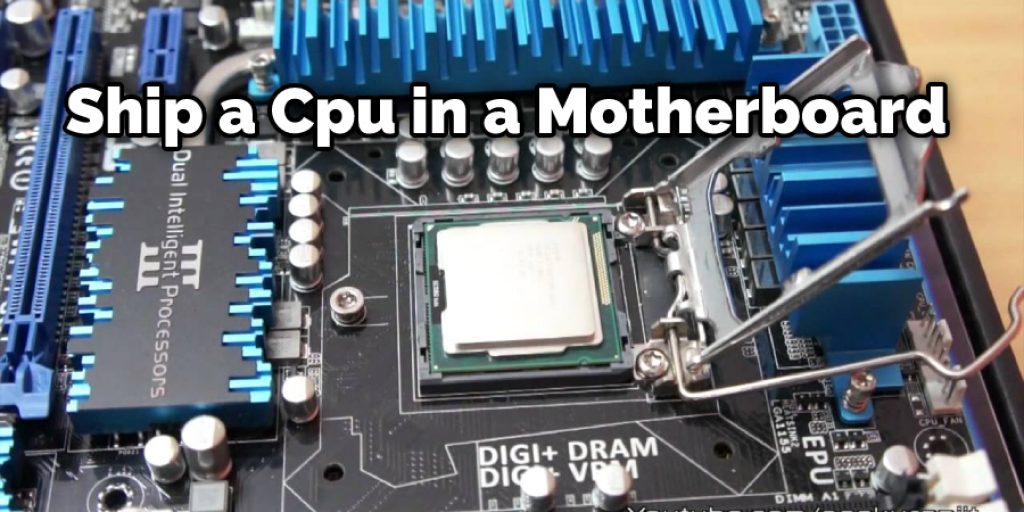
Can You Ship a Cpu in a Motherboard?
It’s possible to ship a CPU in the motherboard, but it is best not to. If you must ship a CPU in a motherboard, the motherboard must be padded. It won’t take much more than just simply dropping it on its corner without padding, and damage will most likely occur.
It is also not advised to ship a CPU in the motherboard if the CPU’s retail box is not included. Instead, it’s best practice to ship each part in its separate original container and package if possible, to avoid problems such as this one.
Conclusion
Although it is not required to ship a CPU in the original box, doing so will protect your product and ensure that it arrives at its destination in the same condition as when it left your hands. If you cannot find the original box or if you are uncomfortable shipping the product without adequate protection, take your time and use appropriate packing materials to ensure that the CPU is well-protected during transit.
If you are looking for a way to ship your CPU without the original box, there are a few different methods that you can try. Using some of these tips mentioned on how to ship a cpu without the original box, you can help ensure that your CPU arrives at its destination in the same condition as when it left. If you get stuck or have additional questions, feel free to comment below. Thanks for reading!