How to Use a Texture Hopper
If you’re a digital artist, you know the importance of textures. Textures can add realism and depth to your work, and there are tons of great textures to choose from. However, finding and using these textures can be difficult, especially if you don’t have much experience with them.
Texture hoppers are an essential part of any artist’s toolkit. They can add texture and interest to your paintings, help you create abstract backgrounds, and more. This article will show you how to use a texture hopper to create a beautiful abstract background. Let’s get started!
What Is a Texture Hopper
A texture hopper is a program that allows you to paint on digital images. Most program versions are built for pixel art, but some versions can be used to make textures for Minecraft or other games.
Many programs have different features and use different settings, which is important to understand. One of its most widely known uses is changing the colors of a texture easily. For example, this can give all your oak leaves one color.
How Does Texture Hopper Work
Texture hoppers work by splitting an image into small squares and then allowing you to fill in a portion of a square or draw on that square’s corner points. This allows you to easily and quickly change part or all of a texture.
The program reads the numbers and colors you paint and uses those to determine what color to display. This can be thought of as somewhat similar to painting with crayons: there are shades, tints, and tones that give each pixel its unique color. For example, if the number is 0, it will be displayed as black. If the number is 255, it will be displayed as white.
Why Should You Use Texture Hopper
Texture Hopper is a free, open-source color quantizer that can also interpolate between colors. It has quite a few uses and is helpful for both generating textures quickly and preparing them for use in Minecraft. A few examples of popular uses for Texture Hopper are:
- Generating tileable textures.
- Reducing the number of colors in a texture to save file size or improve performance on low-end devices.
- Altering textures without having to open them up in an image editor and saving them again, potentially losing valuable information.
- Change the colors of a texture within Minecraft without losing quality by using a gradient that goes from white to whatever color you want.
- If you’re using publicly released textures and want to change them, if the original author uses Texture Hopper for their textures, you can use the same program they did without any trouble!
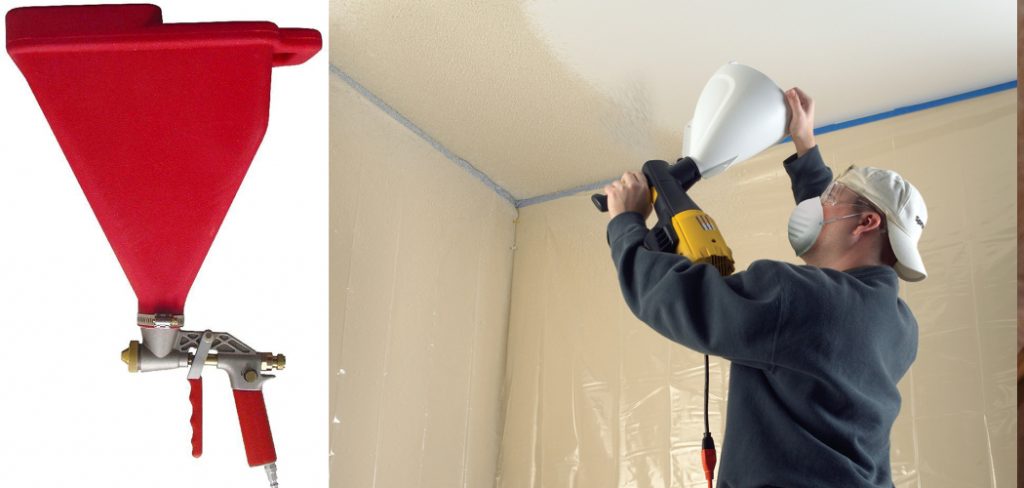
Step by Step Guide: How to Use a Texture Hopper Gun
Step 1: Insert Hank Into the Hopper
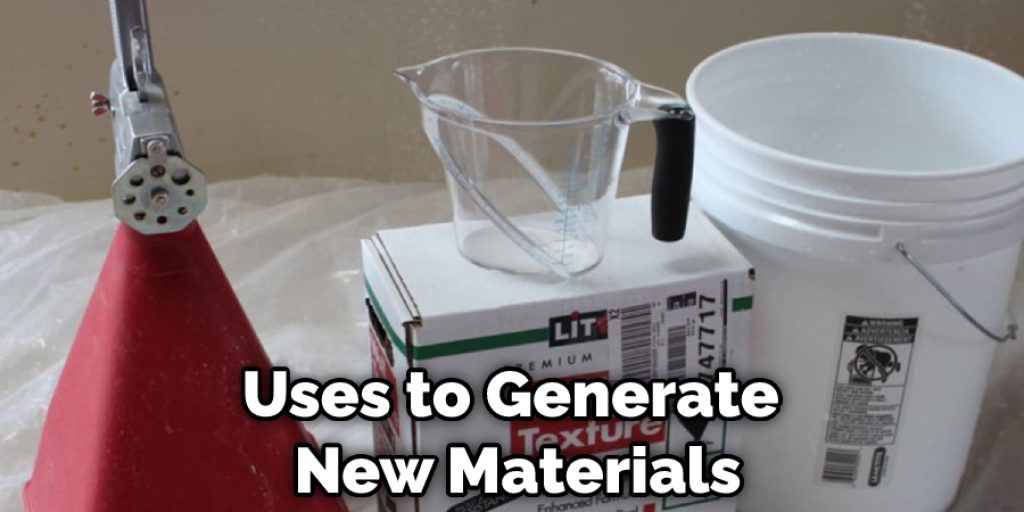
Hank is the name of the material that Texture Hopper uses to generate new materials. It functions like painting, but instead of mixing each pixel on the screen (which can take hours), it analyzes where pixels are similar and generates variations of the original material.
Step 2: Select Hank Material
When you click on the “Hank” button in the Texture Hopper window, it will open up a folder where you can select a file.
Step 3: Select Source Material
The source material is the “canvas” to which you apply hank. You can grab any image file from your computer or take a picture using the camera on your phone. The downside of taking a picture is that it will be in low resolution, so you will need to scale up the size of the texture.
Step 4: Adjust the Settings for Hank Generation
You can adjust the strength of the hank, add a black and white mask to add contrast or add a color filter to change the hue of your material. The more masks you add, the more variety in your final material will be generated. This is useful if you are generating materials like Marble.
Step 5: Paint the Surface With Hank!
Once you’ve selected Hank and your desired Texture/s, click somewhere on the map to place down your initial hopper (don’t worry about where it’s placed because you can move it later). By doing this, Texture Hopper will replace all pixels on that area based on their similarity to pixels within your chosen texture/s.
So if you click on an area with little similarity to your texture, it will not be replaced because the hank will only replace similar pixels.
Step 6: Adjust the Falloff and Replant Hoppers!
Okay, you probably noticed that your hopper has taken over the map by now. To get a more even distribution of hank across the surface, click on one of your existing hoppers and decrease its size (you can also increase the falloff, but that is usually not necessary).
Then, keep gathering points in the same location until they fall off. Sometimes you have to move your hopper around a bit for this part because if no new points are gathered (i.e., the surrounding pixels are too dissimilar to the ones already on), it will make another hopper instead.
Step 7: Replant Hoppers and Repeat!
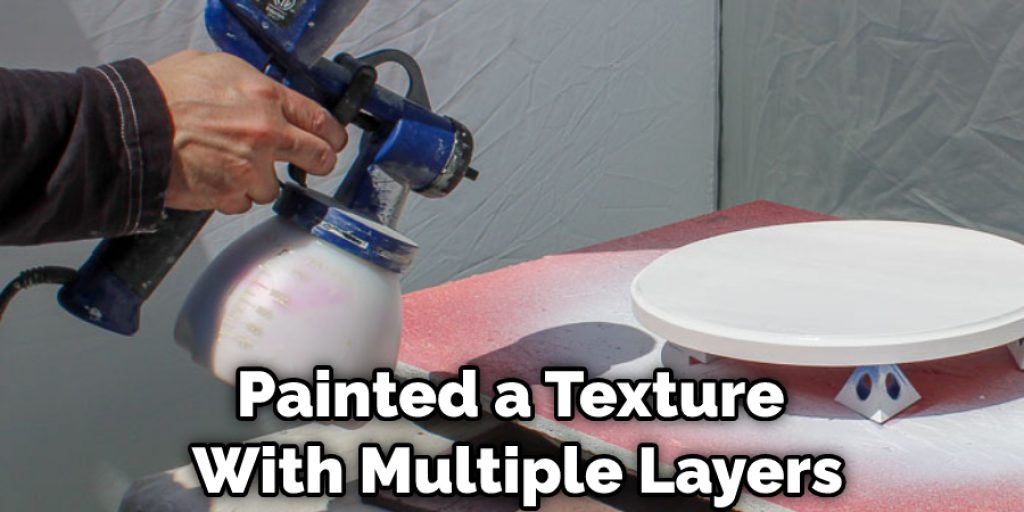
Once you have your initial hopper laid out, click the replant button and move onto another area. If you’ve painted a texture with multiple layers (like wood), you can also mix them up by clicking the different buttons on the right side of Texture Hopper.
Conclusion
Texture hoppers are a great way to add interest and variety to your quilting projects. You can create unique designs that will stand out from the crowd by using different textures. In this post, we have discussed how to use a texture hopper to create stunning quilts. The first step is to choose the suitable fabric for your project.
You want fabrics with interesting textures that will show up well when quilted. Cotton or linen work well, but you can also use wool, velvet, or even lace. Be sure to select fabrics in complementary colors to look good together when sewn into a quilt top. We hope this blog post was helpful to give you some insights. If you have any questions or want to know more, then feel free to comment below!