How to Cycle a Saltwater Tank in 24 Hours
introduction
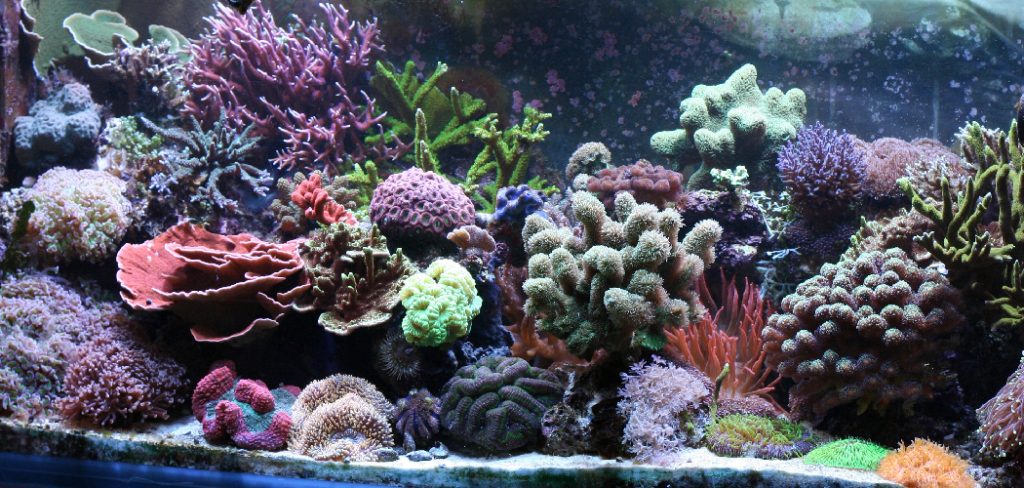
A saltwater tank is a closed-loop environment that contains and sustains marine animals. It is very much like an aquarium, except it also includes a filtration system (saltwater or RO water) to keep the water clean and healthy for your fish. Saltwater tanks actually require less maintenance than freshwater tanks, as they do not need to be cleaned as often but are still just as interesting!
A tank starts a cycle when there is enough ammonia in the water to support bacteria that convert it into nitrite, then nitrate. This process can take from two weeks up to four months or more, depending on conditions.
How fast a saltwater aquarium cycles depends on how much fish food and other organic materials are put in the tank every day and what kinds of species of fish and invertebrates are being kept. It takes longer for larger tanks with many fish and invertebrates than for small ones with few or no live animals. In this article, I will discuss how to cycle a saltwater tank in 24 hours.
Step-wise Guide on How to Cycle a Saltwater Tank in 24 Hours
Cycling a saltwater (marine) tank is basically the process of establishing the nitrogen cycle in your aquarium system. Many beginners make an error by assuming that cycling a marine tank is similar to cycling a freshwater tank because they are both made up of water, but there is one major difference.
Let’s clear this point first – A freshwater fish tank requires bacteria to break down toxic waste from ammonia to nitrites and finally into nitrates. However, due to the presence of salt (sodium chloride), most of these bacteria cannot survive in brackish and marine systems; therefore, you need pre-loaded bacteria called live rock or live sand to kick start the cycle for you!
The composition of live rock/sand can provide food for the bacteria that will aid the process of breaking down toxins (ammonia) into less harmful products.
Before you start cycling your aquarium system, it is always best to prepare all necessary things first, such as setting up the filter and heater, etc. Also, pay extra attention when wiring electrical devices to avoid any mishaps, especially for beginners! After everything is set up, it is now time we get started on how to cycle our marine tank in 24 hours:
Step 1:
Rinse off all sand with fresh water until water runs clear from the tank. This will ensure that salt does not contaminate our new marine tank. This step is important because salt (sodium chloride) can kill marine fish and invertebrates!
Step 2:
Place a piece of live rock into the tank to start our cycle. It will help kick-start the nitrogen cycle in your marine aquarium system by providing food for bacteria that will aid us in breaking down toxic wastes via conversion process from ammonia to nitrites and then to nitrates through aerobic & anaerobic processes.
At this stage, none of these bacteria can thrive due to the absence of oxygen, but with time, they will be fully established and running at optimum conditions (better known as “stabilized”).
Step 3:
Add water conditioner into the tank labeled for use with marine systems. The water conditioner will help remove any chlorine and chloramines from the water.
Step 4:
Add salt to your tank – marine salt or reef salt is preferred because it contains essential minerals that are beneficial for the health of marine fish and invertebrates.
If you are using brackish water, add plain table salt at half strength until the desired salinity level has been achieved. A good rule-of-thumb is 1 tablespoon per gallon (4 teaspoons per liter) if you do not have test kits to measure specific gravity.
Skip this step if adding a marine refugium since it does not require any amount of salt in its system.
Step 5:
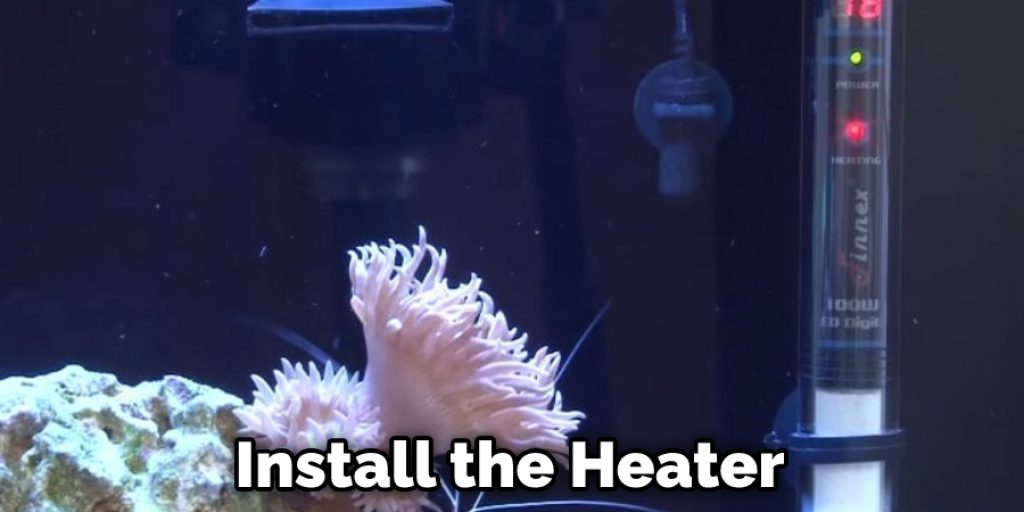
Install the heater into your aquarium system by following its respective directions provided by manufacturers. Ensure that heater makes good contact with the top of the tank to help maintain an accurate temperature.
Step 6:
Install and set up your aquarium filter into your aquarium system. If you are using a hang-on-back (HOB) or under gravel filter, follow the manufacturer’s directions for setting up the filter first before proceeding onto cycling your marine tank.
Step 7:
Add water from an established marine tank to bind any loose sediments in the sand/rock so as not to cloud our new saltwater aquarium later on. Simultaneously, it will also supply some bacteria that have survived shipping from live rock/sand, therefore, helping us kick start our nitrogen cycle!
In case you do not have access to any established marine system, no worries! Simply add saltwater from your local fish store to fill up the tank.
Step 8:
Connect RO/DI water supply and drain hose into your aquarium system so that you may run a full cycle of water through the system temporarily to remove any chlorine present in tap water. Alternatively, you can also use a one-way check valve or sterile filter media placed at the end of your overflow chamber’s drain line to collect waste particles for easier maintenance later on – I personally do this for my homemade aquaculture systems.
Step 9:
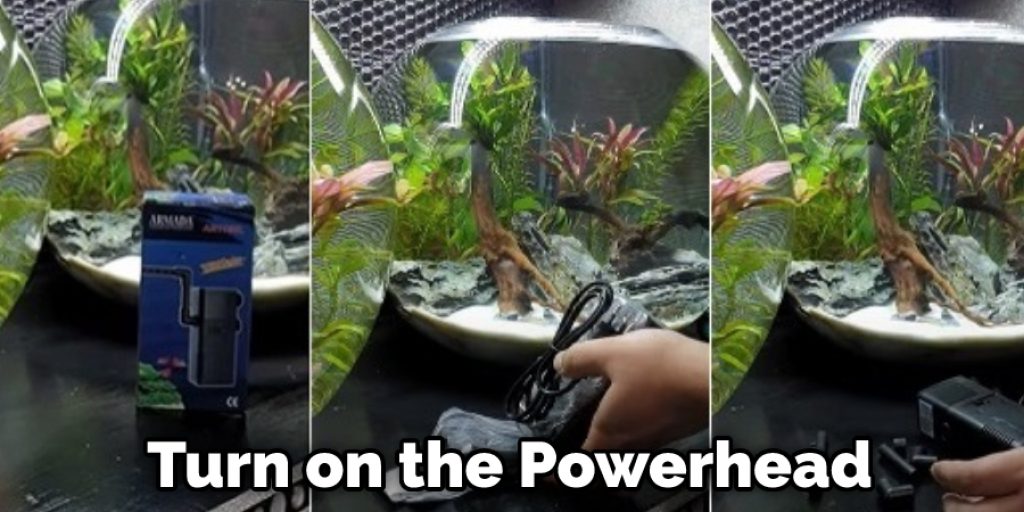
Turn on the powerhead(s) and connect everything, including heater cables, air stone to help seed bacteria, etc. You may need to make some adjustments here and there to get things going. But, don’t worry, and we will be doing water changes to maintain water quality once everything has stabilized in due time!
Step 10:
Wait for 24 hours before adding fish to the tank, or else they might die from ammonia poisoning; unless you are planning on cycling your marine aquarium outdoors and have access to mature, established seawater with a high salinity level (35 ppt or more) – which may not be practical for most of us who live near the coastline.
Precautions While Cycling A Saltwater Tank
- DO NOT add live rock to your tank when you first start up the tank. The ammonia from decaying fish food and uneaten waste will not cause major problems for live rock, but it will kill any invertebrates or corals included with the rock.
- Stock slowly as you cycle your tank to reduce the amount of ammonia going into the water column at one time. This is especially important if you are cycling in a smaller container (I do not recommend it). To stock slowly, plan on starting with 2-4 fish, increasing by 2 every week thereafter until you reach desired stocking levels (this will be discussed in more detail later).
- If using an under gravel filter, take it out right when setting up the tank.
- DO NOT top off your tank with new saltwater during the cycle if there is a leak in your system. New saltwater will have commercial ammonia and nitrites in it from being processed through equipment at the store (which, by the way, should be avoided). This may cause an ammonia spike that could kill off any corals or invertebrates you have included in the system.
- Plan on testing your ammonia and nitrite levels daily for the first 2 weeks. After that, you should test every few days to a week depending upon how fast your biological filter starts to grow.
- Plan to change 10-25% of your water each day while cycling (depending on tank size). This will help dilute any ammonia or nitrites in the tank until you can establish adequate filtration.
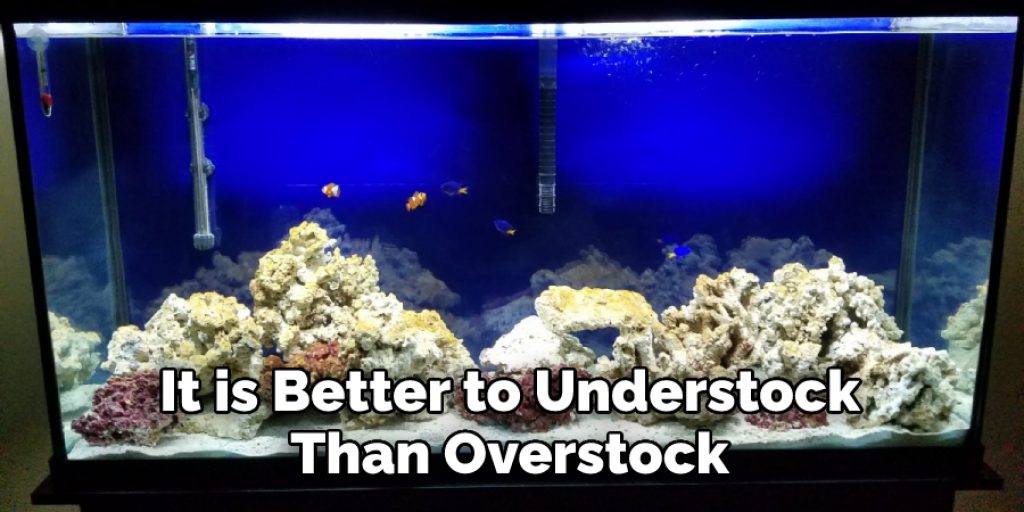
- It is better to understock than overstock when stocking up after the cycle has been completed! Understocking gives your new biological filter time to mature before taxing heavily by stocking up large amounts of fish into an established system.
Conclusion
I hope this article has helped learning how to cycle a saltwater tank in 24 hours. Thank you and have a nice day!
You may read also – How to Make Salt Brine for Deicing