How to Wrap a Shirt in Tissue Paper
Do you have a shirt that is too big for you? If so, this blog post will show you how to wrap a shirt in tissue paper. This technique makes it easier to store and transport your shirts without wrinkling them. It also adds an elegant touch if you are giving the shirt as a gift.
The first step is to fold the sleeves back to avoid getting caught under the tissue paper during wrapping. Next, place one piece of tissue paper on top of the shirt with one corner facing up. Then take another piece of tissue line and place it over the top, lining up both corners at the bottom edge of the fabric covering all sides except where your arms would go through when wearing it. Read this full blog post to know more.
10 Ways on How to Wrap a Shirt in Tissue Paper:
1. Crumpled Tissue Paper:
To make a paper ball, first, fold the tissue paper so that the front and back sides face each other. Then crumple it tightly into a ball, ensuring that the folds stick together as much as possible. This method looks nicer than you might think, and you can add extra decorations for even more appeal.
2. Shirt-Shaped Tissue Paper:
The shirt-shaped tissue paper is the most common way to wrap a shirt and offers a high degree of protection/shape retention. It will not be wrinkled upon unpacking, but there may be visible folds in the creases. If you are wrapping more than one item, stack the shirts on top with the tissue paper sandwiched between them.
3. Rectangular Tissue Paper:
If you are wrapping a shirt, t-shirt, or dress shirt, take two sheets of rectangular tissue paper and place them side by side so their short sides are touching. Fold one of the short sides over the shirts, then turn it over. Wrap the tissue paper around the shirt with the folds stacked on top of each other to help maintain its shape.
4. Bubble Wrap Tissue Paper:
This method is messy but produces a very protective package that will keep your gift looking new upon arrival. Layout three sheets of bubble wrap that are long enough to wrap around your shirt. Layout a sheet of tissue paper, place the shirt on it, and wrap it up in bubble wrap – the bubbles should face each other inside the package.
5. Toilet Paper Tissue Paper:
Protect your clothes from puncture wounds by making a box out of six sheets of tissue paper and two toilet paper rolls. The rolls will keep the box from collapsing as you move it around, and the tissue paper will protect your clothes from being punctured by the rollers upon moving them through a crowded hallway/stairwell to your car.
6. Saran Wrap Tissue Paper:
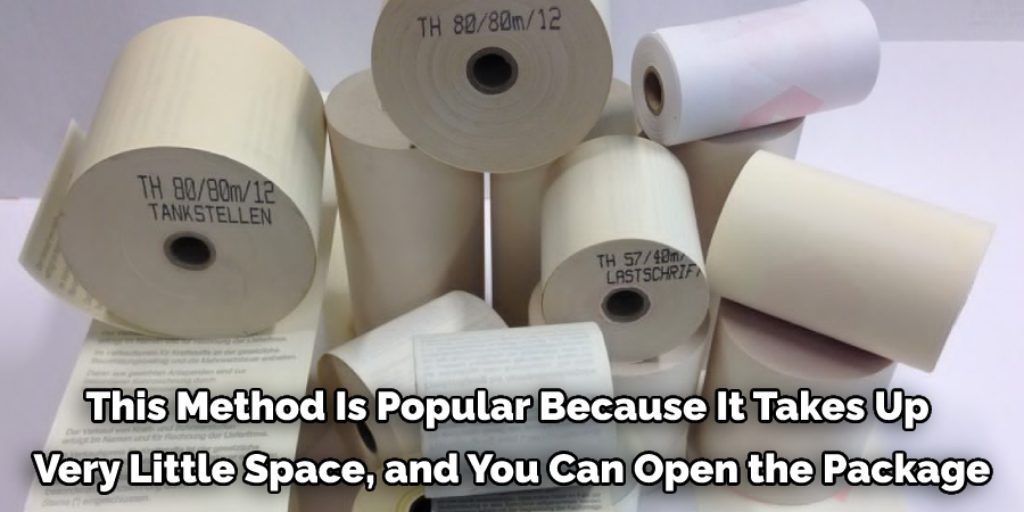
This method is popular because it takes up very little space, and you can open the package and remove your shirt without it falling out of the wrapping and making a mess. Lay down two sheets of saran wrap, place your shirt in the middle, bring one side up over the shirt while pushing down to keep it flat (repeat on the other side), and fold one side over.
7. Double Shirt Tissue Paper:
One shirt deserves another! If you have two shirts to give as a gift, don’t worry; just lay them out on top of each other with the front sides facing each other and their tops aligned, use three sheets of rectangular tissue paper, and sandwich them in the middle. This method is a little more difficult to pull off, but it looks nice when done properly. Also, it will keep your shirts from sliding inside the package.
8. Shirt in a Bag Tissue Paper:
This method effectively keeps your shirt clean, but it becomes tough to handle if you give more than one shirt with this wrapping. Instead, place your shirt(s) inside a plastic baggie (preferably the kind that can be resealed), fold them up so they fit reasonably well, and use two sheets of tissue paper to keep them together. This method can be foiled for a nice look.
9. Packing Tape Tissue Paper:
This method is almost identical to the double shirt method but uses packing tape and its sticky side rather than tissue paper. First, lay your shirt(s) out horizontally with their fronts facing each other, and make sure both are flat and not wrinkled/folded (if they are, smooth them out). Next, take a piece of packing tape and place it along the top edge of one shirt, fold it over onto itself, and smooth it down so that there are no wrinkles.
10. Shirt in a Sock Tissue Paper:
This method is similar to the shirt in a bag but uses an old clean sock instead of a plastic baggie. If you don’t have any socks lying around or soiled, you can turn your shirts inside out and use the other side facing the right way; this also works. Place your shirt(s) inside a sock, fold it so they fit reasonably well, and use two sheets of tissue paper to keep them together. This method can be foiled for a nice look.
Some Tips and Suggestions:
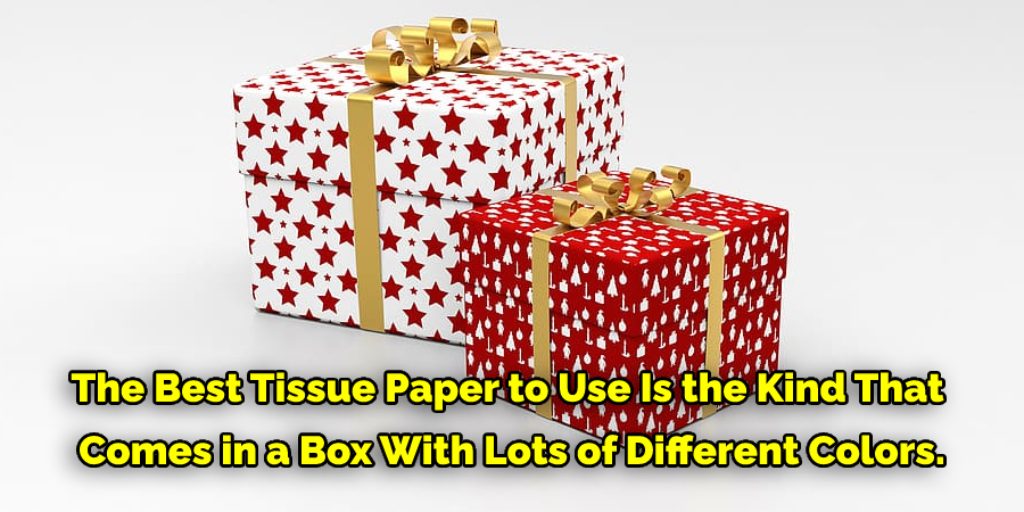
1. The best tissue paper to use is the kind that comes in a box with many different colors. It will make your gift look more festive and bright!
2. Use two to three pieces of tissue paper so the shirt has more cushion.
3. If you don’t want to buy tissue paper, the newspaper can be used instead. However, it is not as pretty and will make a mess.
4. If you don’t have tissue paper or newspaper, wrapping the shirt in another fabric like yarn is an option too.
5. Before the gifting ceremony, go back to what you wrapped and double-check that there are no holes or rips in the wrapping!
Conclusion:
You can now wrap shirts in tissue paper and other clothing items. This is a great way to store clothes during the off-season and keep them looking new without having to iron or clean them! As you can see, there are many different ways on how to wrap a shirt in tissue paper.
The decision is up to you and your preference for how the gift looks when it’s opened. If this post helped you learn something new about wrapping shirts, please share it with others!