
How to Seal Pebble Shower Floor
A common question many homeowners have is how to seal pebble shower floor. Pebble flooring can be an excellent choice for your shower, but the downside is that it has no coating or protection against water damage. This means that any spills will cause permanent staining and corrosion on the surface of pebble tiles in your bathroom. Luckily, there are simple steps you can take to protect this type of flooring from such stains and corrosion!
It’s essential to ensure that you use enough to leave any gaps where water can seep through. In addition, if your shower has been installed for an extended time, it may have developed cracks or leaks that will need sealing before the silicone application. Read on to know more!
What is a Pebble Shower Floor?
A pebble shower floor is a type of flooring that incorporates small, smooth pebbles or stones arranged on the floor surface. This type of flooring is becoming increasingly popular due to its unique and natural look, making it a favorite among homeowners. It’s perfect for anyone looking to create a spa-like feel in their bathroom.
Pebble shower floors come in various sizes, shapes, and colors, making it easy to customize your bathroom’s look. Because the pebbles are set in place with grout or epoxy, they provide a textured surface that is slip-resistant.
It’s essential to note that pebble shower floors are not the same as river rock shower floors. River rocks are typically larger and more irregularly shaped, whereas pebbles are smaller and more uniform in shape. Both types of flooring offer similar benefits, but the process for sealing them may differ slightly.
Why Should You Seal Pebble Shower Floor?
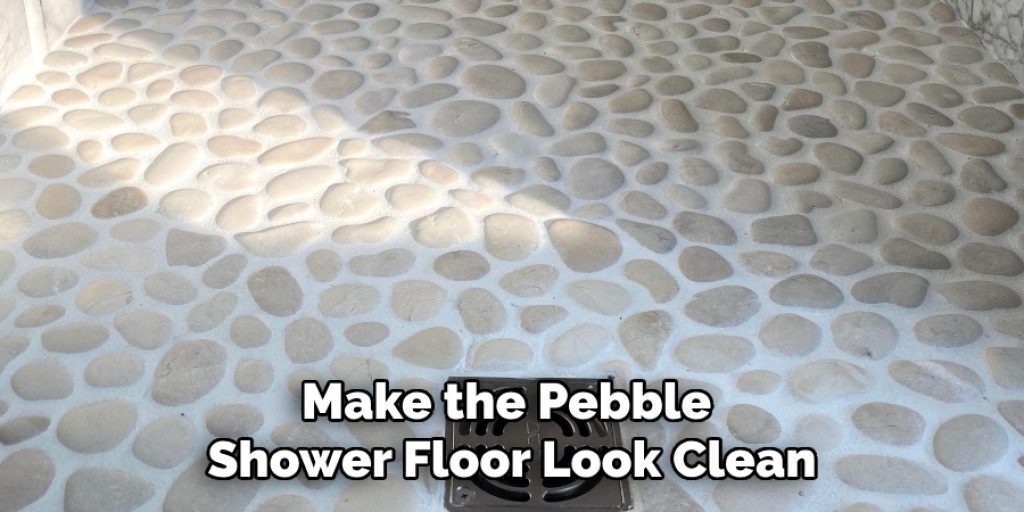
1. To make the pebble shower floor look clean and new;
2. To reduce maintenance for pebble shower floor;
3. To strengthen the adhesion between tiles, stone, and grout joints to prevent cracks or sliding of tiles over time;
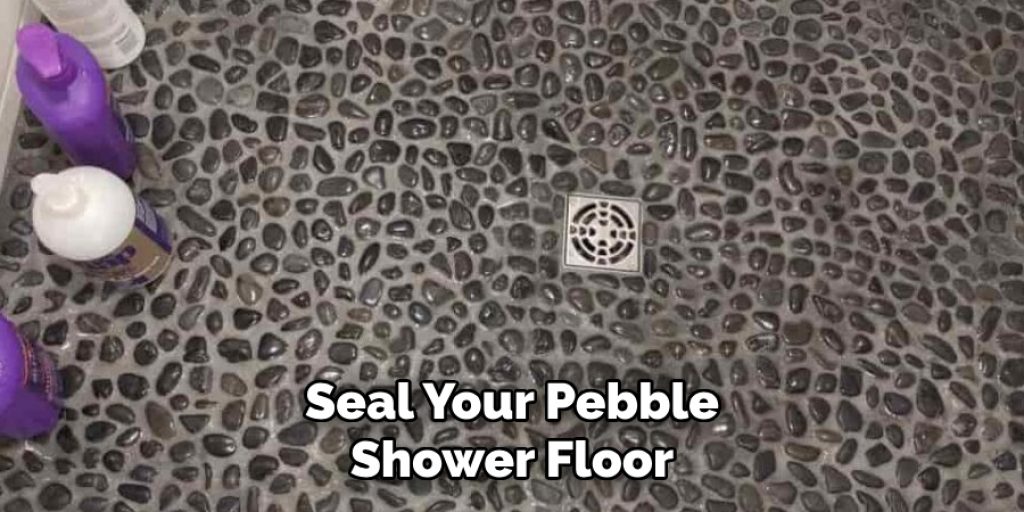
4. To protect the surface of the pebble shower floor from water damage, Seal your pebble shower to prevent dirt and mold from turning it black.
5. Your pebble shower floor will look fresh and new for years longer if you seal it.
6. You can use a Natural Stone Sealer or any other type of stone-specific sealer, such as a grout sealer, for sealing your pebble shower floor.
7. After you clean your pebble shower floor, allow it to dry completely before you pour the stone sealer on it.
8. If your pebble shower floor is made of porous material, use natural stone sealers after sealing the grout joints with a grout sealer first for best results.
9. When it comes to pebble shower floor installation, you should seal the grout joints before installing tiles to prevent mold from growing inside of them.
10. If you already have a mold problem on your pebble shower floor, do not hesitate to call professionals for assistance with cleaning or painting it.
Things to Consider:
When choosing a sealer for your pebble shower floor, it’s crucial to consider factors like the type of stone used, the location of the shower, and whether you want a natural or enhanced look.

There are three main types of sealers you can use: penetrating sealers, enhancing sealers, and topical sealers.
- Penetrating sealers soak into the stone’s pores and provide a natural look without changing its appearance.
- Enhancing sealers darken the stone’s color while giving it a wet look.
- Topical sealers are more durable and create a glossy finish, but the downside is that they can make the surface slippery.
- It’s essential to choose a sealer that is specifically designed for natural stone and suitable for wet areas like showers.
- Before applying the sealer, make sure the pebble shower floor is clean and free of any debris. Use a mild cleaner or a mixture of water and white vinegar to remove any dirt or soap scum build-up.
- Follow the manufacturer’s instructions when applying the sealer, and make sure to wear protective gear like gloves and a mask.
- It’s recommended to reseal your pebble shower floor every 1-2 years to maintain its protection against water damage and stains.
- Regular cleaning and maintenance, including wiping up spills and avoiding harsh chemicals, can also help prolong the life of your pebble shower floor.
Needed Materials:
Natural Stone Sealer or Grout Sealer:
As mentioned earlier, both types of sealers can be used to seal pebble shower floors. Make sure to choose one that is suitable for your specific type of stone and location. Some popular brands include Miracle Sealants, Aqua Mix Sealer’s Choice Gold, and StoneTech BulletProof Sealer.
Gloves and a Mask:
When applying the sealer, it’s essential to protect your skin and lungs from any potential harm. Wear gloves to avoid direct contact with the sealer and a mask to prevent inhaling any fumes.
Mild Cleaner or White Vinegar:
To ensure the surface is clean before sealing, use a mild cleaner or water and white vinegar mixture.
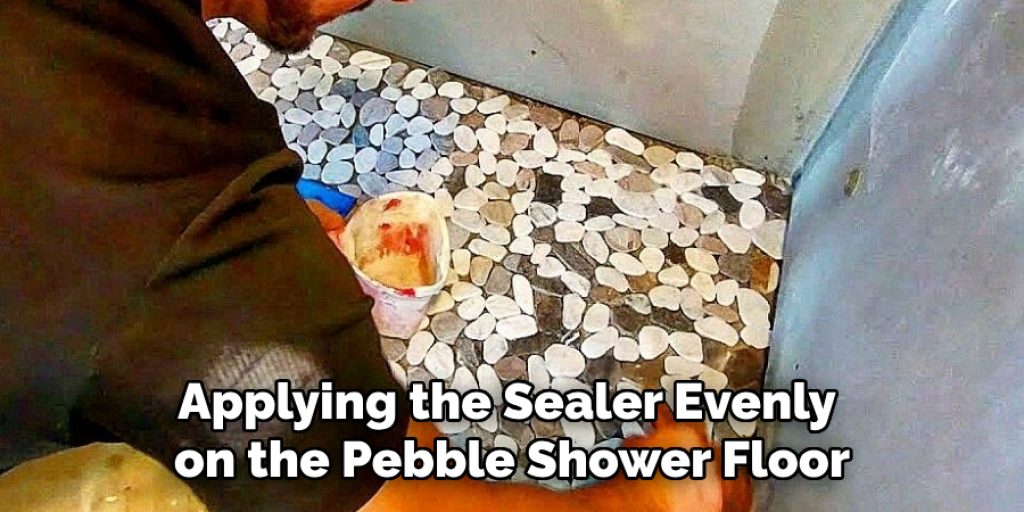
Sponge or Sealant Applicator:
You will need a tool for applying the sealer evenly on the pebble shower floor. A sponge or sealant applicator works well for this purpose.
10 Ways on How To Seal Pebble Shower Floor:
1. Try Pressure Wash:
Pressure wash the surface of the pebble shower floor to remove any dirt or debris on the surface. Be sure to sweep up all loose debris from the pebble tiles with a broom before pressure washing. You can use a pressure washer with a fan nozzle for this step. It’s recommended to let the surface dry for at least 24 hours before proceeding with sealing.
2. Mix Water With Concrete Sealer:
In a bucket, mix 3-4 parts water and 1 part concrete sealer to make a mixture for sealing the pebble shower floor. Use a rubber squeegee to spread this mixture over the entire surface of the shower floor. The sealer will penetrate deep into the stone and grout, providing a protective layer against water damage.
3. Pour Concrete Sealer Over The Surface:
Pour concrete sealer directly from its container into a 5-gallon bucket. Fill the bucket halfway with water. Next, dip a large, clean paintbrush into the sealer mixture and brush it over the entire surface of the shower floor. You can also use a roller or sprayer for this step. It’s essential to apply the sealer evenly and avoid any drips or puddles.
4. Use High-Pressure Sprayer:
Rent a high-pressure sprayer to apply a concrete sealer to the pebble shower floor. Fill the sprayer with a concrete sealer and use it on the entire surface of the shower floor, including seams between the tile. Use a squeegee to spread out any excess sealer. This method is ideal for larger shower floors.
5. Use Roller:
Spread a concrete sealer on the surface of the pebble shower floor with a roller. Next, fill a paint tray with a concrete sealer and roll it back and forth across the surface to evenly distribute it. Use a paintbrush to reach the edges and corners. Let the sealer soak into the surface for 5-10 minute before applying a second coat.
6. Use Brush:
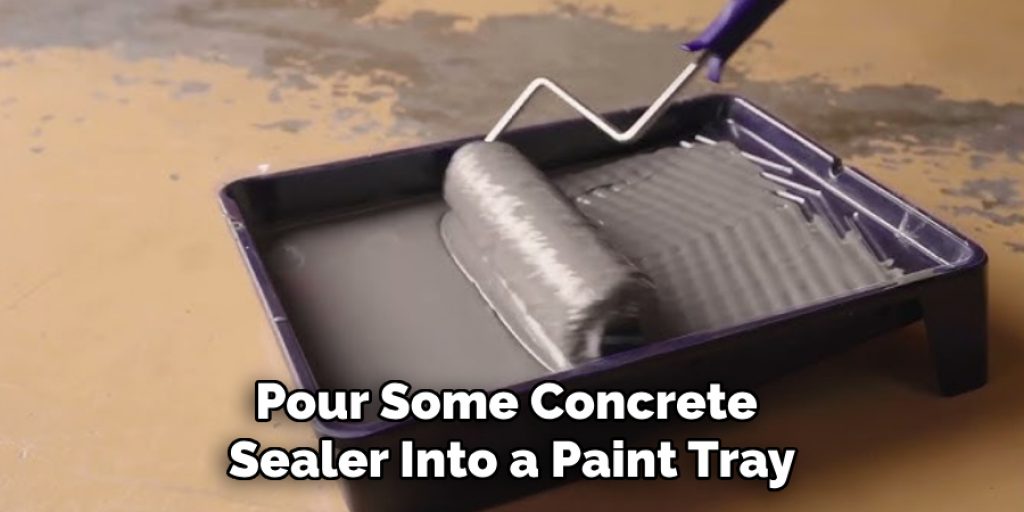
Pour some concrete sealer into a paint tray and use a brush to apply it to the pebble shower floor. The sealer should be evenly distributed by applying it in strokes from top to bottom and left to right across the surface. Make sure to coat the entire surface without leaving any gaps or missing spots. Otherwise, water can penetrate through those areas and damage the stone.
7. Use Sponge:
Pour concrete sealer into a paint tray and dip a sponge into the mixture to apply it to the pebble shower floor. The sealer should be evenly distributed by using it over the entire surface of the shower floor with palm-up strokes. It’s recommended to use this method for smaller shower floors.
8. Use Lava Stone or Tile:
Press the lava stone or tile firmly into the pebble shower floor to create a seal. After applying a concrete sealer, it will keep your pebble shower floor in good condition for several years. This method is perfect for people who want a natural look for their pebble shower floor.
9. Apply Two Coats Of Sealer:
Apply a concrete sealer to the shower floor, and allow it to dry for one hour. Then, apply an additional coat of sealer, and allow it to dry overnight. The second coat will provide extra protection against water damage and stains. You can use any of the above methods to apply both coats of sealer.
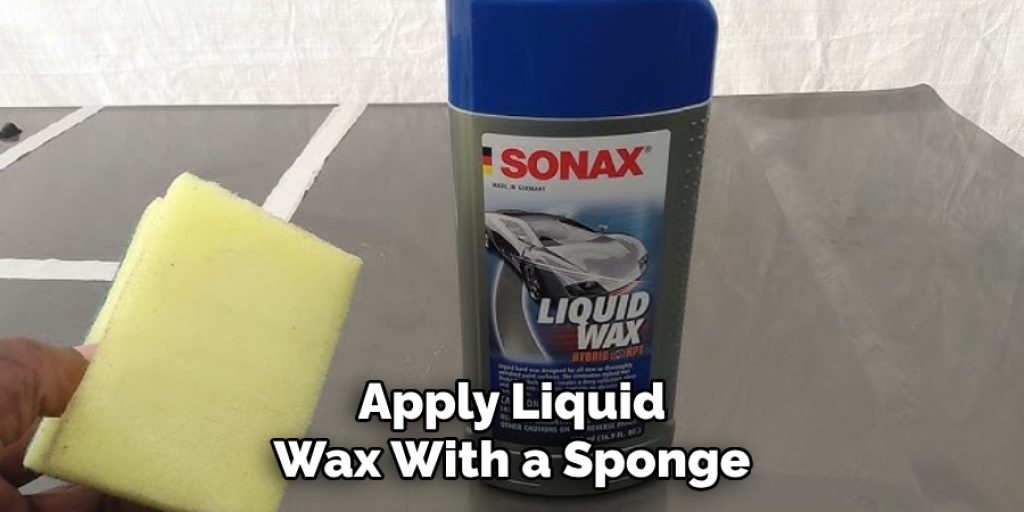
10. Seal With Wax:
Apply liquid wax with a sponge over the entire surface of your pebble shower floor to seal it. Allow the wax to dry, and then buff it with a towel. It’s recommended to apply this method every 1-2 months for optimal protection. Make sure to clean the surface before applying wax for best results. Otherwise, dirt and debris can be sealed into the surface.
Following these ten ways how to seal your pebble shower floor will help maintain its beauty and durability for years to come. With proper cleaning and regular resealing, you can ensure that your pebble shower floor remains a stunning focal point in your bathroom. So don’t forget to add sealing your pebble shower floor to your list of home maintenance tasks!
Tips and Advice:
- 1Wear safety goggles, gloves, and boots to protect your body from acid burns.
- Work in a well-ventilated area, preferably outside if possible.
- Work only during daylight hours to provide adequate ventilation and visible light.
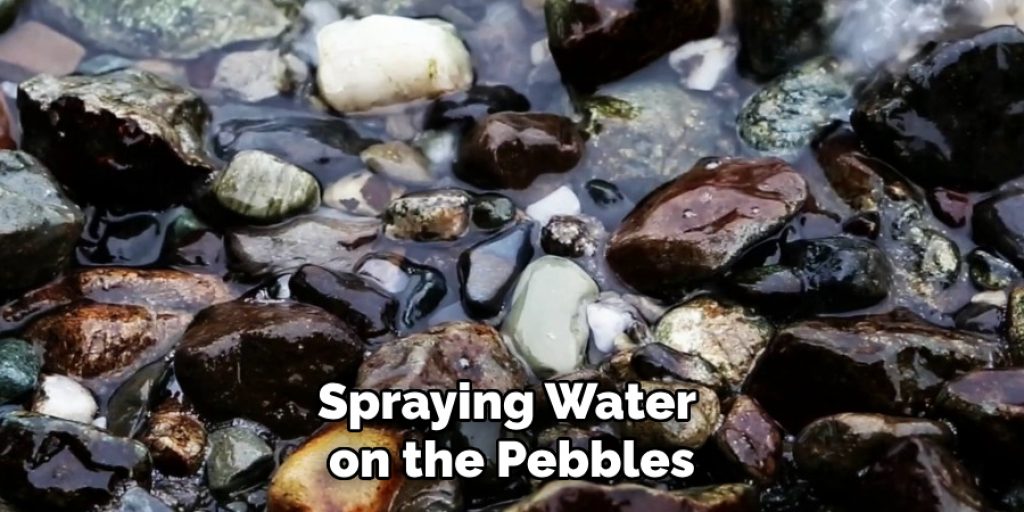
- Extend your work time by spraying water on the pebbles to keep them moist over several days of work rather than completing the job all at once.
- Wear old clothes when working with acid to avoid ruining them with spills and splashes.
- After using the acid, carefully dispose of it by pouring it into sealable containers for recycling or disposal by your local waste management provider.
- Avoid touching the pebbles with bare hands or spilling acid on your skin, as this will cause damage. If this happens, wash with water immediately.
- Be careful not to overwork the surface of the pebble shower floor when cleaning and sealing it. Too much scrubbing or wiping can damage the pebbles and grout lines.
- Always follow the manufacturer’s instructions for the specific type of sealant you are using.
- Regularly check for signs of wear and tear, such as cracks or chips in the pebbles or grout lines. These should be repaired immediately to prevent further damage.
- To maintain the natural look of your pebble shower floor, use a penetrating sealer rather than a topical one.
- Avoid using harsh chemicals or abrasive cleaners on your sealed pebble shower floor, as these can damage the sealant.
- For added protection, consider using a non-slip additive or sealer specifically designed for wet surfaces on your pebble shower floor.
- Regularly clean and dry your pebble shower floor to prevent the growth of mold and mildew.
- Keep an eye out for any standing water on your sealed pebble shower floor, as this can indicate a potential issue with the sealant or grout lines.
- If you are unsure about how to seal your pebble shower floor, it’s best to consult a professional for guidance and assistance. They can also help identify any underlying issues that may be causing water damage to your shower floor.
Frequently Asked Questions:
Q: How Often Should I Seal My Pebble Shower Floor?
A: It is recommended to seal your pebble shower floor every 1-2 years or as needed, depending on usage and exposure to water. The more often you seal, the better protection your pebble shower floor will have. You can also perform a water test to determine if your shower floor needs resealing – pour some water on the surface and see if it beads up or is absorbed. If it is absorbed, then it’s time for a new seal. It is also important to inspect your shower floor for any signs of wear or damage before resealing.
Q: Can I Use Any Type of Sealer on My Pebble Shower Floor?
A: It is best to use stone-specific sealers, such as a natural stone sealer or a grout sealer, to seal your pebble shower floor. These sealers are specifically designed to protect and enhance the appearance of natural stone surfaces without damaging them. The type of sealer you use may also depend on the material of your pebble shower floor – for example, if it is made of porous material, it is recommended to use a grout sealer first before applying a natural stone sealer for best results.
Q: How Do I Clean and Maintain My Pebble Shower Floor After Sealing?
A: Regular maintenance is key to keeping your pebble shower floor in good condition. After sealing, you can clean the surface with a mild cleaner and soft cloth or mop. Avoid using harsh cleaners or abrasive materials that can damage the sealer. It is also a good idea to wipe down the shower floor after each use to prevent soap scum and grime buildup. If mold is present, it is best to call professionals for assistance with cleaning or painting the pebble shower floor. Regular sealing and proper maintenance will help keep your pebble shower floor looking clean and new for years to come.
Q: Can I Seal My Pebble Shower Floor by Myself?
A: Yes, you can seal your pebble shower floor yourself with the right materials and tools. However, if you are unsure or uncomfortable with the process, it is best to seek professional assistance to ensure proper application and protection of your pebble shower floor. Professionals have the experience and knowledge to properly seal a variety of surfaces and can provide guidance on the best products to use for your specific shower floor. It is also important to follow safety precautions and properly dispose of any materials used during the sealing process. So, it’s always a good idea to weigh your options and decide what works best for you before beginning the project.
Conclusion:
If you want to seal your pebble shower floor, the most important thing is to prep it before sealing. That means cleaning with soap and water, then using an abrasive cleaner like Comet on the surface of your pebbles. Once that’s done, allow 24 hours for them to dry out completely before sealing. You can do this by spraying a light mist of water over the whole area every few hours until they’re no longer moist when touched.
This will help ensure that any residue from previous cleaners doesn’t interfere with your new sealant application process! Don’t forget about caulking around all fixtures to keep moisture contained within one section at a time while you are working on another part of the shower. We hope this blog post on how to seal pebble shower floor has given you some insights for your bathroom makeover! If you have any questions, then don’t hesitate to comment with it below.
You Can Check It Out to Make Hot Water Last Longer in Shower
Angela Ervin
Angela is the executive editor of DIY quickly. She began her career as an interior designer before applying her strategic and creative passion to lifestyle and home. She has close to 15 years of experience in creative writing and online content strategy for housekeeping, home decorations as well as other niche efforts. She loves her job and has the privilege of working with an extraordinary team. She lives with her husband, two sons, and daughter in Petersburg. When she's not busy working she spent time with her family.


