How to Clean Skateboard Bearings With Household Items
Do you have a skateboard? Or do you know someone who does? You may have noticed that they need to clean their bearings on the board quite often. This is because dirt and dust can get in them and cause friction, making it difficult for your wheels to spin smoothly. If this seems familiar, then keep reading on how to clean skateboard bearings with household items!
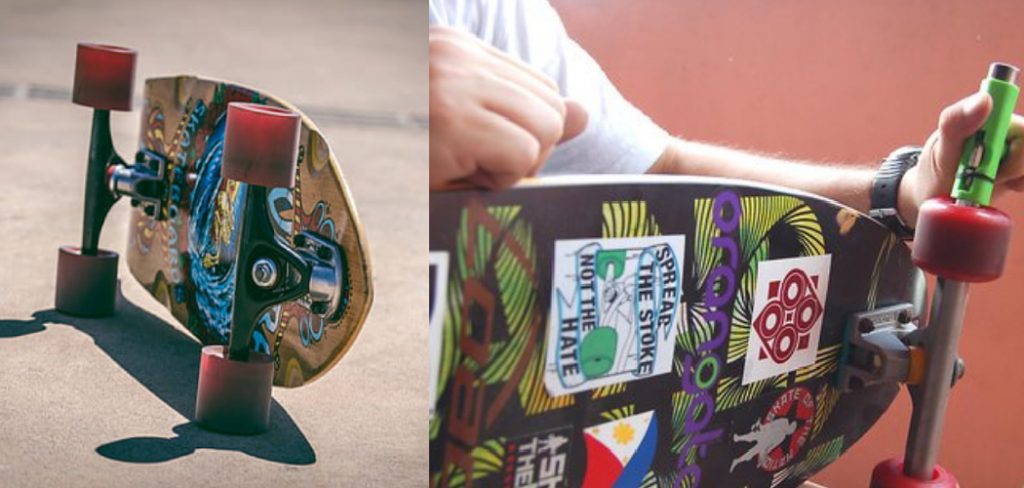
Don’t worry about taking too long with these steps; it won’t take much of your time at all! First, grab some rubbing alcohol or acetone from the kitchen cabinet. Next, pour some onto a paper towel or rag and use it to wipe out the inside of your bearings. Skateboard bearings are one of the essential parts of a skateboard. If they’re not functioning correctly, it will be hard to ride your board smoothly and safely.
10 Household Items You Can Use to Clean Skateboard Bearings
1. Rubbing Alcohol:
Pour some of the rubbing alcohol onto a paper towel or rag. Apply to bearings and spin until dry. Do not worry, and your bearings will still be lubricated when you are done cleaning them! The rubbing Alcohol gets all the dirt, wax, grime, etc., out while preserving the lube on your bearing. You can also use rubbing Alcohol and a paper towel to clean the outside of your wheels.
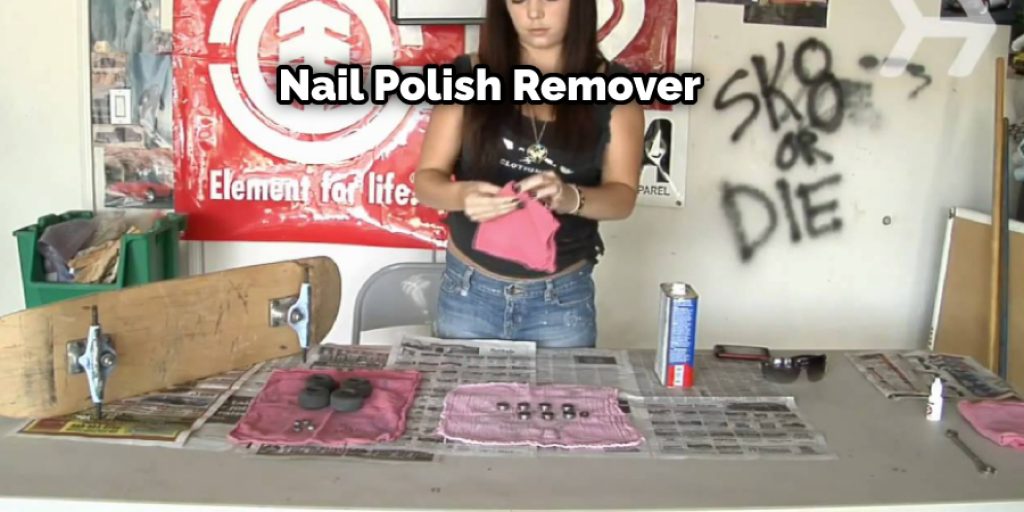
2. Baby or Nail Polish Remover:
Pour some onto a paper towel or rag. Apply to bearings and spin until dry. Like the rubbing alcohol, you’ll be preserving the lube when you’re done cleaning them. Plus, it does a great job of getting rid of the gunk.
3. Dish Soap:
Plain dish soap and water also work pretty well for cleaning bearings. Just put some bubbles in your palm, drop your bearing in and rotate back and forth! It can remove grease and grime pretty easily. Be sure to rinse them off thoroughly afterward.
4. Hydrogen Peroxide:
The hydrogen peroxide is a little more aggressive than the other stuff mentioned so far, so be careful not to let it sit on your bearings for too long. We only say it because people have claimed success with this method in the past.
5. WD-40:
WD-40 has been around forever, so you already know that it gets the job done. Remove your bearings from their wheels and put a little bit of WD-40 on a paper towel or rag. Apply to bearings and spin until dry. It will clean them up pretty well but will not leave any lubricant behind, which you might need in some cases!
6. Toothpaste:
You can use any toothpaste on the bearings, but the white stuff works best. It will get rid of all the dirt and grime while still leaving a little bit of lubrication behind. Make sure you rinse them well when you’re done!
7. White Vinegar:
Fill up a bowl with white vinegar and drop your bearings in for about 10 minutes. Then shake the vinegar off and leave them out to dry! The acidity of the vinegar should remove all the dirt and grime, but make sure you rinse them well when you’re done because it can eat away at some plastics.
8. Nail Polish Remover and Baking Soda:
Yes, nail polish remover can be used on bearings too. Just like with rubbing Alcohol, you’re just trying to get the dirt and grime out of there while preserving the lube. We’ve also heard that some people mix in some baking soda too. Again, make sure you rinse them well!
9. Sandpaper:
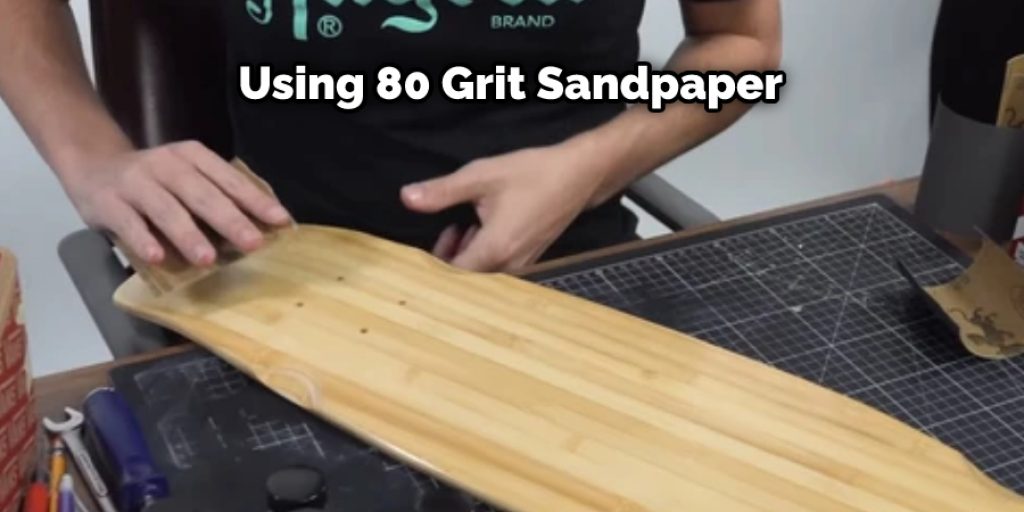
If you have a dremel, then this is a fantastic way to clean your bearings. We recommend using 80 grit sandpaper for your bearings and 150 grit for your wheels. Just put the bearing on a flat surface and move the sandpaper back and forth while spinning it. It can take a while, but it’s worth it if you want your bearings to be looking pretty.
10. Dishwasher:
This method is only recommended if you have ceramic bearings because it can warp metal ones! So basically, you throw your bearings in with the rest of the dishes and let them do their thing. We’ve heard some people put them in a unique bag for this, though, so be sure to check it out.
Step by Step Guide: How to Clean Skateboard Bearings With Household Items
Step 1: Find your bearings
The very first, most important step in the cleaning process is to find your bearings. This won’t be easy if you do not know where they are or what they look like. You should check around skateboards and boards with similar bearing systems because this will usually be the best place to look. If you still can’t find them, ask someone who knows what the bearings look like.
Step 2: Remove the Spacers
Once you have found your bearings, you will need to remove all of the spacers surrounding them. Keep in mind that some brands and models of skateboard use more than one spacer between each bearing, but usually, there is only one on each side. If you have a “Concave” spacer, this will need to be removed before cleaning the bearings.
Step 3: Remove the Bearings from each wheel
Once your spacers are gone, it is time to remove one of your skateboard bearings from each wheel. To do this, unscrew or punch out the bearings. You will notice that they are separated by a soft rubber ring, which you need to take out with the bearing by pressing it back into the wheel or off of the bearing entirely. After taking your bearings out, please place them in an appropriate spot for cleaning.
Step 4: Clean Your Bearings
Now that your bearings are taken out, all you need to do is clean them and put them back into your skateboard wheels. To do this, get a small Ziploc bag and fill it with either car or household cleaner (any type of cleaner will work). Next, put the bearings in the bag and seal it.
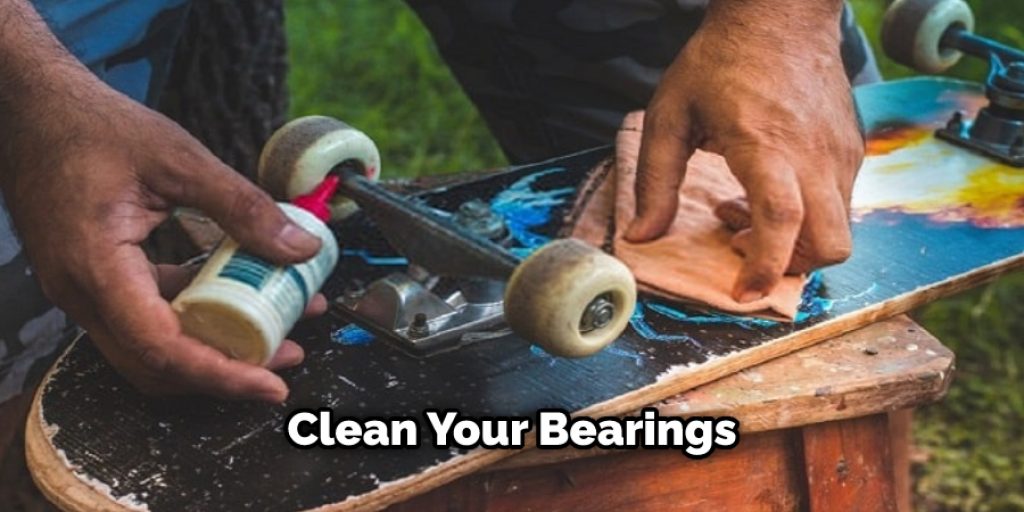
Shake the bag around for about one minute to ensure that the wheels get clean. Once you have shaken it for a minute, take the bearings out and rinse them off with water to get rid of all (or most) of the cleaner, and your bearings should be spotless!
Step 5: Put your Bearings Back in.
Now that your wheels are clean and shiny, but one or two (depending on the number of spacers you have) bearings back in the wheels. Use the small rubber rings that come with your skateboard’s wheels to put them back into place.
If you do not have any rubber rings, try using a thin lubricant layer (such as WD-40). After doing this, replace the other side’s bearings, and then you are ready to ride!
Step 6: Enjoy Your Clean Wheels!
Now that your bearings are clean, you can enjoy riding your skateboard or longboard with ease downhills and flat surfaces. Keep in mind that the life of all bearings is short.
Having dirty wheels will greatly reduce the life expectancy of your bearing and should be avoided at all costs. On the other hand, cleaning your bearings is not that difficult once you know what to do, and you don’t have to pay someone else for this process when it can quickly be done by yourself.
Some Tips and Suggestions
Here we have given some tips and suggestions on how to clean skateboard bearings with household items.
1. When you are cleaning your skateboard bearings, never use gasoline. This is because gasoline has too much power to fuel the engine, damaging your skateboard bearing or motor.
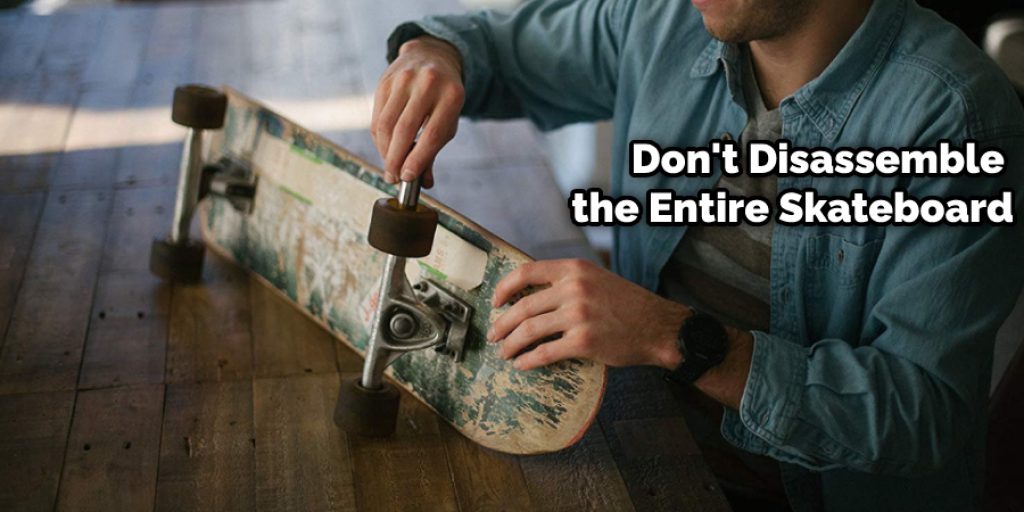
2. Don’t disassemble the entire skateboard; it will be an extra hassle and may result in damage to your board.
3. The simplest, easiest, and most effortless way to clean a skateboard is to use a plastic bottle with water and some soap inside. Rinse your board from front to back, left to right, without applying too much pressure.
4. Once you have rinsed the entire board, You can wipe it off with a soft cloth or paper towel. The best way to dry it is with compressed air.
5. You can also use a toothbrush or any other brush that you think will be effective enough for the job.
6. Do not submerge your bearings into water unless you are trying to determine if they are water-resistant. After all, not even oil can keep them waterproof.
7. If you want to clean your bearings using gasoline, use kerosene instead; it is known to be highly effective in cleaning out dirt and dust inside the bearing shell without causing too much damage or eating into the metal.
You Can Check it Out to Get Plastic Off Skateboard Wheel
Conclusion
If you need to clean your skateboard bearings, try one of these household items. The best option will depend on the type of dirt or grime stuck in them, so be sure to test different methods and find what works for you! We hope this article has given you some new ideas for how to clean skateboard bearings with household items.
As with anything, it is always best to consult the manufacturer first before trying any of these methods out on your own. Remember that safety should be a top priority when working with household items and getting into tight spaces around moving parts. If some other tips or tricks have worked well for you in cleaning skateboard bearings, please share them below!


