
How to Rappel With Just a Rope
Rappelling, also known as abseiling, is a method of descending from a height using a rope. It can be used for recreational purposes or in emergencies. However, many climbers believe that the only way to do it is with a harness, carabiners, belay device, and rope for rappelling.
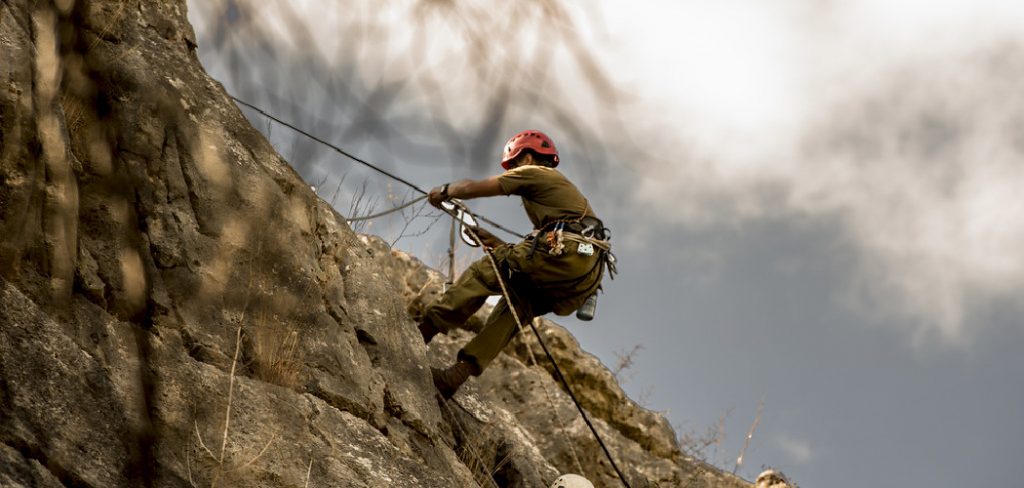
However, there is another way you can rappel with just a rope! This blog post will show you how to rappel with just a rope. So if you’re ever in a situation where you don’t have all of your rappelling gear with you, don’t worry; you can still rappel safely using just a rope. Stay safe and have fun out there!
Complete Guide On How To Rappel With Just A Rope
1. The Arm Rappel:
Put your arms through the rope and get a firm grip of both ends with each hand. Make sure the elbow is tucked in to make your body fit tightly against the face of the rock. It would help if you leaned slightly away from the rock. This will allow you to move down smoothly while giving enough room for pieces of gear if you are carrying them. Now you have to slide your legs down the wall slowly. As you are moving, keep your body close to the wall at all times. Take a few deep breaths and relax. Do not be afraid of heights. Remember that there is always a solution if you get stuck.
2. The South African Rappel:
To do a dropdown, start as you would for an arm rappel, but dangle your feet away from the rock instead of tucking them in. Drop down until your hands are even with your body, then lean back so you form a loop with the rope. Let go of one hand and use it to stop yourself.
3. The Belay:
If you need to take your partner down with you but don’t have a rappel device, you can tie the rope around their waist and belay them down using the brake bar on your rappelling device. This is also useful if you are short an anchor or there aren’t any rap anchors available.
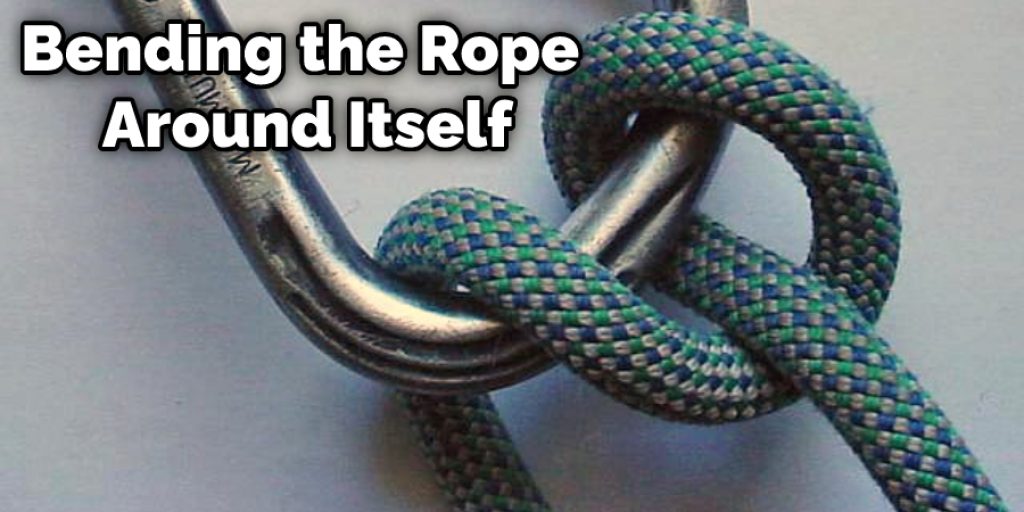
4. The Munter Hitch:
This is a useful technique when you don’t have access to your gear. It works by bending the rope around itself and feeding it through a carabiner. Pulling tightens the knot, releasing pressure will allow the knot to come undone. Be careful when using this in an emergency, though, as it can become jammed quickly and won’t release when you need it to.
5. The Buntline Hitch:
The French Prusik is a way to help your partner rappel down a cliff if they are not heavy enough to do it on their own. You use a rope to tie around their waist and then help them rappel down slowly.
6. The Girth Hitch:
A useful trick if you have a lighter, smaller person to bring down instead of using a Munter hitch or belay device. It’s also good for quickdraws and slings slipping out of bolt hangers. Feeding the sling through itself creates friction and keeps everything secure.
7. Tie Your Rappel Device To One End Of The Rope:
This is a helpful trick if you need to rappel by yourself and have the right rope to do it safely. You can leave your end of the rope tied into a fixed anchor at the top, pull all the slack through until you reach your desired rappel length, then tie the tail to your belay loop. This should give you enough friction to stop yourself, even if it’s strong or stiff.
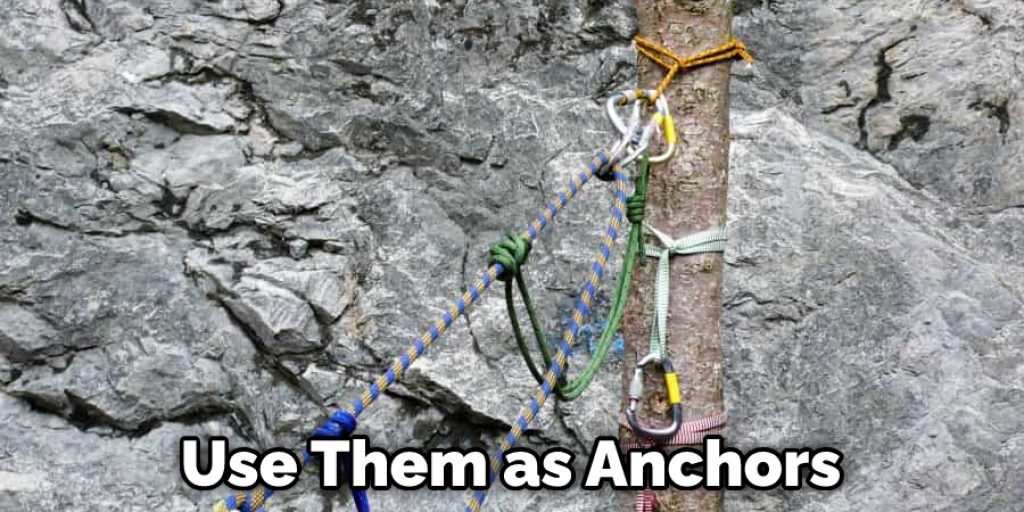
8. Using A Tree To Anchor Your Rappel:
If you’re in an area with many trees and bushes, you can use them as anchors. Tie a figure eight on a bight, peel the outer bark away from the area you will tie it around, then thread the rope through. Feeding it twice will help hold it in place and make your rappelling more reliable.
9. Rappel With Only One Hand:
Keeping one hand on the rock presents no problems as long as you lean back. You can use your free hand to adjust clothing or equipment and help guide yourself down the rope more smoothly if anything gets snagged on a ledge or crack.
If you don’t have any equipment with you, go ahead and tie a Munter hitch around a thread of webbing for a little extra friction, but only do this if you are experienced and confident with the technique.
10. Rappel With Your Shoes On:
Before you tie into the rope, be sure to put on your shoes. Make sure they are sturdy shoes like climbing shoes or boots. This will give you the best chance of staying safe. Please don’t use running shoes. They won’t support your ankles enough.
Some Tips and Suggestions
1. Assess your surroundings before you decide where to rappel.
2. Walk the rope out to check for any obstacles or issues that could affect your descent or landing zone.
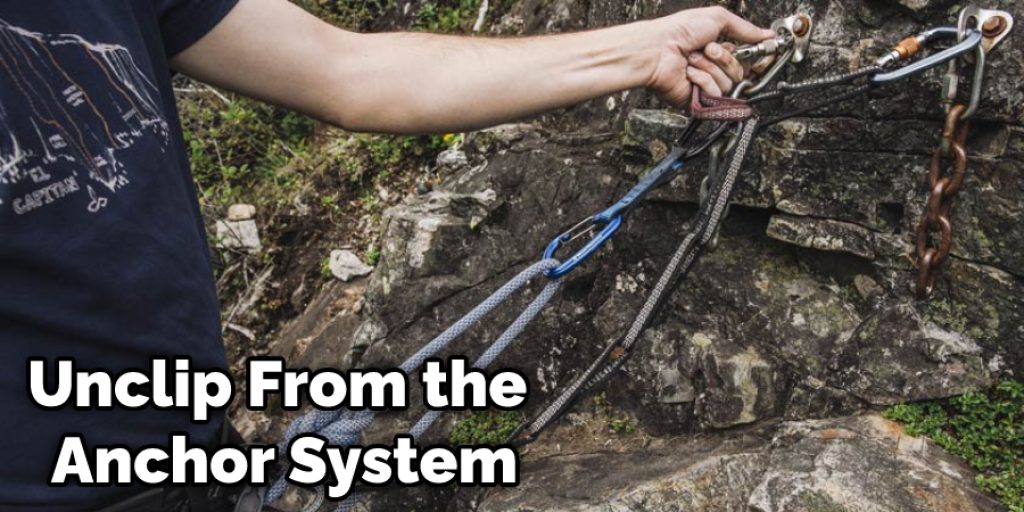
3. Put on a harness and attach yourself to the anchor system with the rope so you can unclip if needed but will still be connected in case of an accident/fall.
4. Make sure you know where the rope is at all times during the rappel; if it slips out of your hands or gets caught on something, it will fall to the ground and become damaged.
5. Unclip from the anchor system after you pass your desired location/landing zone because then there will be nothing holding you back, and you can walk back to the top.
6. If there is a second line attached to your anchor system, use that as your rappel backup if anything goes wrong and you need to restore from it.
7. Have at least one safety/emergency rope on hand in case of any problems or issues during your rappel.
Why Rappel With Just A Rope
Rappelling is used when descending a mountain, cliff, or other height with a rope. It’s usually done using some friction device that slows your descent to manageable speeds. If you are in the military, rappelling may be part of your job, and you might have expert training in how to do it safely.
But what if you want to rappel for fun? Well, without an expert trainer, there’s the possibility that your descent could be slowed with a friction device but then held up at the bottom of the rope by something like a knot, and this requires someone else below to hold your weight. The easiest way to avoid this is to securely tie your rope around something and then lower yourself down.
How Do You Recover the Rope After a Rappel
After a rappel, the rope is typically hanging down from the anchor. Pulling on the end of the rope will slowly pull it through an additional section of protection (typically another carabiner at the anchor) and then allow you to take up any slack easily.
The final thing to remember is the proper way to recover the rope from being ready for your next rappel. Do not coil it around your arm when you throw the rope down. It will tangle with itself and be difficult to use.
And most importantly, if there are other climbers below you, they could get hit with it. So instead, just let the rope fall over the edge of the cliff and allow it to feed naturally onto a ledge or into a crack. When you need it again, pull on it from above and it will come up. If there is no ledge or crack, pull back on the rope as it feeds down to you and let the friction of your pull hold it.
You Can Check It Out to: Tie a Get Down Rope
Conclusion
Rappelling is a fun way to get your adrenaline pumping, but it can be dangerous if you don’t know what you’re doing. Rappelling is a technique used to rappel down a cliff or other steep slope using just rope. It can be done as part of mountain climbing, caving, and sometimes during emergencies such as firefighting and search and rescue operations.
One end of the rope is attached to an anchor point high on the rock face; this may be anything that will support the weight, but typically it’s either bolted into solid rock or secured with metal bolts driven into cracks in the surface. We hope this blog post on how to rappel with just a rope has helped you get some insights. If you have any questions or want to know more, then feel free to comment below!


