How to Attach Hook and Loop Patch
Most people know hook and loop patches as the velcro-like fasteners used on clothing and gear. But did you know that these same patches can be used to attach just about anything? So whether you want to add a decorative touch to a piece of furniture or need an easy way to secure a loose wire, hook and loop patches are an ideal solution.
Let’s look at how you can attach these versatile little fasteners. Whether you’re fixing up a favorite jacket or want to decorate a bag, attaching hook and loop patches is easy to do. All you need is some fabric adhesive and a little bit of time. Read on to learn how to attach hook and loop patches like a pro!
Summary: If you need to attach a hook and loop patch to something, there are a few different ways to do it. One way is to use the adhesive side of the patch to attach it to the surface, then peel off the backing. Another way is to first adhere the patch to the surface using the sticky side, then use the backing to attach it to the desired location.
What Is a Hook and Loop Patch
A hook and loop patch, usually just referred to as a “hook and loop” patch, is a piece of fabric with tiny hooks on one side and loops on the other. The two sides can be attached by pressing them against each other, which creates a strong bond. Hook and loop patches are often used as closures on garments or other fabric items, as they are easy to use and can be detached without causing any damage.
How Do Hook and Loop Patches Work
Hook and loop patches use a simple mechanism to attach and detach. The hook side of the patch has tiny hooks that catch on the loops of the fabric, while the loop side has small loops that catch the hooks of the fabric. The hooks and loops interlock when the two pieces are attached and keep the patch in place. To detach the patch, you pull on one side or the other to release the hooks and loops.
10 Ways on How to Attach Hook and Loop Patch
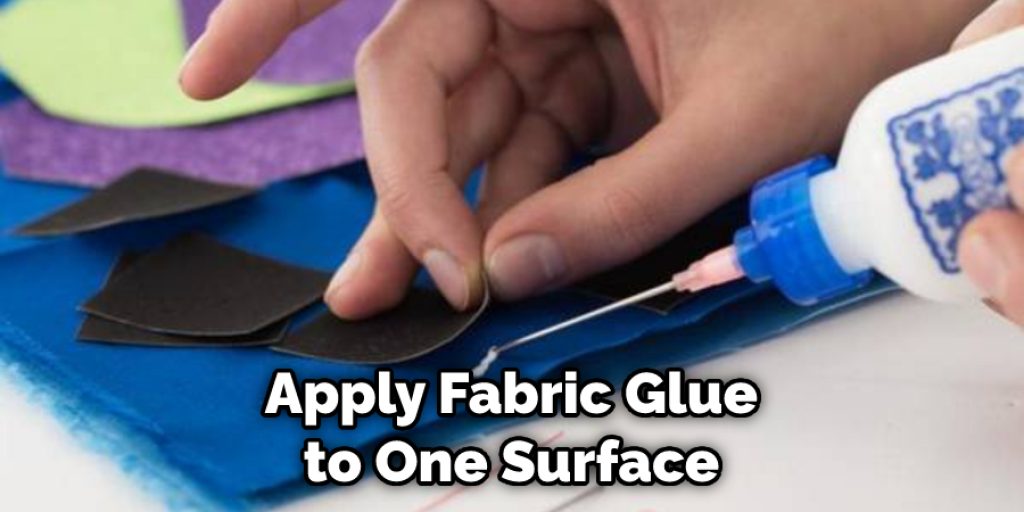
1. Use Fabric Glue:
This is the most common way to attach a hook and loop patch. You’ll need to make sure that both surfaces are clean and dry before starting. Apply fabric glue to one surface and press the other surface on top. Wait until the glue is dry before using the patch.
2. Sew It On:
If you don’t want to use fabric glue, you can also sew the patch on. Make sure that both surfaces are clean and dry before you start. Next, sew around the edges of the patch. You can use a straight stitch or a zigzag stitch.
3. Use a Hot Glue Gun:
If you’re in a hurry, you can use a hot glue gun to attach the patch. Make sure that both surfaces are clean and dry before you start. Apply a thin layer of hot glue to one surface and press the other surface on top. Wait until the glue is dry before using the patch.
4. Use Velcro:
If you’re having trouble attaching the hook and loop patch, you can try using Velcro. First, cut a piece of Velcro the same size as the patch. Apply the Velcro to the back of the patch. Then apply the other piece of Velcro to the surface you want to attach the patch to.
5. Use a Sticker:
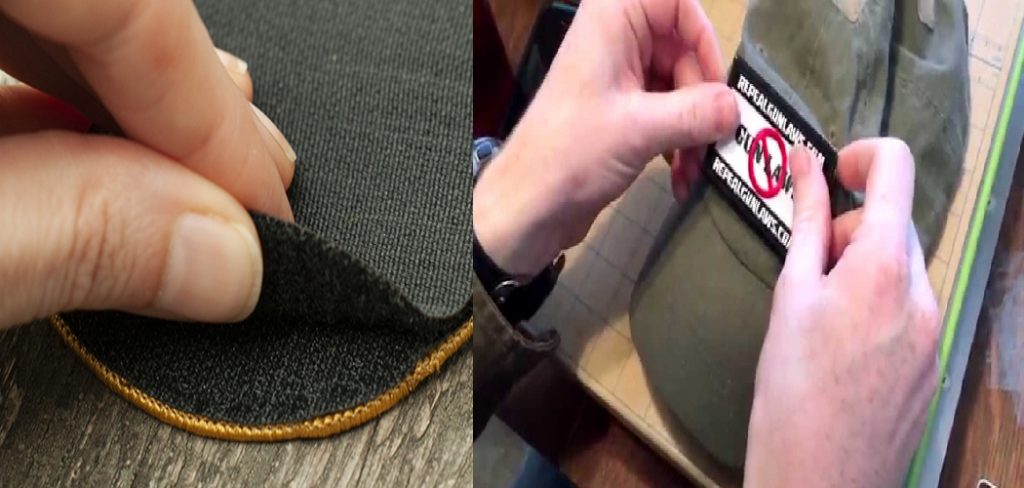
If you don’t have a sewing machine or just don’t feel like using one, you can also use stickers to attach your hook and loop patch. This is a great option if you need to attach the patch quickly or if you’re not very experienced with sewing. First, cut a piece of hook and loop tape that’s slightly larger than the patch.

Then, peel the backing off of one side of the tape and stick it to the back of the patch. Finally, peel the backing off of the other side of the tape and stick it to your clothes. Ensure that the hook and loop tape are correctly aligned before you press it down. If it’s not aligned correctly, the patch may not stick properly.
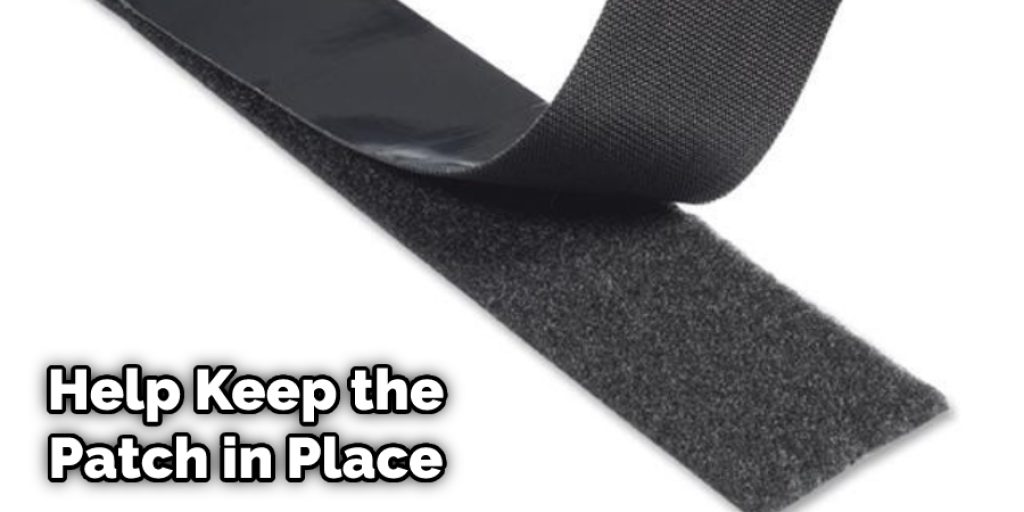
6. Use a Button:
If you’re having trouble attaching the hook and loop patch, you can try using a button. First, cut a piece of a button the same size as the patch. Next, apply the button to the patch and then sew it on. The button will help keep the patch in place.
7. Use a Sew-On Patch:
If you don’t have a sewing machine or don’t feel comfortable using one, you can also use a sew-on patch. This option will require more time and effort, but it’s still a viable way to attach your hook and loop patch.
To do this, you’ll need to cut out a piece of fabric that’s slightly larger than your patch. Then, use a needle and thread to stitch the fabric to the garment. Use a strong thread that will hold up against wear and tear.
8. Use Double-Sided Tape:
Some people find attaching a hook and loop patch with double-sided tape helpful. This will help keep the patch in place and prevent it from coming loose. Be sure to press the tape firmly against the fabric to ensure a good bond.
9. Secure the Patch:
Once the patch is in the desired position, use a pair of scissors to cut away the excess fabric around the patch’s edges. Then, use a hot iron to fuse the patch in place. Use a pressing cloth between the iron and the patch to protect it from heat damage.
10. Use a Safety Pin:
If you’re having trouble attaching the hook and loop patch, you can try using a safety pin. This is a great option if you need to attach the patch quickly or if you’re not very experienced with sewing. First, cut a piece of hook and loop tape that’s slightly larger than the patch.
Then, peel the backing off of one side of the tape and stick it to the back of the patch. Finally, fold the excess fabric over so that it’s behind the hook and loop tape. Use a safety pin to hold the fabric in place. Ensure that the hook and loop tape are aligned properly before you press it down.
Some Helpful Tips and Suggestions
Here we have given some tips on how to attach hook and loop patch
1. Make sure the surface is clean and dry before attaching the patch.
2. If the surface is oily, use a cleaning agent to remove the oil before attaching the patch.
3. The adhesive on the back of the patch should be facing outwards before attaching it to the surface.
4. Apply pressure to attach the patch firmly to the surface.
5. If the patch starts to come loose, use a new piece of hook and loop tape to reattach it.
6. Avoid attaching the patch to surfaces that are too wet, as this can damage the adhesive.
7. If the surface is curved, attach the patch as close to the center of the curve as possible.
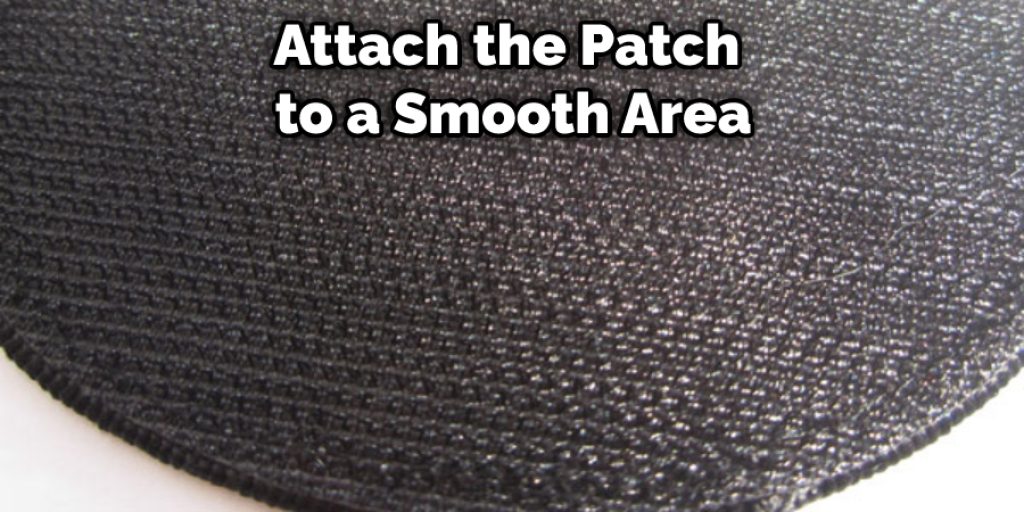
8. If the surface is bumpy, try to attach the patch to a smooth area.
Difference Between Hook-and-Loop and Velcro
Velcro is a brand name, while hook-and-loop is the generic term for this type of fastener. Hook-and-loop comprises two pieces: The “hook” side, which has tiny plastic hooks, and the “loop” side, which has tiny fabric loops. When the two sides are placed together, the hooks catch in the loops and hold the pieces together.
There are two main types of hook-and-loop fasteners: sew-on and pressure-sensitive. Sew-on hook-and-loop is the most common type. It’s attached to the fabric with a needle and thread, and it can be removed without damaging the fabric.
Pressure-sensitive hook-and-loop is also known as “Velcro.” It’s a thin, self-adhesive strip that sticks to the fabric. It can’t be removed without damaging the fabric.
How Long Does it Take to Make Custom Hook-and-Loop Patches
It usually takes about two to four weeks for us to make custom hook-and-loop patches. However, during busier times, it may take up to six weeks. The most common way to attach a patch is by using a sewing machine, but you can also use a hot glue gun or fabric adhesive.
If you’re using a sewing machine, the first step is to attach the hook material to the patch. The easiest way to do this is by using a zigzag stitch. Once the hook material is attached, you can attach the loop material to the desired surface. Again, be sure to use a strong thread that can withstand wear and tear.
If you’re using a hot glue gun, use high-temperature glue that will stick to both the hook and loop materials. Apply the glue to one side of the patch and press it against the desired surface. Hold it in place for a few seconds until the glue dries. If you’re using fabric adhesive, apply a thin layer to the back of the patch.
Conclusion
Hook and loop fasteners, also known as Velcro, have been around for a long time and are still popular today. They can be found on everything from military uniforms to baby clothes. There are many different ways to attach hook and loop patches, but the most common is with an adhesive backing.
Now that you know how to attach hook and loop patches, it’s time to get creative! You can use patches on all kinds of items, from clothing and backpacks to hats and keychains. Be sure to browse the selection of high-quality patches to find the perfect one for your next project. And if you need any help attaching your new patch, be sure to check out our blog post. Thanks for reading, and happy crafting!
You Can Check It Out to Use Chamois Cloth