How to Paint a Ceiling Medallion
Adding a ceiling medallion is a simple way to add pizzazz to your plain ceiling. You can transform your drab ceiling into something extraordinary with just a few supplies and basic painting skills. This article will show you how to paint a ceiling medallion in just a few steps. So get ready to add some glamour to your home with this easy DIY project!

The ceiling is the fifth wall of your home and should not be ignored while you are busy painting the other four walls. It is a common belief that ceilings are white, and there is no need to paint them. But this school of thought is rapidly changing as more and more homeowners are now incorporating ceiling medallions into their décor. Ceiling medallions are ornate pieces used to accentuate the center of a room’s ceiling. They come in different sizes, shapes, and designs, so you can easily find one to fit your room’s decoration style.
Should Ceiling Medallions Be Painted?
Ceiling medallions are often seen as a purely decorative element, and many people assume that they should be left unpainted. However, there are some compelling reasons to consider painting your ceiling medallion.
For one thing, painting a ceiling medallion can help tie it in with the rest of your décor. If you have a boldly painted ceiling, a painted ceiling medallion can help balance out the room and add a touch of elegance.
Additionally, it can help to protect it from damage. Unpainted medallions are more susceptible to scratches and other wear and tear, so if you want your medallion to last for many years to come, it’s best to give it a few coats of paint.
If you decide to paint your ceiling medallion, be sure to use high-quality paint on plaster or other surfaces. These paints will provide the best coverage and ensure that your medallion looks its best.
What Color Should the Ceiling Medallion Be?
Once you’ve decided to install a ceiling medallion, the next step is choosing the right color. The finish of your ceiling medallion will play a big role in its overall look, so it’s essential to select a hue that complements the existing colors in your space.

If your room has many neutral tones, you may want to opt for a medallion with a pop of color. Or, if your room is already quite busy, you may want to choose a medallion with a more subdued hue.
Ultimately, the best way to choose the right color for your ceiling medallion is to experiment with what looks best in your space. So don’t be afraid to try out different colors until you find the perfect match.
A Stepwise Guide on How to Paint a Ceiling Medallion
Step 1: Choose the Right Color Paint for Your Ceiling Medallion
When it comes to choosing the right color paint for your ceiling medallion, there are a few things you need to take into account. The first is the overall color scheme of your room. If your room has a lot of earth tones, then dark green or brown paint would be a good choice for your ceiling medallion.
On the other hand, if your room has a lot of white or light colors, then a light blue or pink paint would be better suited. You also need to consider the size of your ceiling medallion. A large ceiling medallion will require more paint than a smaller one. Finally, it would be best if you decided on your paint’s finish. A glossy finish will reflect more light and make your ceiling medallion stand out more, while a matte finish will provide a more subtle look.
Step 2: Prepare the Area
Once you have decided on the perfect color paint for your ceiling medallion, it is time to choose a location to paint. If possible, try to find a location that has good ventilation. This will help to prevent any fumes from the paint from bothering you. It is also essential to find an accessible area of any dust or debris. This will ensure that your paint job turns out flawlessly.
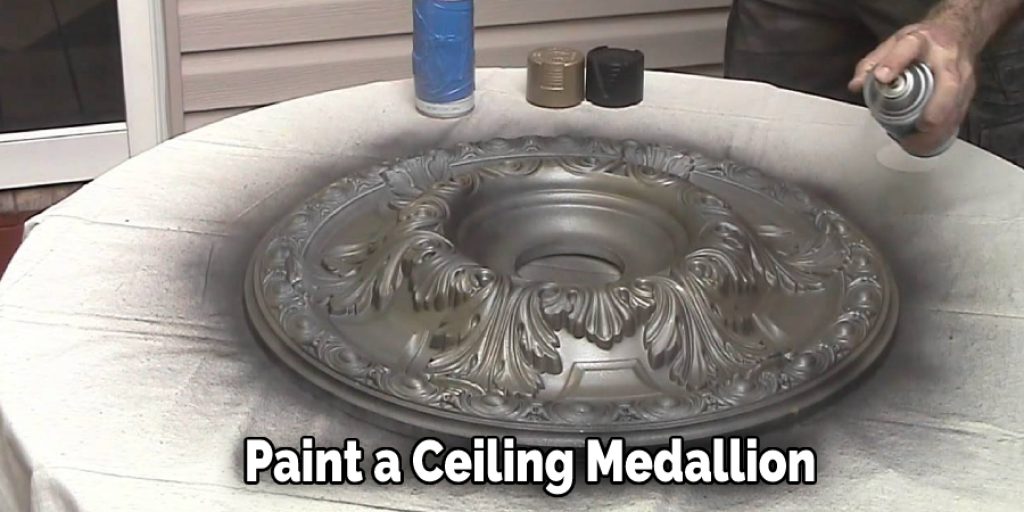
Once you have found the perfect location, you will want to lay something underneath it to protect your flooring. A tarp or drop cloth will work perfectly for this purpose. You will also need a few supplies, including a paintbrush, painter’s tape, and paint.

Step 3: Prepare the Surface of the Ceiling Medallion
Now that you have found the perfect location and gathered all of the necessary supplies, it is time to prepare the surface of your ceiling medallion for painting. The next step is to prepare the surface of your ceiling medallion for painting. If your ceiling medallion is made of plaster, you will want to use sandpaper to smooth out any imperfections. If your ceiling medallion is made of wood, you must use a primer before painting. This will help to ensure that your paint job turns out smoothly.
Once the surface is clean, you will want to use painter’s tape to create a border around the edge of your ceiling medallion. This will ensure that your paint job has clean lines. You may also want to use a drop cloth or tarp to protect any areas surrounding your ceiling medallion from paint splatters.
Step 4: Test Your Paint
Before you begin painting your ceiling medallion, it is always good to test your paint on a small area first. This will help ensure that you are happy with the color and consistency of your paint. Once you are satisfied with your test results, you can begin painting your ceiling medallion.
Step 5: Begin Painting
Now that you have chosen the perfect color paint and prepared the surface, it is time to begin painting your ceiling medallion. When painting, always start with the lightest color first and work your way up to the darkest color. This will help prevent any smudging or mistakes. Once you have finished painting your ceiling medallion, you will want to allow it to dry completely before moving on to the next step.
Step 6: Apply a Clear Coat
After your paint has dried, you will want to apply a clear coat to protect it from any potential damage. You can find clear coats at most hardware stores. Once you have applied the clear coat, you will want to allow it to dry completely before moving on to the next step.
Step 7: Hang Your Ceiling Medallion
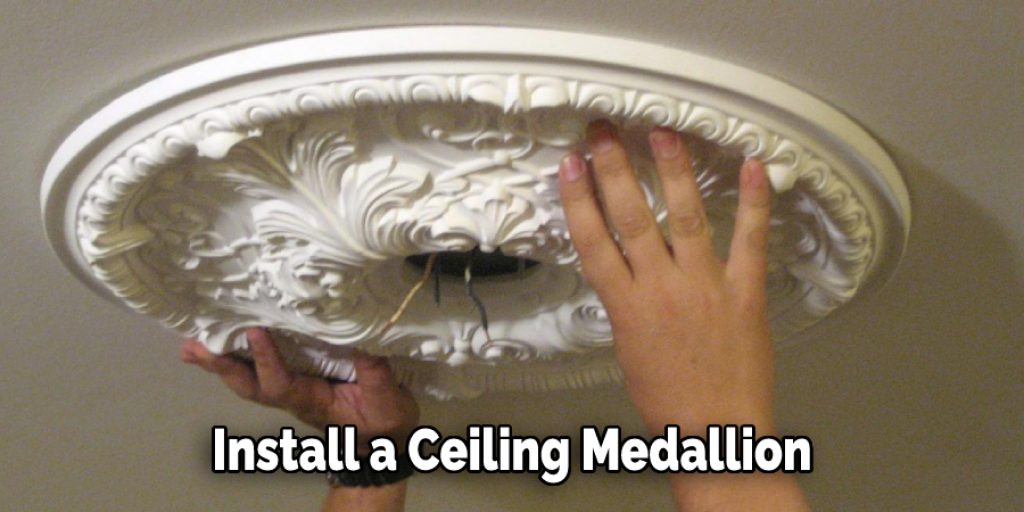
After your clear coat has dried, you are now ready to hang your ceiling medallion. The best way to do this is by using a ceiling medallion hanger. These can be found at most hardware stores. Once you have hung your ceiling medallion, you will want to allow it to dry for 24 hours before adding any decorations or furniture to the area.
There you have it! Now you know how to paint a ceiling medallion like a pro! With these simple steps, you will be able to create a beautiful and unique focal point in your home.
What Are Ceiling Medallions Made of?
Ceiling medallions are made of various materials, including plaster, polyurethane, polystyrene, and resin.
Plaster medallions are the most traditional type and are made by pouring plaster into a mold.

Polyurethane medallions are lightweight and easy to install, making them popular for DIY projects.
Polystyrene medallions are also lightweight and inexpensive, but they can be prone to warping.
Resin medallions are the most durable and realistic-looking option, but they can be pricey.
No matter what material you choose, ceiling medallions are a great way to add a touch of elegance to any room.
How Do You Attach a Ceiling Medallion?
Ceiling medallions are a great way to add a touch of elegance to any room. But what if you don’t know how to attach one? Here’s a quick and easy guide on how to do it.
1. First, you’ll need to find the center of your ceiling. The easiest way to do this is by measuring the length and width of your ceiling and then finding the midpoint. Once you’ve found the center, mark it with a pencil or piece of tape.
2. Next, you’ll need to find the center of your medallion. You can do this by measuring the length and width of the medallion and then finding the midpoint. Once you’ve found the center, mark it with a pencil or piece of tape.
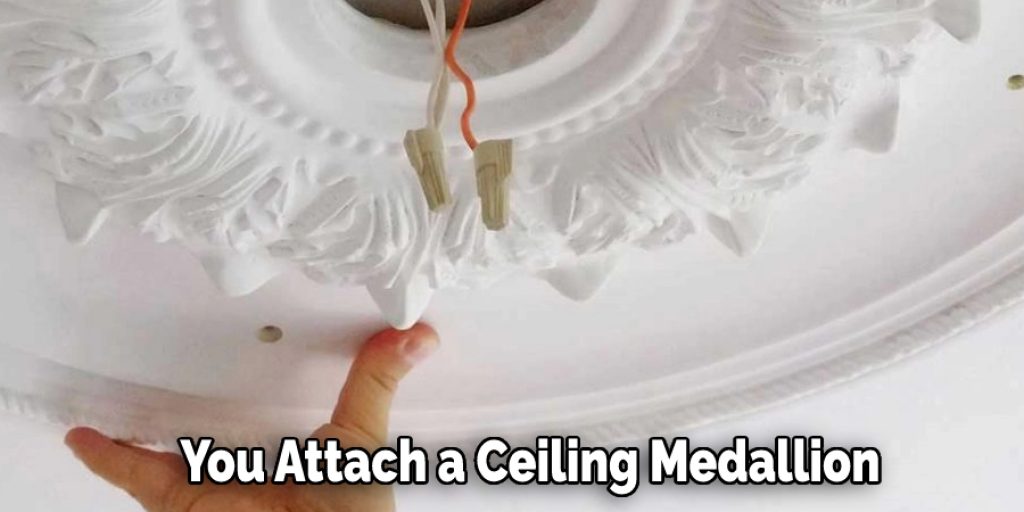
3. Now, you’ll need to attach the medallion to the ceiling. The easiest way to do this is by using adhesive Ceiling Medallion Hangers. First, peel off the backing and attach the hanger to the center of your medallion. Then, press the medallion firmly against the ceiling until the adhesive sets.
4. Once the adhesive has been set, you can now caulk your medallion to the ceiling. This will help create a seamless look and prevent the medallion from falling off over time.
5. Finally, you can add the finishing touches to your medallion by attaching it with screws or nails. Drill holes into the back of the medallion and then screw or nail it into place. Be sure to predrill the holes to avoid splitting the wood.

Now that you know how to attach a ceiling medallion, you can add one to any room in your home to add a touch of elegance and sophistication.
Conclusion
If you’re looking to add a touch of elegance to your ceiling, consider painting a medallion. It’s an easy project that can be completed in just a few hours. All you need is some paint and a few basic supplies. Follow these simple steps, and you’ll have a beautiful new addition to your home. We hope this article will help in how to paint a ceiling medallion.
You can check it out to Hang a Pendant Light in an Apartment


