How to Put a Rivet in Fabric
Do you have a garment or craft project that needs an extra touch of style? Putting rivets in the fabric is the perfect way to add a professional finish and create a stronghold. Chances are, if you’re here, it may be your first time working with rivets and fabric.
That’s okay! This blog post on how to put a rivet in fabric will teach you how to put a rivet into any type of lightweight material quickly and easily. You’ll learn what tools you need, instructions for assembling your materials, tips on setting your rivet properly, and an example tool list that makes this process painless from start to finish. Let’s get started!
11 Step-by-step Instructions on How to Put a Rivet in Fabric
Step 1: Gather Your Supplies
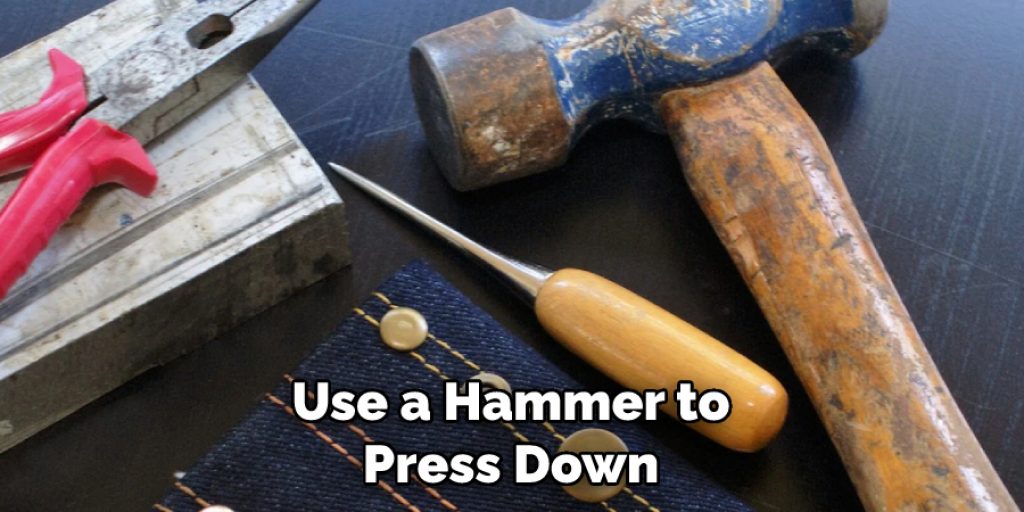
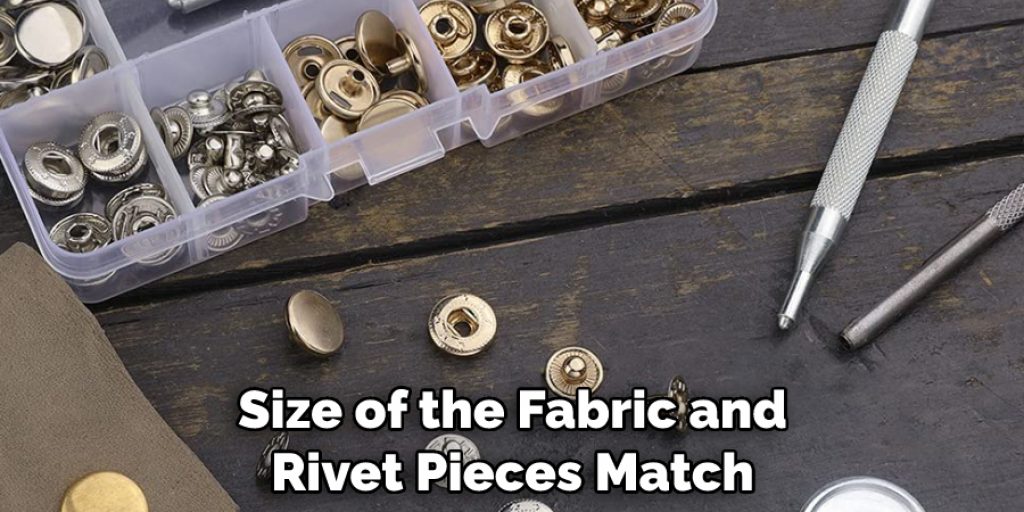
You’ll need a few basic tools to complete this project. You’ll need rivet pliers, fabric pieces that match the size of your rivets, and the actual rivets themselves. A hammer is necessary for setting the rivets in place. If you’re using a thicker fabric, you may need a heavy-duty hammer. If you’re working with a delicate fabric, use a rubber mallet. But before you start shopping, make sure to take into account the size of your rivet and fabric.
Step 2: Prepare Your Fabric
Lay out your fabric pieces and decide where to place the rivets. Mark each spot with a chalk or water-soluble pen so that you know exactly where to place the rivet. It is important to make sure the fabric pieces are cut accurately and have smooth edges. This way, your rivets will be securely fastened. It’s also a good idea to use a gentle detergent when washing the fabric, as harsh chemicals may affect the integrity of your rivets.
Step 3: Place the Rivet
Place the rivets on top of your marked spots. Make sure that they line up with the marks so that they’ll be in the right place when you set them. It’s also important to make sure the rivets are facing in the right direction. If they’re not, the rivet won’t hold securely. But don’t worry, if you make a mistake here, it’s easy to remove the rivet and start over. This is why it’s a good idea to practice on some scrap fabric first.
Step 4: Insert Rivet Pieces
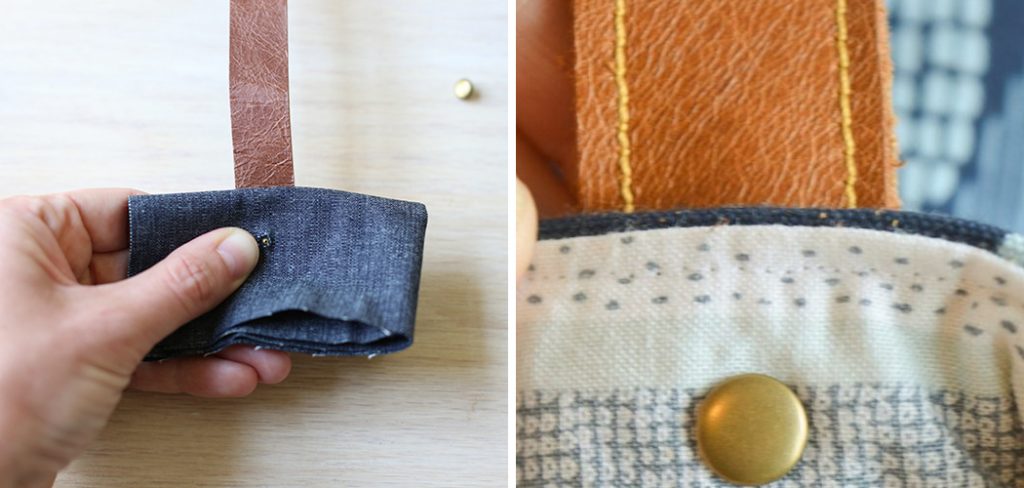
Take one piece of the rivet and insert it into the hole on one side of the fabric. Then, take the other part of the rivet and insert it into the other side of the fabric. Make sure both parts are aligned correctly before proceeding to step 5. But if you’re having trouble with alignment, use a pair of tweezers to help maneuver the pieces into place. It should fit snuggly and securely.
Step 5: Secure Your Work
Once all pieces are in place, use a hammer to press down until they are secure. This step is important as it will ensure that the rivet is set in place and won’t come loose once your project is complete. It’s also important to make sure that the rivet is set in place securely so it can hold the fabric together.
If you’re having trouble setting the rivet, use a pair of pliers to help press it in place. But make sure the pliers are strong enough to hold the rivet in place. Otherwise, you may end up damaging your fabric.
Step 6: Squeeze Rivets
Using a pair of rivet pliers, squeeze the two pieces of the rivet together until they are tightly secured. Make sure to keep them parallel while squeezing so that you get an even result. It’s also important to make sure that the pliers are strong enough to hold the rivet in place. If they’re not, you may end up damaging your fabric.
You should also ensure that the fabric pieces are held together firmly while squeezing. This way, you won’t have any problems with your finished product. It’s a good idea to practice this on scrap fabric first.
Step 7: Hammer Into Place
Once you have squeezed the rivets with the pliers, use a hammer to finish setting them into place. Firmly tap on each side of the rivet until it is flush with the fabric. It’s important to make sure the rivet is set in place securely so it can hold the fabric together.
Checking your work once more, make sure that the rivet is still parallel to the fabric and that it is securely fastened. This will ensure that your project is strong and looks professional.
Step 8: Trim Excess Fabric
After securing both sides of the rivet, use a pair of scissors to trim away any excess fabric that may be sticking out. It’s important to make sure that all excess fabric pieces are removed so that your project looks professional and neat. It’s also important to make sure that the rivets are evenly spaced.
This way, they will be able to hold your fabric together securely. But if you make a mistake here, it’s easy to remove the rivet and start over. It’s a good idea to practice on some scrap fabric first.
Step 9: Flatten Rivets
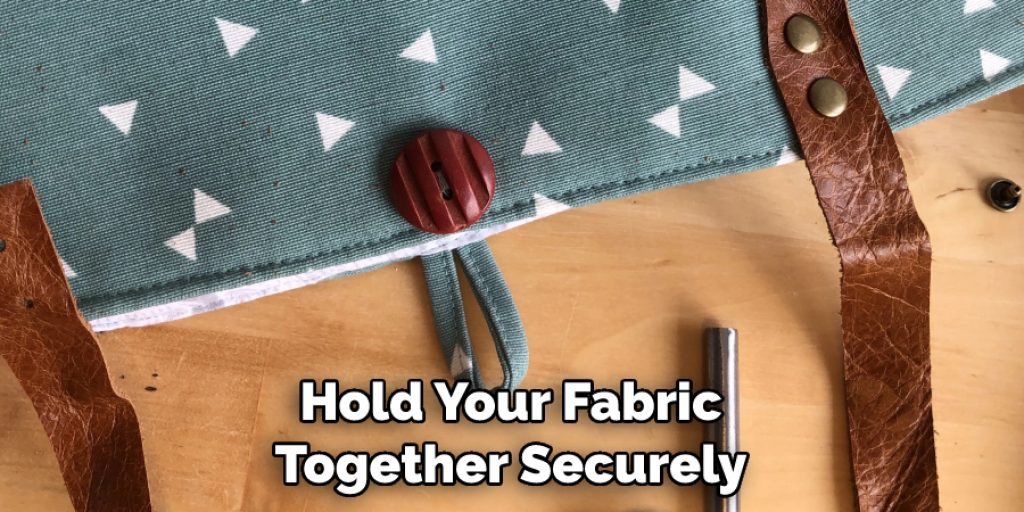
Once you have trimmed away all the extra fabric, use a hammer to flatten any areas that may not be flush with the fabric. This will give your project a professional finish and make sure everything is secure. This is the last step in putting a rivet into fabric and you’re almost done! If you have followed all the steps correctly, your project should be strong and secure.
Step 10: Test Rivets
To ensure that your rivets are properly secured, test them by pulling on each side of the fabric firmly. If they don’t come loose, then your project is complete! It’s important to make sure that all your rivets are secure so that your project is strong and durable.
You can also use a pair of pliers to test the rivets for extra security. If you feel any looseness, you may need to start over from step one. But with the right tools and technique, you should be able to put a rivet in fabric with ease.
Step 11: Enjoy Your Project!
Now that you know how to put a rivet in fabric, you can enjoy your newly completed project! Have fun and show off your hard work. Always remember to practice safety when working with sharp tools.
With the right materials and technique, you can put a rivet in fabric quickly and easily. Good luck and have fun! Do not forget to share your finished projects on social media so that others can appreciate your craftsmanship.
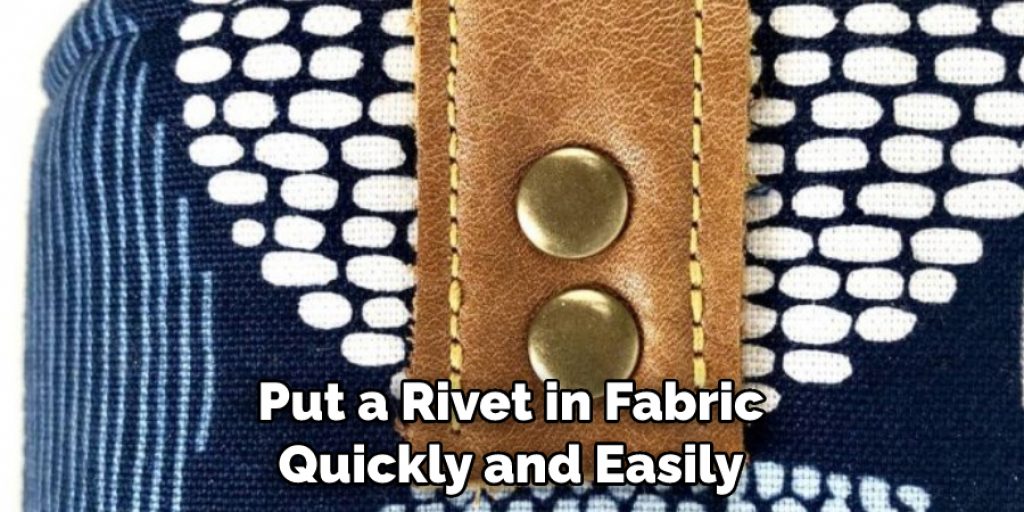
Congratulations! You successfully put a rivet in fabric and completed your project. We hope you enjoyed learning how to do this and that it helps you with all of your future projects.
Frequently Asked Questions
Q: What Kind of Tools Do I Need to Put a Rivet in Fabric?
A: You will need a pair of rivet pliers, fabric pieces that match the size of your rivets, and a hammer. If you’re using a thicker fabric, then you may need a heavy-duty hammer.
Q: How Do I Secure the Rivet Pieces?
A: Once all pieces are in place, use a hammer to press down until they are secure. Then, use a pair of rivet pliers to squeeze the two pieces of the rivet together until they are tightly secured. Lastly, use a hammer to flatten any areas that may not be flush with the fabric.
Q: How Do I Test the Rivets?
A: To ensure that your rivets are properly secured, test them by pulling on each side of the fabric firmly. If they don’t come loose, then your project is complete!
Q: Can I Use Different Types of Rivets?
A: Yes, you can use different types of rivets depending on your project. Just make sure that the size of the fabric and rivet pieces match correctly so that they fit together securely.
Now that you know how to put a rivet in fabric, you can start working on all kinds of fun projects! Have fun and show off your new skills with friends and family.
Conclusion
In conclusion, having a good understanding of how to properly install a rivet in the fabric will help you tackle almost any clothing, crafts or finishing project. Whether you have large hole punches and eyelet pliers or use a simple hammer and nail, the materials and tools needed are all relatively inexpensive and widely available.
The process itself is straightforward, quick and easy to complete. With practice on how to put a rivet in fabric, your projects will look professional and polished—and it’s fun too! So the next time you need to put in a rivet for a project, you’ll be armed with the knowledge of how to do it yourself. Don’t be afraid to try something new; that’s how we grow as artists and people.
Using the right tools with the right technique can help anyone decorate their clothes or craft items beautifully. And remember, once you learn how to put in a rivet, there’s no limit to your creative possibilities!

