How to Extend Kitchen Cabinets to Ceiling
There are several reasons why you might want to extend your kitchen cabinets to the ceiling. One of the main reasons is for additional storage space. By extending your cabinets, you can take advantage of all the vertical space in your kitchen and create more room for storing items. Another reason is for aesthetic purposes. Extending your cabinets to the ceiling can make your kitchen look more cohesive and polished, especially if you have high ceilings.
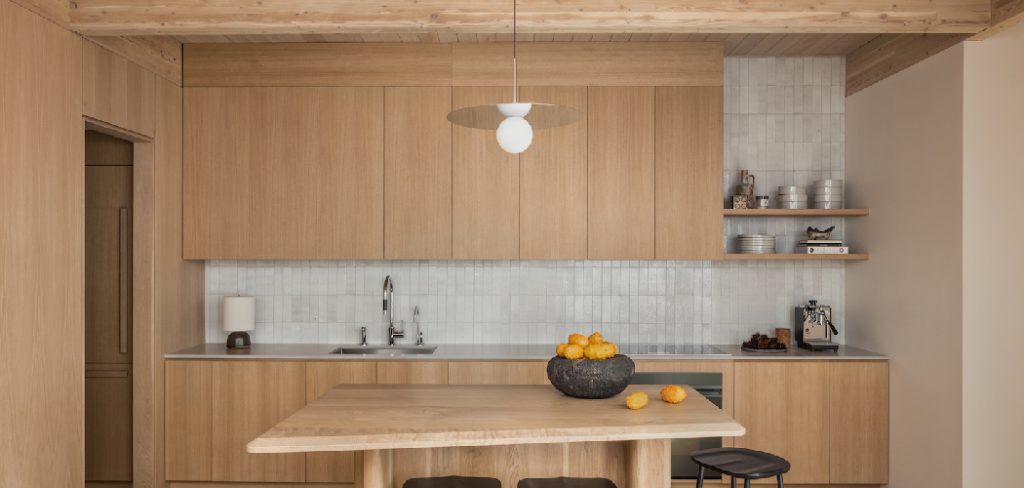
The main advantage of extending your kitchen cabinets to the ceiling is creating more storage space. This is especially beneficial for smaller kitchens with limited counter and cabinet space. By utilizing all the available vertical space, you can keep your kitchen clutter-free and have more room for storing items like pots, pans, small appliances, and pantry items. In this blog post, You will learn in detail how to extend kitchen cabinets to ceiling.
Materials You Will Need
- Tape measure
- Lumber (for the frame)
- Screws and nails
- Drill/driver
- Hand saw or circular saw
- Hammer
- Wood glue
- Sandpaper
- Paint/stain (optional)
- Trim molding (optional)
Once you have gathered all the necessary materials, it’s time to begin extending your kitchen cabinets to the ceiling.
Step-by-step Instructions for How to Extend Kitchen Cabinets to Ceiling
Step 1: Inspect Your Existing Cabinets
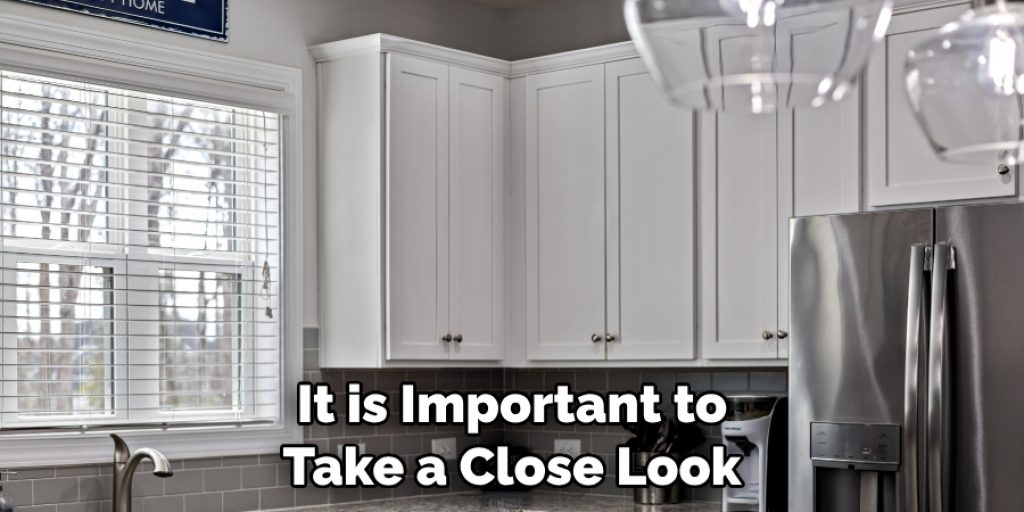
Before you begin the process of extending your kitchen cabinets to the ceiling, it is important to take a close look at your current setup. Look for any structural or stability issues that may prevent you from safely extending your cabinets.
Step 2: Measure and Plan
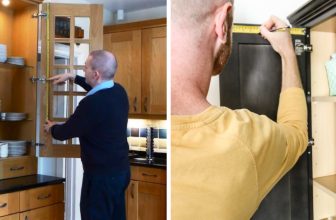
Measure the height of your existing cabinets as well as the space between them and the ceiling. This will give you an idea of how much space you have to work with and the materials you will need. To extend your kitchen cabinets, you will need additional cabinet boxes or shelves, brackets, screws, wood filler, sandpaper, and paint or stain to match your existing cabinets.
Step 3: Remove Old Molding
If your current cabinets have crown molding or any other decorative trim along the top, carefully remove it using a crowbar or hammer. This will create a clean surface for your new cabinets to be attached. Using your measurements and plan, install the new cabinet boxes or shelves above your existing ones. Make sure they are level and securely fastened to the wall.
Step 4: Attach Brackets
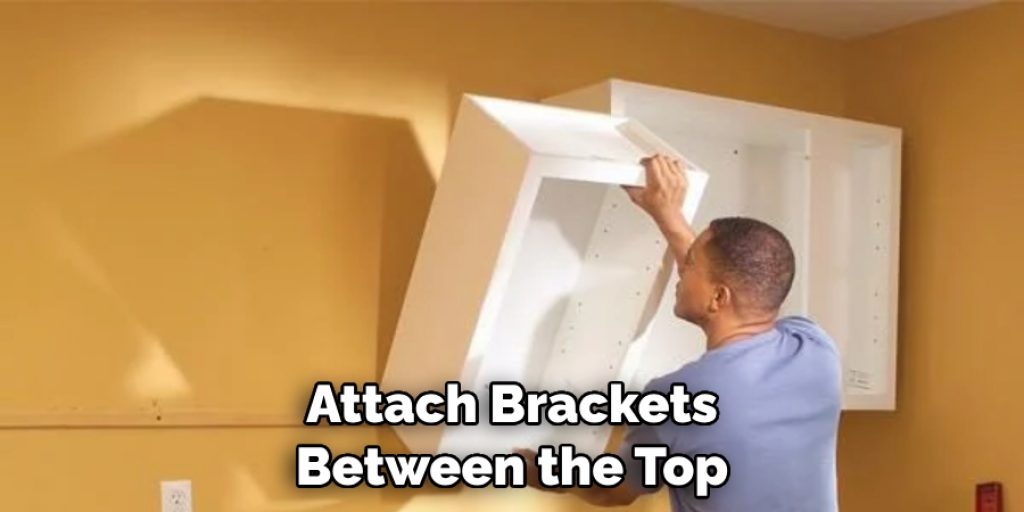
To ensure stability, attach brackets between the top of your old cabinets and the bottom of your new ones. These will help support the weight of the extended cabinets. If there are any gaps between the new and old cabinets, fill them in with wood filler and sand smooth once dry. This will create a seamless appearance.
Step 5: Sand and Paint
Sand any rough edges or imperfections and then paint or stain the extended cabinets to match your existing ones. This will give them a cohesive look. Once the paint is dry, install new crown molding or trim along the top of your extended cabinets for a finished look.
Step 6: Finish with Hardware
Finally, add any hardware such as knobs or handles to your extended cabinets. This will not only make them functional but also give them a polished appearance.
With these simple steps, you can easily extend your kitchen cabinets to the ceiling and create more storage space in your kitchen. Make sure to take your time and follow the instructions carefully for a successful and safe project.
Safety Precautions for How to Extend Kitchen Cabinets to Ceiling
- Use a stable ladder or scaffolding
- Before beginning any work, make sure the ceiling and walls are in good condition
- Wear appropriate safety gear, including safety goggles and gloves
- Avoid loose clothing that could get caught on tools or materials
- Keep children and pets away from the work area at all times
- Turn off power to any nearby outlets or switches before installing cabinets
- Use caution when working with power tools or sharp objects
The task of extending kitchen cabinets to the ceiling may seem like a simple DIY project, but it is important to keep safety in mind at all times. Here are safety precautions to follow while completing this task.
Benefits of Extending Kitchen Cabinets to the Ceiling
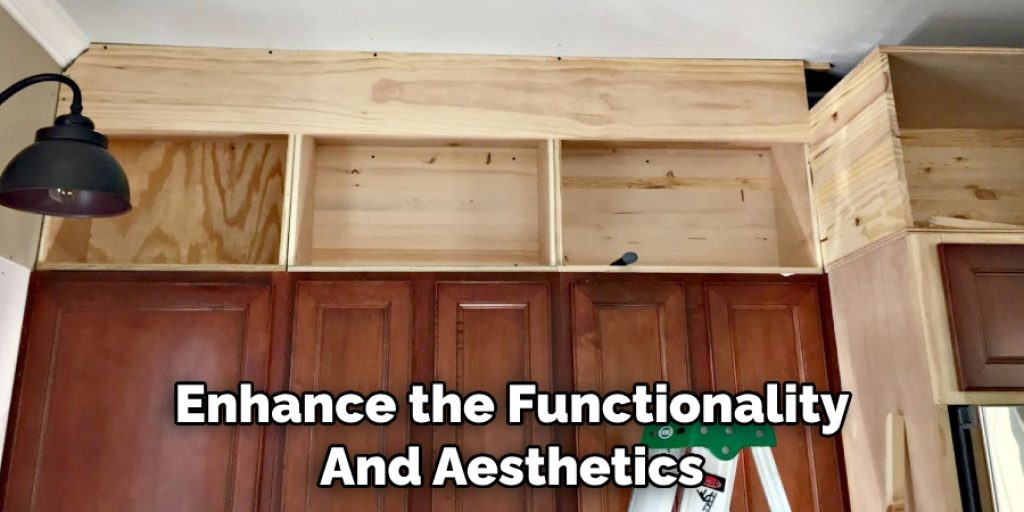
Extending kitchen cabinets to the ceiling has become a popular trend in recent years, and for good reason. This simple yet effective renovation technique can greatly enhance the functionality and aesthetics of your kitchen. Here are some of the top benefits of extending kitchen cabinets to the ceiling:
1. Increased Storage Space
One of the main reasons homeowners choose to extend their kitchen cabinets to the ceiling is to gain extra storage space. This is especially beneficial for small kitchens with limited cabinet space. By extending cabinets to the ceiling, you can increase your overall storage capacity and keep your countertops clutter-free.
2. Maximizes Vertical Space
In most kitchens, there tends to be a lot of unused vertical space above the cabinets. By extending them to the ceiling, you are utilizing this space and making the most of your kitchen’s available storage area. This is especially useful for storing infrequently used items such as holiday dishes or small appliances.
3. Creates a Custom Look
Extending cabinets to the ceiling can add a touch of elegance and sophistication to your kitchen. It creates a seamless, custom look that appears more high-end and visually appealing. Plus, with the many design options available, you can choose a style that complements your kitchen’s overall aesthetic.
4. Hides Unused Space
In some kitchens, there may be an awkward gap between the top of the cabinets and the ceiling. This space can collect dust and become a breeding ground for clutter. By extending cabinets to the ceiling, you are effectively hiding this unused space and creating a cleaner, more streamlined look.
5. Increases Home Value
Not only does extending kitchen cabinets to the ceiling improve the overall functionality and appearance of your kitchen, but it can also increase the value of your home. Potential buyers will see this feature as a desirable addition and may be willing to pay more for a kitchen with extended cabinets.
With increased storage space, maximized vertical space, a custom look, and added home value, it’s no wonder this trend is gaining popularity in kitchen design. Consider this option for your next kitchen renovation project and enjoy all the advantages it has to offer.
What Are Some Common Mistakes to Avoid When Extending Kitchen Cabinets to the Ceiling?
Extending kitchen cabinets to the ceiling is a popular home renovation project that can help maximize storage space and give your kitchen a more seamless look. However, if not done properly, it can also be a costly and time-consuming undertaking. In this section, we will discuss some common mistakes to avoid when extending your kitchen cabinets to the ceiling.

1. Not Measuring Accurately
One of the biggest mistakes people make when extending their kitchen cabinets is not measuring accurately. Before starting any work, it’s important to measure the height and width of your kitchen cabinets as well as the space between them. This will help you determine how much additional material you need to buy and prevent overspending or wastage.
2. Not Using Sturdy Enough Materials
Extending kitchen cabinets to the ceiling means adding more weight to them. If you use materials that are not strong enough, your cabinets may start sagging or even collapse over time. It’s important to invest in sturdy and durable materials like solid wood or plywood when extending your kitchen cabinets.
3. Forgetting about Ventilation
Many people forget about ventilation when extending their kitchen cabinets to the ceiling. However, it’s crucial to ensure proper ventilation in your kitchen as steam and heat can cause damage to your cabinets over time. Make sure to leave enough space for ventilation between the top of your cabinets and the ceiling or invest in a range hood that extends all the way up to the ceiling.
4. Not Considering Lighting
Lighting is often an afterthought when extending kitchen cabinets to the ceiling. However, it’s important to plan for lighting placement before starting any work. Consider installing LED strip lights on top of your cabinets or investing in hanging pendant lights above your kitchen island to add both functionality and style to your extended cabinets.
5. Neglecting the Space above the Cabinets
Extending kitchen cabinets all the way up to the ceiling means you will have a new space above them that can be utilized for storage. Make sure to plan for this space and consider adding shelves or using it to display decorative items like plants or artwork.
However, it’s important to avoid these common mistakes in order to ensure a successful and functional renovation. Take the time to measure accurately, use sturdy materials, plan for ventilation and lighting, and utilize the extra space above your cabinets for a successful project that will elevate your kitchen’s design.
Conclusion
In conclusion, we have discussed the process of extending kitchen cabinets to ceiling in detail. This is a great way to add more storage space and create a seamless look in your kitchen. By following the steps outlined in this article, you can easily achieve this project on your own or with the help of a professional. Remember to carefully plan out the design and materials needed before starting the project. This will ensure that the end result is both functional and aesthetically pleasing.
Furthermore, extending kitchen cabinets to ceiling can also increase the value of your home. It adds extra storage and makes the space look more spacious and organized, which are attractive features for potential buyers. I hope this article has been beneficial for learning how to extend kitchen cabinets to ceiling. Make Sure the precautionary measures are followed chronologically.


