How to Clean a Hair Dryer
As a hairdresser, you know the importance of keeping your tools clean and well-maintained. Not only does this help ensure that it works correctly, but it also reduces any potential risks of contamination from dirt, hair, or other products. While taking care of your hair dryer may seem like an afterthought in your daily salon routine, regular maintenance can go a long way to prolong its performance and usage life.
That’s why we’ve put together the ultimate guide on how to clean a hair dryer — so you always stay ahead of the game! In this piece, we will deep dive into why cleaning should be done regularly as well as provide easy step-by-step instructions for tackling those potentially spooky deposits from heat styling and more! Keep reading to learn all there is about cleaning hairstyling essentials before you grab that blowdryer again!
Why Cleaning Your Hair Dryer is Important?
Besides the obvious reasons like making it look good and ensuring a long-lasting shine, regular cleaning of your hair dryer also comes with other benefits. Over time, the filter can collect dust, dirt, and lint that slows down the motor’s performance, which in turn affects its efficiency.
This build-up can also cause overheating, which can shorten the life of your hair dryer. Not to mention, a dirty hair dryer can transfer bacteria and germs onto your clients’ scalp — not an ideal scenario for any salon professional.
Tools and Materials You Will Need to Clean a Hair Dryer
- A clean, damp cloth
- A soft-bristled brush or old toothbrush
- Compressed air canister (optional)
- Mild soap or dish detergent (preferably with antibacterial properties)
- Rubbing alcohol
Step-by-step Guidelines on How to Clean a Hair Dryer
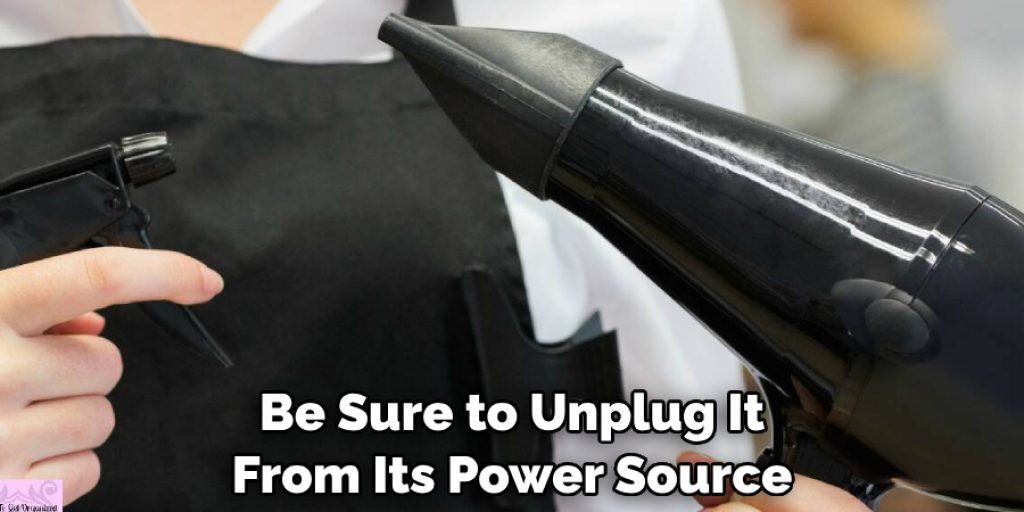
Step 1: Unplug the Hair Dryer
Safety first! Before you begin cleaning your hair dryer, be sure to unplug it from its power source. This helps prevent any potential accidents while you are working on it. This step is also essential for your safety, as water and electricity do not mix well. If your hair dryer has been recently used, allow it to cool down before you begin cleaning.
Step 2: Remove the Removable Parts
Many modern hair dryers come with removable attachments such as diffusers or concentrator nozzles. These can easily be removed by gently pulling them out from the hairdryer’s front or back, depending on the model. Once removed, set them aside for cleaning separately. While these attachments may not get as dirty as the hair dryer itself, they still need to be cleaned regularly.
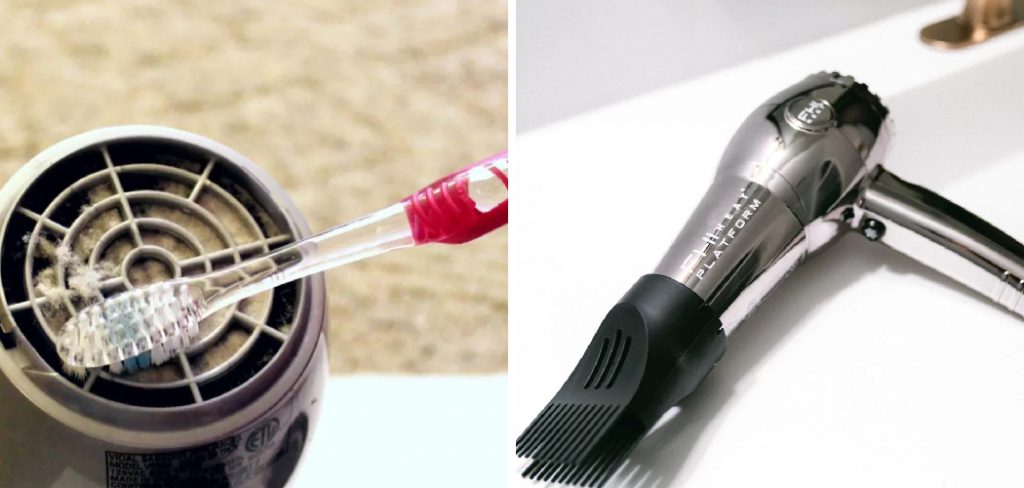
Step 3: Clean the Filter
The filter is where most of the dirt and debris collect in a hair dryer. To clean it, use a soft-bristled brush or an old toothbrush to gently remove any dirt or lint build-up from its surface. If the brush is not effective, you can also use a compressed air canister carefully to blow out any stubborn debris. Doing this will help maintain proper airflow, ensuring that your hair dryer works at its optimum performance.
Step 4: Wipe Down the Hair Dryer Exterior
Using a soft cloth dampened with mild soap or dish detergent and warm water, wipe down the exterior of your hair dryer to remove any grease, dirt, or product build-up. For tougher stains, you can use a small amount of rubbing alcohol on a cloth to spot clean. Avoid getting water into the air vents as this could damage the motor.
Step 5: Disinfect Your Hair Dryer
To sanitize your hairdryer and kill any bacteria or germs, use a cloth or cotton pad soaked in rubbing alcohol and wipe down the entire surface of your hair dryer. Pay extra attention to areas where build-up is more likely, such as buttons and edges. This step is crucial for salon professionals as it helps prevent any potential contamination from one client to another.
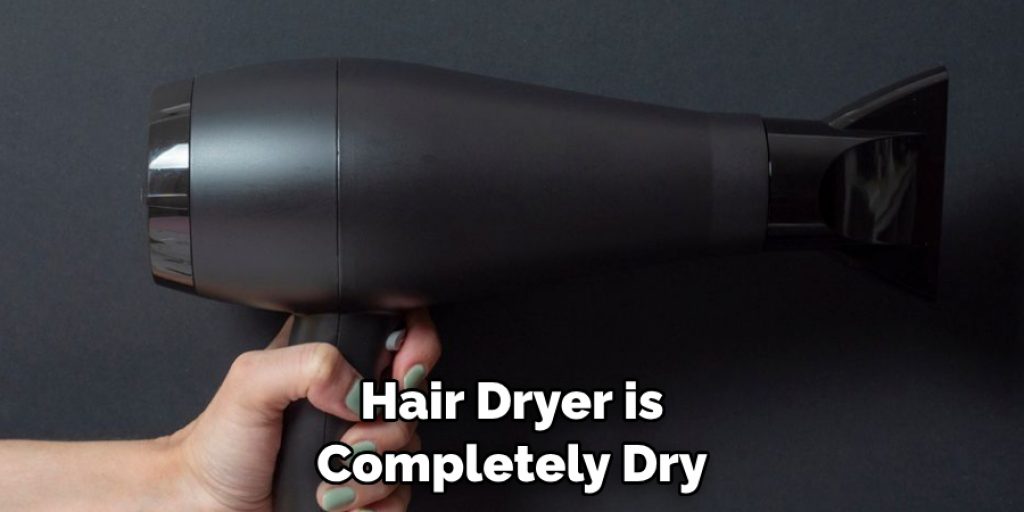
Step 6: Dry Thoroughly
Before you put all the parts back together, make sure that everything is completely dry. You can use a clean cloth to wipe down any remaining moisture and let it air dry for a few minutes before reassembling. Make sure that your hair dryer is completely dry before plugging it back in and using it again.
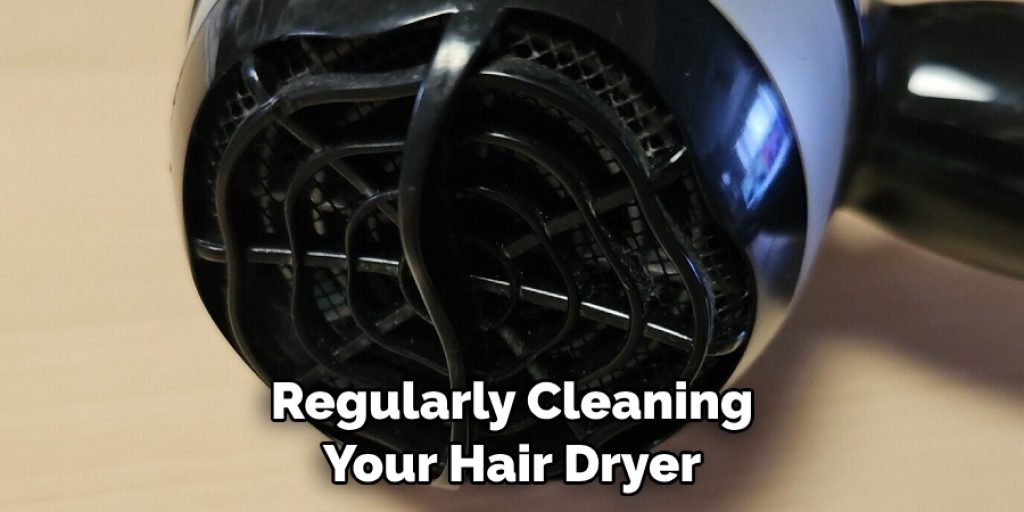
Following these simple steps will help keep your hair dryer clean and in tip-top shape. Remember to regularly clean your hair dryer at least once a month, or more often if you use it frequently. By doing so, you can rest assured that your hairdryer is always ready for action, providing optimal performance and keeping your clients’ hair healthy and happy!
Additional Tips and Tricks to Clean a Hair Dryer
- When cleaning your hair dryer, make sure to unplug it from the power source to avoid any accidents or electrocution.
- Remove any attachments or nozzles from the hair dryer before starting the cleaning process. This will make it easier to access all areas of the hair dryer.
- Use a soft and damp cloth to wipe the exterior of the hair dryer. Avoid using harsh chemicals or abrasive materials as they can damage the finish of the hair dryer.
- To clean the air intake vents, use a small brush (such as a toothbrush) to gently remove any dirt or debris that may be stuck inside. This will ensure proper airflow and prevent overheating of the hair dryer.
- For more thorough cleaning, you can use a mild soap or vinegar solution to clean the vents and exterior of the hair dryer. Make sure to dry it completely before using it again.
- To clean the heating element, gently use a cotton swab dipped in alcohol to remove any buildup or residue. Avoid getting any liquid inside the hair dryer.
- It is important to regularly clean the filter of your hair dryer as it can get clogged with hair and other debris over time. Remove the filter and gently tap it to remove any loose particles, then rinse it with water and let it air dry completely before reattaching it.
- If your hair dryer has a removable back panel, you can also clean the interior of the hair dryer with a damp cloth or compressed air to remove any dust or buildup.
- To keep your hair dryer in top condition, make sure to store it in a clean and dry place when not in use. This will prevent any dust or dirt from accumulating on the surface.
- Regularly cleaning your hair dryer not only ensures its longevity but also helps to maintain its performance. It also prevents any buildup of bacteria or germs, which can transfer onto your hair while using the hair dryer.
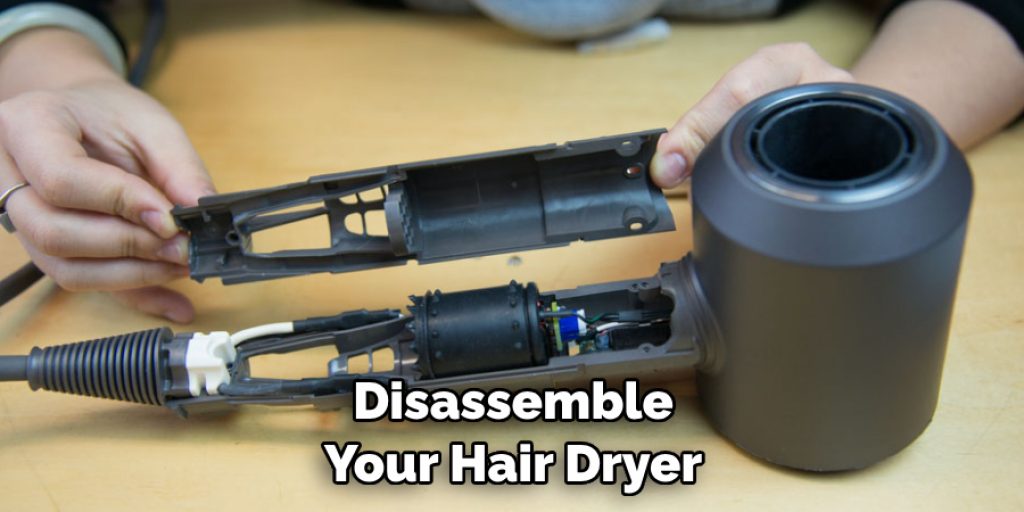
Following these tips and tricks will not only help you clean your hair dryer effectively but also keep it in top condition for years to come. Remember to always read the manufacturer’s instructions before cleaning your specific hair dryer model and never attempt to disassemble or repair it on your own.
If you are unsure about any cleaning methods, consult a professional for assistance. So, keep your hair dryer clean and enjoy beautifully styled hair every day! Happy cleaning!
Frequently Asked Questions
Are There Any Precautions I Should Take Before Cleaning My Hair Dryer?
Yes, there are a few precautions you should take before cleaning your hair dryer. First, make sure that the hair dryer is unplugged and completely cooled down before starting to clean it. Also, avoid getting any water or other liquids near the electrical components of the hair dryer as it can be dangerous.
Can I Use Any Type of Cleaning Product to Clean My Hair Dryer?
No, it is not recommended to use any type of cleaning product on your hair dryer. Chemical cleaners can damage the plastic and electrical components of a hair dryer. Instead, opt for gentler solutions such as soap and water or rubbing alcohol.
How Often Should I Clean My Hair Dryer?
It is recommended to clean your hair dryer at least once a month. This will help maintain its performance and prevent any build-up that may affect its functionality.
What Should I Use to Clean the Exterior of My Hair Dryer?
For the exterior of your hair dryer, use a damp cloth with mild soap or rubbing alcohol. Make sure to avoid getting any water inside the vents or other openings.
Can I Disassemble My Hair Dryer to Clean It?
It is not recommended to disassemble your hair dryer for cleaning unless you are a trained technician. Doing so can void the warranty and may result in damage to the hair dryer.
Conclusion
All in all, knowing how to clean a hair dryer is important not only for maintaining its performance but also for your safety. Following these simple tips can help keep your hair dryer in good condition and prolong its lifespan. Remember to always read the manufacturer’s instructions before attempting to clean your hair dryer and use caution when handling electrical appliances. Happy cleaning!
Angela Ervin
Angela is the executive editor of DIY quickly. She began her career as an interior designer before applying her strategic and creative passion to lifestyle and home. She has close to 15 years of experience in creative writing and online content strategy for housekeeping, home decorations as well as other niche efforts. She loves her job and has the privilege of working with an extraordinary team. She lives with her husband, two sons, and daughter in Petersburg. When she's not busy working she spent time with her family.