How to Sew Material on Shelf Liner for Jar Opener
Are you tired of your jars slipping through your fingers when you open them? Sewing material onto a shelf liner is a simple and effective solution for creating a DIY jar opener.
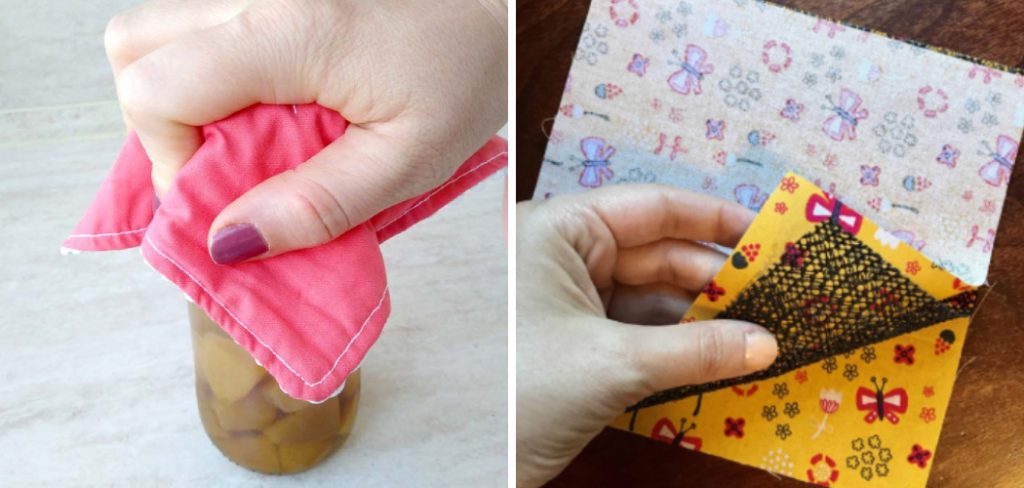
Creating a homemade jar opener by sewing material onto a shelf liner is a practical project and an excellent way to personalize kitchen tools or make thoughtful, handcrafted gifts. This simple yet effective DIY project combines the non-slip grip of a shelf liner with the durability and aesthetics of fabric, ensuring you have a sturdy and stylish helper for those tough-to-open jars.
Whether you’re a sewing novice or a crafty expert, this guide will walk you through the process of how to sew material on shelf liner for jar opener. Get ready to transform ordinary materials into a handy kitchen accessory!
What are the Importance of Jar Openers?
Jar openers are crucial in any kitchen, especially for those with limited hand strength or arthritis. They provide extra leverage and grip to help loosen stubborn jar lids, making it easier and safer to open jars without straining muscles or risking broken jars.
However, store-bought jar openers can be expensive and may only sometimes fit the specific jar sizes in your kitchen. That’s where a DIY jar opener comes in handy! By sewing material onto a shelf liner, you can create a custom-fit and personalized jar opener that will help you effortlessly open jars of any size.
What Will You Need?
Before you start sewing, you will need the following materials:
- Shelf Liner: This is the main material that provides a non-slip grip and stability for your jar opener. You can find shelf liners in various sizes and patterns at most home improvement or dollar stores.
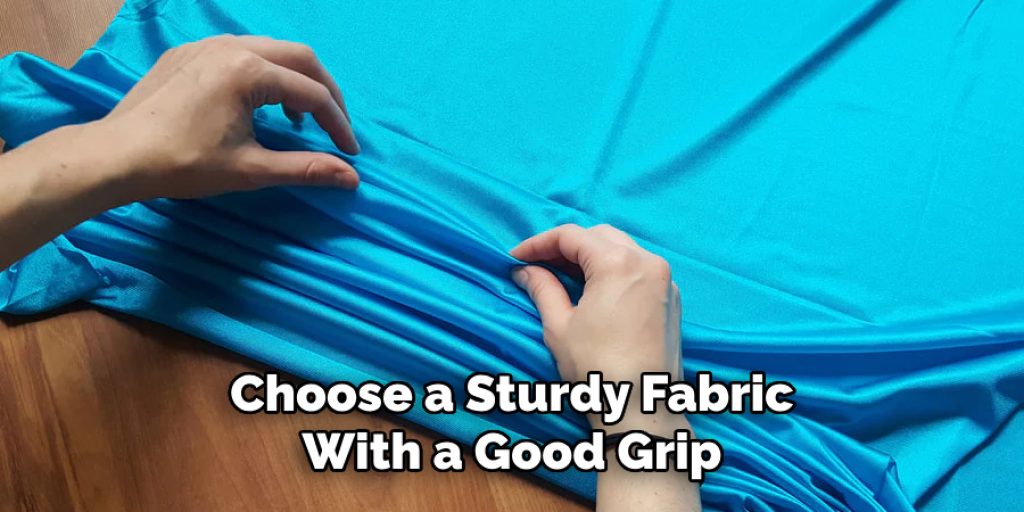
- Fabric: Choose a sturdy fabric with a good grip, such as cotton or linen. You can also use scraps of fabric from previous projects.
- Sewing machine or needle and thread: While a sewing machine will make the process faster, you can still create a jar opener with just a needle and thread.
- Scissors: These are essential for cutting the shelf liner and fabric to the desired size.
- Ruler or Measuring Tape: This will help you accurately measure and cut the fabric and shelf liner.
- Pins: These are helpful for keeping the fabric in place while sewing.
Once you have gathered all your materials, it’s time to start creating your custom jar opener!
10 Easy Steps on How to Sew Material on Shelf Liner for Jar Opener
Step 1. Measure and Cut:
Begin by measuring the shelf liner and fabric to the desired size of your jar opener. A good standard size is around 6 inches by 6 inches, but you can adjust it based on your needs. Use the scissors to cut both materials to size. Additionally, you can use pinking shears to prevent fraying of the fabric edges.
Step 2. Layer and Prepare:
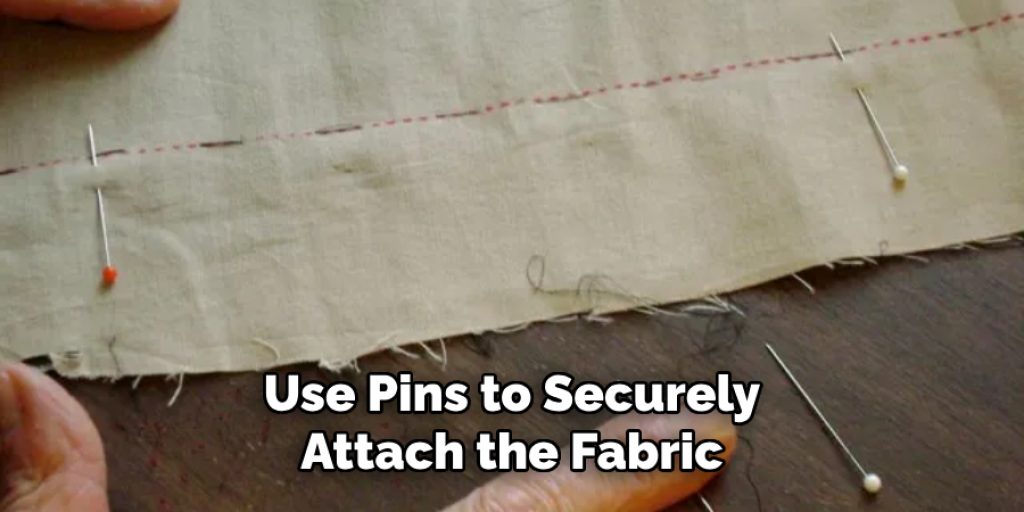
Place the cut fabric on top of the shelf liner, ensuring that the side of the fabric you want to be visible is facing upwards. If your fabric has a tendency to fray, ensure that all edges are neatly aligned. Use pins to securely attach the fabric to the shelf liner along the edges, preparing them for sewing. This step is crucial for keeping the materials in place and ensuring a neat, uniform seam.
Step 3. Start Sewing:
Begin sewing around the perimeter of the fabric and shelf liner, removing the pins as you go. If using a sewing machine, a basic straight stitch will suffice. Ensure your stitches are close to the edge, about ¼ inch, to secure the materials together without compromising the grip area. For those using a needle and thread, maintain tight and even stitches to prevent the fabric from peeling away from the shelf liner. Remember, the goal is to create a durable bond to withstand the pressure of opening jars.
Step 4. Trim Excess Thread:
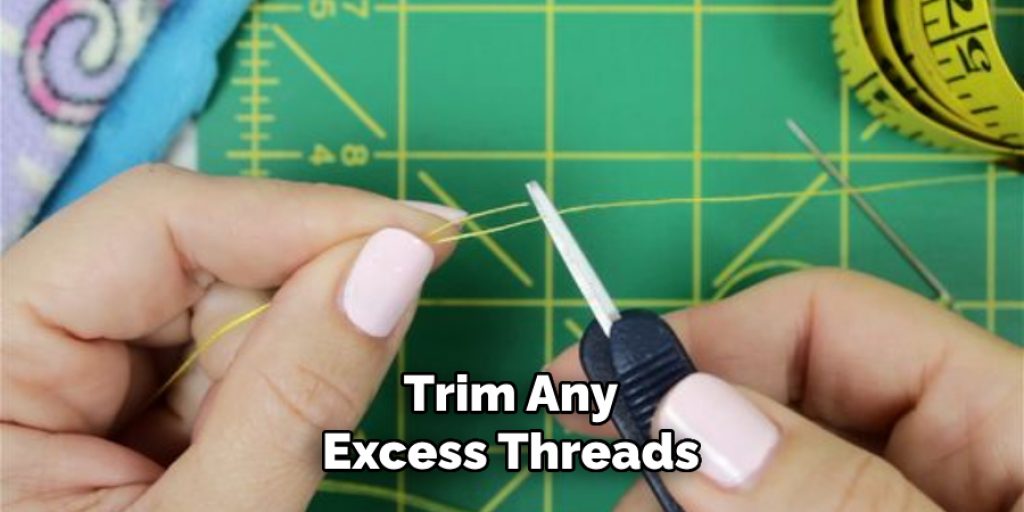
Once you’ve finished sewing around the perimeter, carefully trim any excess thread from your stitches. This step is important to ensure your jar opener looks neat and professional. Also, check for any loose ends or missed areas that may need additional stitching for reinforcement. A clean finish will not only improve the appearance of your jar opener but also increase its longevity and functionality.
Step 5. Test for Grip:
Once you have completed sewing and trimming excess threads, it’s time to put your DIY jar opener to the test. Place a jar on a flat surface and grip and twist the lid with your newly crafted opener. Pay attention to how well it holds onto the lid and if there is any slipping. If the grip feels insufficient, consider adding a second layer of shelf liner for extra thickness and improved grip performance. Testing your jar opener ensures it meets your expectations and needs before you move on to using it regularly in your kitchen.
Step 6. Optional Decoration:
For those who wish to add a personal touch or make the jar opener more visually appealing, this step offers the opportunity to decorate your creation. Consider using fabric paint, embroidery, or even iron-on patches to decorate the fabric side of your jar opener.
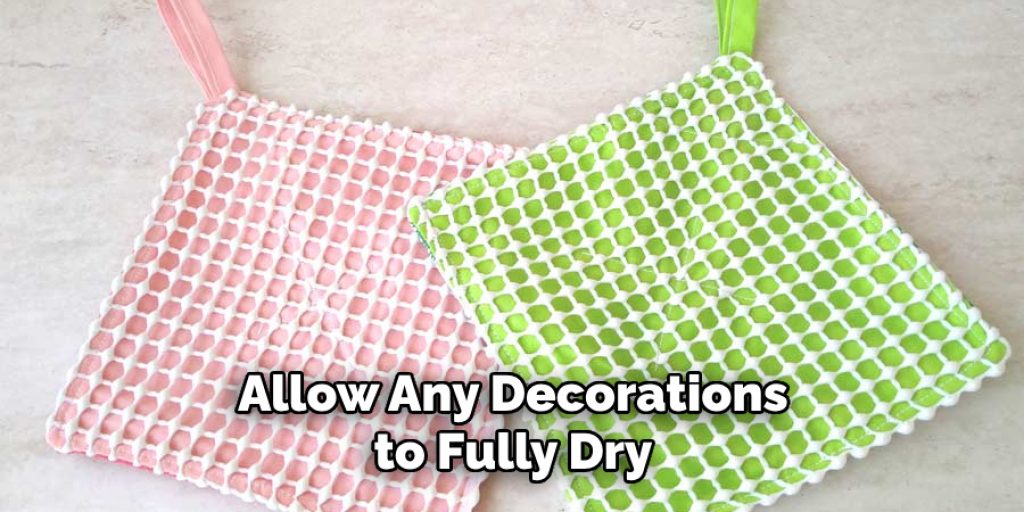
If opting for paint or embroidery, ensure it’s done on the fabric before attaching it to the shelf liner to prevent damage. Allow any decorations to fully dry or set before using your jar opener to ensure durability and prevent any decorations from interfering with the grip of the jar opener. This step is a fun way to customize your kitchen tool and a great way to infuse a bit of personality and style into an otherwise utilitarian item.
Step 7. Care and Maintenance:
Properly caring for your DIY jar opener will extend its usability and efficiency. To clean, simply wash by hand with mild soap and water and allow it to dry thoroughly before the next use. Avoid putting it in the dishwasher as the heat and detergents can degrade the materials, especially the adhesive properties of the shelf liner.
Consider sewing a new piece onto the existing shelf liner for fabric that starts to look worn or dirty. This not only refreshes the appearance of your jar opener but also reinforces its grip strength. Regular maintenance ensures your jar opener remains a reliable tool in your kitchen for years to come.
Step 8. Share and Enjoy:
After successfully creating your custom jar opener, don’t hesitate to share this handy tool with friends and family. They make excellent homemade gifts, especially when paired with a set of unique jars filled with homemade treats.
Demonstrating its use and sharing the simple steps to create one can also be a fun activity at gatherings or a thoughtful addition to a cooking-themed gift basket. Enjoy the satisfaction of using a tool you’ve crafted yourself, knowing it’s practical and a reflection of your creativity and skill.
Step 9. Experiment with Sizes and Shapes:
Once you’re comfortable with the basic process of creating a jar opener, feel free to experiment with different sizes and shapes to suit various kitchen needs. Oval or circular jar openers fit better in your hand or drawer. You could also create larger pieces for opening stubborn containers or smaller ones for tiny cosmetic jars.
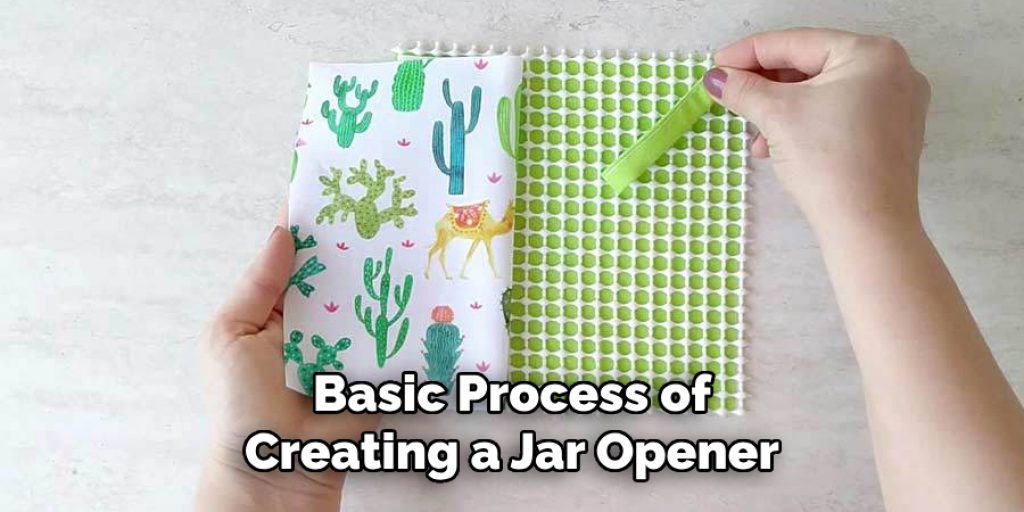
This customization allows you to tailor your kitchen tools to your specific needs, making everyday tasks easier and more enjoyable. Remember, the shelf liner’s thickness and the fabric type can also be adjusted for optimal performance, depending on the jar or container you aim to open.
Step 10. Reflect and Improve:
Once you’ve had a chance to use your DIY jar opener for a while, take a moment to reflect on its performance and how it could be improved. Did the fabric you chose hold up to repeated use, or would a more durable material make a better choice? Is the grip effective for all types of jars and lids you commonly encounter, or should adjustments be made to the design?
This step is about evaluating the effectiveness and longevity of your jar opener and considering any modifications that could enhance its utility. Continuous improvement not only applies to professional projects but to these practical DIY creations as well. Adjusting your design based on experience ensures that your next jar opener will be more effective and personalized.
By following these simple steps, you can create a customized jar opener that fulfills its intended purpose and adds a personal touch to your kitchen.
5 Additional Tips and Tricks

- Choose the Right Needle: For a smoother sewing experience, select a sharp needle to penetrate the fabric and the shelf liner easily. A heavy-duty needle, like those used for denim or upholstery, can be particularly effective.
- Test Stitch Length: Before starting your project, do a test run on a scrap piece of fabric and shelf liner. This allows you to adjust your sewing machine’s stitch length and tension for the best outcome. A longer stitch length can prevent the material from bunching up and ensure a stronger stitch.
- Use Clips Instead of Pins: Pins can leave permanent holes in your shelf liner. Use sewing clips to hold your fabric and liner in place as you sew. This method is especially useful for maintaining the integrity of the shelf liner material.
- Reinforce Corners: Corners and edges can be potential weak spots. Reinforce these areas by sewing over them a couple of times. This extra step can make a significant difference in the overall durability of your jar opener.
- Prevent Slipping with a Rubberized Foot: If available, use a rubberized presser foot for your sewing machine to help manage the slick surface of the shelf liner. This can prevent the material from slipping as you sew, leading to more precise stitches.
By incorporating these tips into your sewing process, you can enhance your DIY jar opener’s quality, durability, and functionality.
5 Things You Should Avoid
While the document above covers a broad range of tips and steps for creating a jar opener, including sewing materials to shelf liners, more detailed instructions on the sewing process could provide additional clarity. Therefore, for those looking to understand precisely how to attach fabric to a shelf liner for a jar opener, here’s a focused guide:
- Preparing Your Materials: Begin by cutting your fabric and shelf liner into the desired shape and size. Ensure both pieces are exactly the same size for a neat finish.
- Positioning Fabric and Liner: Lay the fabric right side down, then place the shelf liner on top, ensuring the edges align perfectly. This configuration means you’ll sew on your fabric’s back.
- Sewing the Two Together: Using a heavy-duty needle and a longer stitch length, carefully sew around the perimeter of the fabric and shelf liner. Start about half an inch from the edge to ensure the layers are securely joined. Remember to backstitch at the beginning and end to lock your stitches in place.
- Trimming and Finishing: After sewing, it is helpful to trim any excess threads or uneven edges. If your sewing machine has a zigzag stitch, going around the edge with this setting can prevent fraying and provide a cleaner finish.
- Allowing Time to Dry: Some fabric or shelf liner materials may require drying time before you can use your jar opener. Refer to the instructions on your chosen materials, and be sure to allow sufficient drying time before using it for its intended purpose.
Avoiding these common mistakes can save you time and frustration when creating a jar opener. With clear instructions and practice, you can perfect your DIY skills and create a jar opener that meets your unique needs.
What to Do if You Can’t Open a Jar?
Despite your best efforts, sometimes jars can still be difficult to open. If you find yourself struggling with a stubborn jar, here are a few tips to help:
- Try tapping the lid on the edge of a counter or hard surface to help break the seal.
- Use a towel or rubber gloves for better grip and leverage when twisting.
- Run the lid under hot water for a few seconds, which can help loosen the seal.
- Use a jar opener tool or a rubber jar gripper to get a better grip on the lid and make it easier to twist.
Always be cautious when opening jars, and never apply too much force that could cause injury.
What Type of Jars Can You Open With This DIY Jar Opener?
This simple and versatile jar opener can be used for a variety of jars and containers, including:
- Mason Jar: Ideal for sealing and preserving food, Mason jars are a common presence in many kitchens. The DIY jar opener’s textured grip is especially effective for the ridged edges of Mason jar lids, which sometimes prove challenging due to the vacuum seal created during the canning process. Whether you’re opening a jar of homemade preserves or pickles, this jar opener provides the leverage and grip needed to break the seal with minimal effort.
- Pickle Jar: Like Mason jars, pickle jars have a ridged edge that can be difficult to open. With the help of this jar opener, you can easily twist off the lid and enjoy your pickles without any struggle.
- Sauce Jar: Whether it’s ketchup, mayonnaise, or pasta sauce, many store-bought jars have smooth and round lids that can be tricky to grip. The DIY jar opener’s textured surface can provide the necessary grip and leverage to open these jars easily.
- Screw-top Jars: From peanut butter to coconut oil, various food products come in screw-top jars that can be challenging to open. Thanks to its textured grip and leverage, this jar opener’s versatility allows you to open these jars easily.

With this DIY jar opener, you can say goodbye to struggling with stubborn jars and hello to effortless opening. Plus, you’ll be satisfied with creating a practical solution with your own two hands.
How Can You Combine the Jar Opener with Other DIY Projects?
The possibilities for incorporating this jar opener into other DIY projects are endless. Here are just a few ideas to get you started:
- Create a matching set of pot holders and jar openers using the same fabric and shelf liner material for both. Not only will this make your kitchen look cohesive, but it also provides an opportunity to practice your sewing skills.
- Sew a small loop onto the jar opener, allowing you to hang it on a hook or knob in the kitchen for easy access and storage.
- Make multiple jar openers of varying sizes and keep them handy in different places around the house, such as in the garage, for opening stubborn jars of paint or varnish.
The more you explore and experiment with this DIY jar opener, the more uses you’ll find for it daily.
Conclusion
How to sew material on shelf liner for jar opener presents an opportunity to create a custom, effective tool and enables you to engage in a rewarding project. Throughout this guide, we’ve explored the materials needed, detailed steps for attachment, and provided tips to enhance durability and functionality.
From preparing your materials to applying the finishing touches, each step is crucial to achieving a jar opener that is both durable and aesthetically pleasing. Furthermore, understanding what to avoid during the process helps ensure a smooth creation experience.
Whether you’re facing a stubborn Mason jar or a slick sauce container, this handmade jar opener is a testament to the blend of practicality and creativity that DIY projects embody. Remember, patience, precision, and practice are the keys to success.
With these in mind, you’re well on your way to creating a functional kitchen tool that reflects your personal touch.

