How to Make a Cheer Bow Out of Ribbon
Cheerleading is not just about the performance; it’s equally about making a visual statement, and what better way to achieve this than with a vibrant and eye-catching cheer bow? Creating your own cheer bow out of ribbon is not only a fun and creative activity, but it also allows for customization to match your team’s colors and style perfectly.
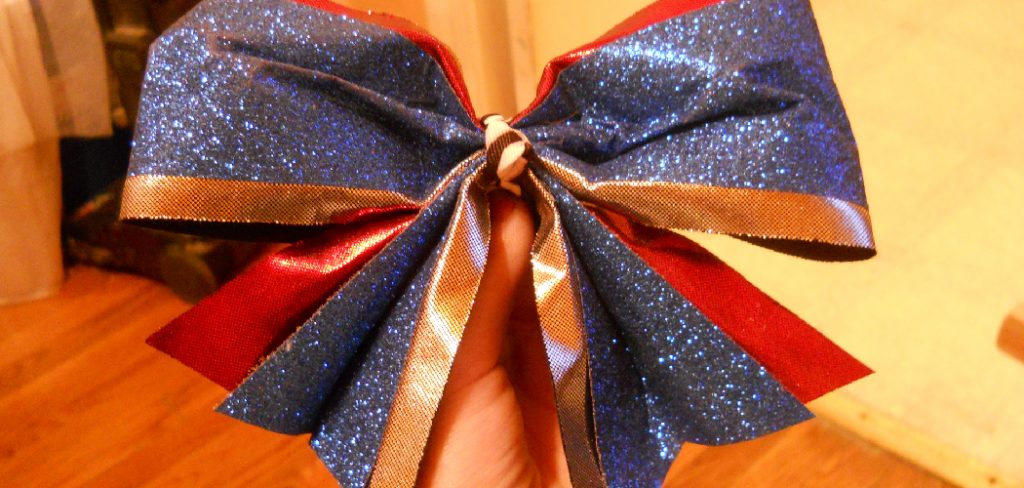
In this guide on how to make a cheer bow out of ribbon, we’ll walk you through the steps to craft a beautiful cheer bow that’ll add that extra flair to your cheerleading outfit. Whether you’re a cheerleader, a parent, or a coach, this DIY project is simple, satisfying, and ensures your squad stands out with a unique accessory tailored just for them.
What is a Cheer Bow?
Before we dive into the steps for making a cheer bow, let’s first understand what exactly it is. A cheer bow is a large hair accessory worn by cheerleaders to enhance their appearance and make them stand out on the field or court. It is typically made of ribbon and has two loops with tails that hang down. The size and style of the bow can vary, but they are usually brightly colored and often embellished with glitter, rhinestones, or team logos.
You can find cheer bows in various shapes and sizes, from classic tails to funky spikes or even layered bows. They come in different materials, including grosgrain, satin, and sequin ribbon. While you can always buy a ready-made cheer bow, making one yourself adds a personal touch and lets you create something unique.
Why Make Your Own Cheer Bow?
Making your own cheer bow has several benefits. First, you have full control over the design, ensuring it matches your team’s colors and style perfectly. You can also customize it with your team’s logo or add special touches that make it stand out.
Secondly, buying a cheer bow can be expensive, especially if you need to purchase multiple bows for your entire squad. Making them yourself is a more cost-effective option and can also be a fun bonding activity with your teammates. Moreover, creating something from scratch gives you a sense of accomplishment and pride when you see your bow in action.
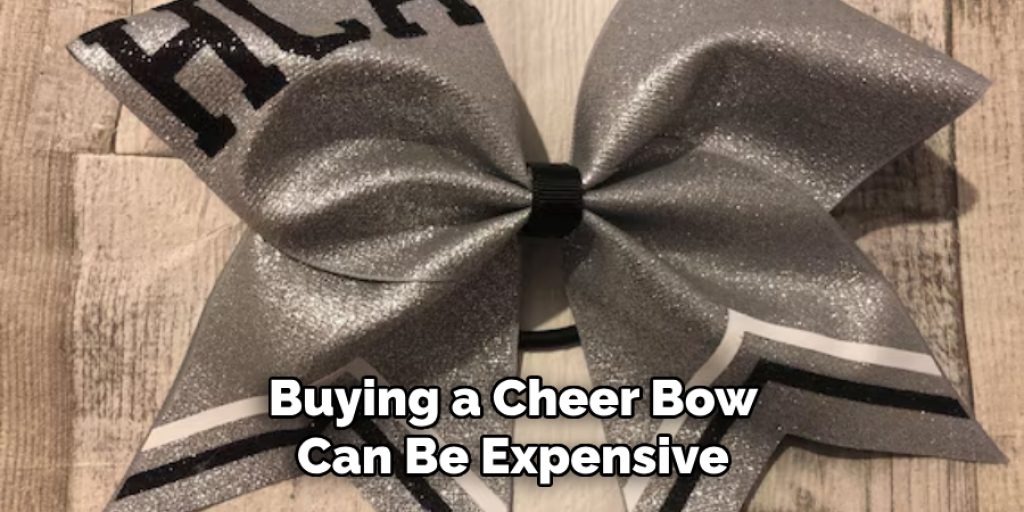
No matter your reason for making a cheer bow, the process is simple and requires minimal supplies. So, let’s get started!
Supplies Needed
To make a basic cheer bow, you’ll need the following supplies:
Two 3-inch Wide Ribbons (Color of Your Choice):
- These ribbons will form the main body of your bow. You can choose colors that match your team’s uniform or go for complementary shades to add contrast.
- Make sure the ribbons are 3 inches wide and at least 2 yards long to ensure you have enough length to create two loops and tails.
One Thin Ribbon (Color of Your Choice):
- This ribbon will be used to wrap and secure the center of your bow. Choose a color that complements your main ribbons or use one with glitter for added sparkle.
- The length of this ribbon will depend on how big you want your bow’s knot or center wrap to be, but 18 inches should suffice.
Scissors:
- You’ll need scissors to cut the ribbons and trim any excess.
Glue Gun:
- A hot glue gun is essential for securing your bow’s layers and creating a clean finish.
Optional Embellishments:
- If you want to add some extra sparkle or personalization to your cheer bow, you can also gather glitter, rhinestones, team logos, or other decorations of your choice.
11 Step-by-step Guidelines on How to Make a Cheer Bow Out of Ribbon
Step 1: Prepare Your Workspace
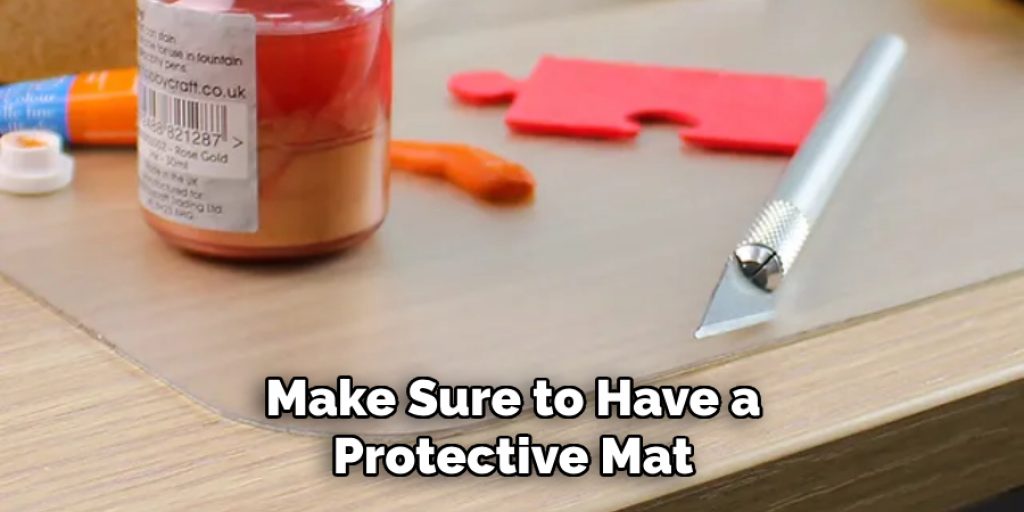
Lay down a flat surface and gather all your supplies. If you’re using hot glue, make sure to have a protective mat or parchment paper on your workspace to avoid getting any glue on the surface. Butcher paper or cardboard can also work if you don’t have a protective mat. It’s also a good idea to have some paper towels or wet wipes on hand for any spills. The key is to have a clean and organized workspace before you start.
Step 2: Measure and Cut Your Ribbons
Using your scissors, measure and cut two strips of your main ribbons to at least 2 yards long. Set them aside, and then measure and cut your thin ribbon to about 18 inches. You can adjust the length of the thin ribbon depending on how big you want your bow’s center wrap to be. It’s always better to cut more than you need so you have extra length if needed. But don’t worry; you can always trim the excess later.
Step 3: Create the First Loop
Take one of your main ribbons and make a loop by folding it in half with the ends meeting. The length of this loop should be about 6 to 7 inches, depending on how big you want your bow to be. Use a clip or hairpin to hold this loop in place temporarily. The open ends should be facing you. You’ll use these ends to create the second loop. It may take a few tries to get the desired size, but practice makes perfect!
Step 4: Create the Second Loop
Now, take your second main ribbon and repeat step 3 to make another loop of the same size as the first one. Make sure to align both loops, so they are facing the same direction. Otherwise, your bow will look lopsided. Use a clip or hairpin to hold this loop in place as well. It should now look like two loops with their open ends facing you. But don’t worry about the open ends just yet; we’ll take care of them later.
Step 5: Secure the Loops
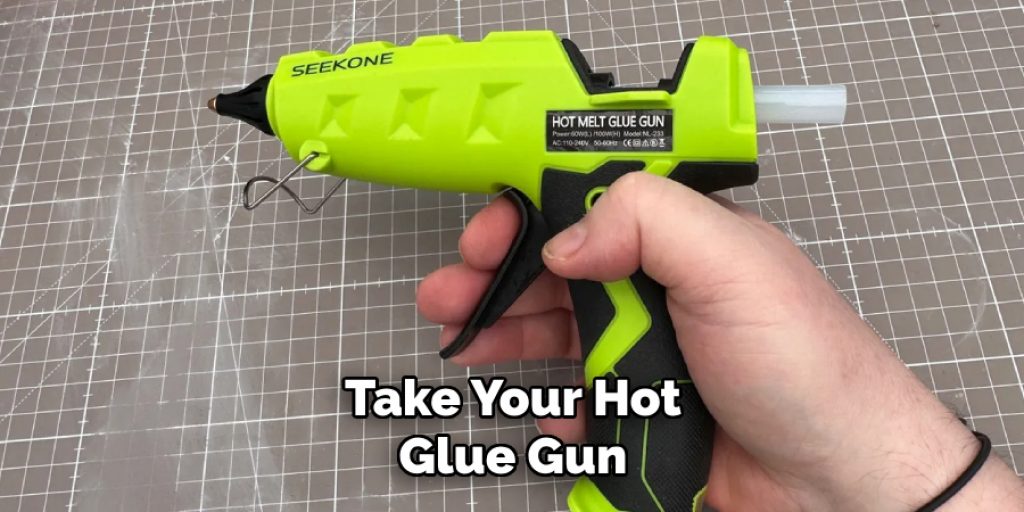
Take your hot glue gun and apply a small dab of glue on the inside of one of the loops near the center. Press down on the opposite loop to secure them together. Hold for a few seconds until the glue sets and forms a bond. This will be the center of your bow. It may help to have an extra set of hands for this step.
Step 6: Wrap the Center
Take your thin ribbon and wrap it around the center of your bow, covering the glue and securing the two loops together. Use a dot of hot glue to secure the ribbon on the backside of the bow. You can also wrap the ribbon multiple times to create a thicker center or add more texture. Once you’re satisfied with the center, cut off any excess ribbon and secure it with hot glue. But remember to leave some length if you want to add a knot or bow in the center.
Step 7: Create Your Tail
Take your main ribbons and use your scissors to trim the ends at an angle. This will give your tails a V-shape and prevent them from fraying. You can also cut the tails to your desired length, but 8 to 10 inches is typically a good length for cheer bows. This length can also vary depending on your preference and how long you want your bows’ tails to be. It’s always better to cut them longer than you want and trim them later if needed.
Step 8: Secure the Tails
Take your hot glue gun and apply a small dot of glue on the backside of your bow. Press one tail down onto the glue, making sure it is centered and straight. Repeat this step with the other tail on the opposite side. Hold each tail down for a couple of seconds until the glue sets. But be careful not to press down too hard as the glue may seep through the ribbon and stick to your fingers.
Step 9: Finishing Touches
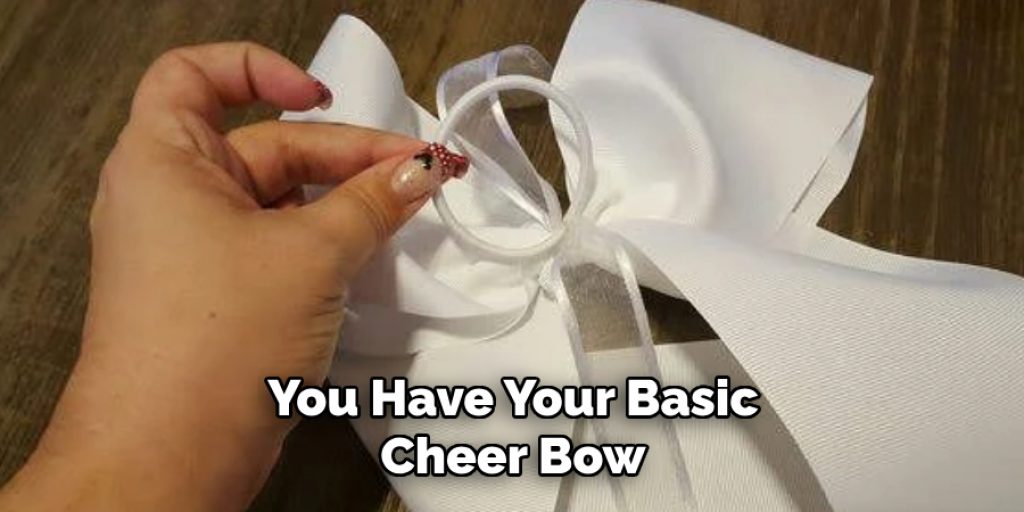
Now that you have your basic cheer bow, it’s time for some optional finishing touches! You can add glitter or rhinestones to the center of your bow for added sparkle. Or use a team logo or other decorations to personalize your bow and show off your team spirit. You can also add some additional layers of ribbon to create a more complex design or use different textures for a unique look. It’s all up to your creativity and imagination!
Step 10: Let it Dry
After you have added all your desired embellishments, set your cheer bow aside to dry completely. This may take a few minutes, depending on how much glue you use. It’s essential to let the bow dry completely before handling it, or you risk ruining your hard work. You can also use a fan or blow dryer on low heat to speed up the drying process. But be careful not to use too much heat as it may melt the ribbon or rhinestones.
Step 11: Trim any Excess and Enjoy Your Bow!
Once your bow is dry, check for any excess ribbon or glue that may need trimming. Use your scissors to carefully trim off any excess and create a clean finish. Now, you have a beautiful cheer bow that you can wear with pride at your next game or competition! And don’t forget to make extras because these bows also make great gifts for teammates and coaches.
Following these step-by-step guidelines on how to make a cheer bow out of ribbon, you can create your own cheer bows in no time! Remember to have fun and let your creativity shine. Your team will surely appreciate the effort and unique touch you put into each bow. And who knows, making cheer bows may become a new hobby or even a side business for you. So grab your ribbons and start crafting those beautiful bows!
Variations and Creative Ideas
- Instead of using solid-colored ribbons, try using patterned ribbons to create a unique design.
- Add different types of textures such as velvet or metallic ribbons, for an extra touch.
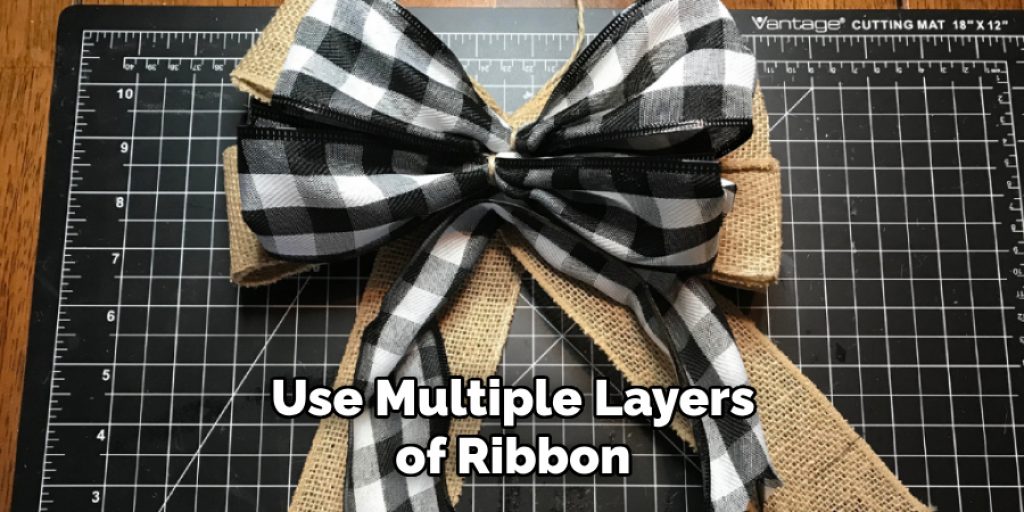
- Use multiple layers of ribbon to create a fuller and more intricate bow.
- Glue on letters or numbers to represent your team’s name or jersey number.
- Create themed bows for holidays or special events, such as Halloween, Christmas, or Homecoming.
- Experiment with different types of ribbon widths and lengths to create a variety of bow sizes.
- Add additional decorations like feathers, sequins, or pom-poms for a fun and playful look. So, don’t be afraid to get creative and make your cheer bows stand out! And remember, practice makes perfect, so keep trying until you find the perfect technique for creating beautiful cheer bows every time.
Display and Use
Once you have completed your cheer bows, there are many ways to display and use them. You can wear them in your hair as a traditional bow or use them to tie back a ponytail. Cheerleaders also like to attach them to their uniforms, bags, or even shoes for an extra touch of team spirit.
And don’t forget about using them as gifts or selling them as a fundraiser for your team. With their versatility and personalized touch, cheer bows are sure to be a hit no matter how you choose to use them! So have fun creating and showing off your unique cheer bows! And remember, the possibilities for making beautiful bows are endless with just a few ribbons and some creativity.
You can also experiment with different ribbon colors and designs to match your team’s colors or create a bow for special events. And don’t forget to share your creations with others, whether it’s on social media or by wearing them proudly to cheer on your team at games and competitions. Cheer bows are not only a fun way to show off your team spirit, but they also make great.
Tips and Tricks
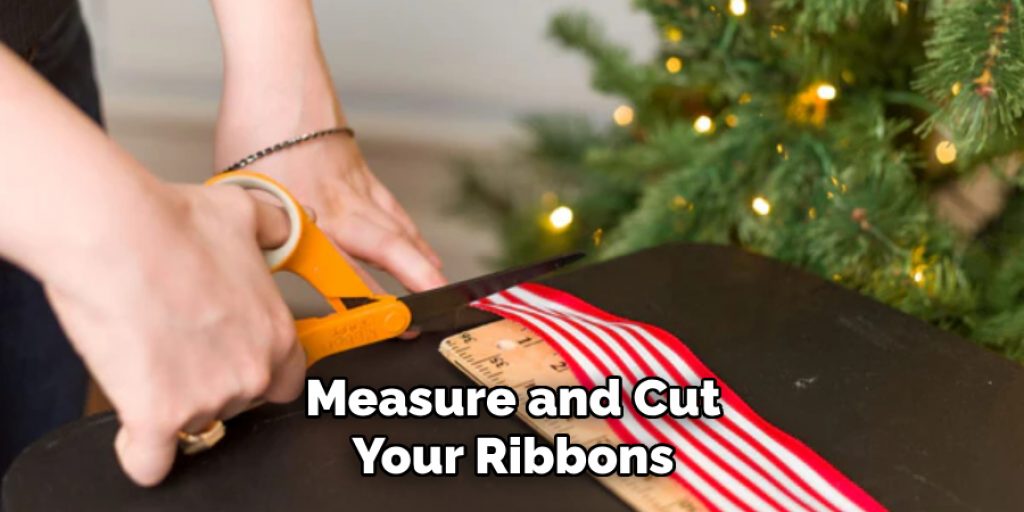
- Use a ruler to measure and cut your ribbons for more precise and even cuts.
- Double-check the placement of your tails before gluing them down to ensure they are centered and straight.
- Experiment with different types of glue, such as fabric glue or E6000, for additional strength and durability.
- Practice tying the perfect bow before attempting to make cheer bows to ensure you get the desired shape.
- Always let your bows dry completely before handling or wearing them.
- Keep a variety of ribbon colors and textures in your craft supplies to have options for different bow designs.
- When adding embellishments, make sure they are securely glued down to prevent them from falling off during use.
- Don’t be afraid to make mistakes and try new techniques. That’s part of the fun and learning process! So, let your creativity flow, and have fun making beautiful cheer bows for yourself and your team!
Maintenance and Care
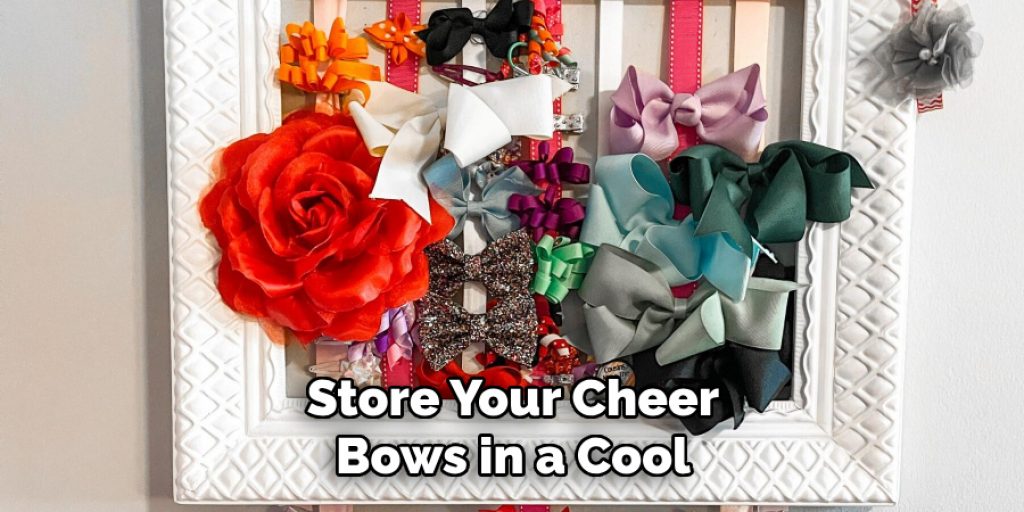
- Store your cheer bows in a cool, dry place to prevent the glue from melting or ribbons from fraying.
- If your bow gets wrinkled, you can use a hair straightener on low heat to iron out any creases. Just be careful not to melt the ribbon.
- Avoid getting your bow wet, as this may cause the ribbon and glue to loosen or come apart.
- If any embellishments become loose or fall off, you can carefully glue them back on using a small amount of fabric glue.
- With proper care and storage, your cheer bows can last for many games and competitions. But don’t be afraid to make new ones whenever you feel the need for a fresh look! Now, go out there and cheer on your team with style and spirit!
- Never put your cheer bows in the washing machine or dryer, as this can damage the ribbons and decorations. So spot clean any dirt or stains with a damp cloth and let it air dry.
- You can also use hairspray on your bows before wearing them to help keep their shape throughout the day. Just be sure not to overdo it, as too much hairspray can make the ribbons stiff and sticky.
- And lastly, don’t forget to remove your cheer bow before going to bed or showering to prevent any damage or wear and tear. With these tips in mind, you can keep your cheer bows looking as good as new for multiple uses!
Frequently Asked Questions
Q: Can I Make Cheer Bows With Different Types of Ribbon?
A: Absolutely! You can use any type of ribbon as long as it is pliable and not too stiff. Experiment with different textures and widths to create unique designs. You can also mix and match different ribbons for a more layered look. It’s all about personal preference and creativity!
Q: How Do I Make Sure My Cheer Bows Are Secure?
A: Use a strong glue and let it dry completely before handling or wearing your bow. You can also reinforce the glue with stitches for added durability. And always double check that your tails are securely attached to prevent them from falling off during use.
Q: Can I Make Cheer Bows Without Sewing?
A: Yes, you can! There are many no-sew techniques available for making cheer bows. However, using a needle and thread or sewing machine can provide added strength and durability. But don’t worry if you don’t have those supplies; there are plenty of alternatives that will still give you a beautiful and secure cheer bow.
Conclusion
Creating your own cheer bows is not only a fun and creative endeavor, but it also allows you to add a personal touch to your cheerleading attire. With the tips, tricks, and maintenance advice provided on how to make a cheer bow out of ribbon, you should be well-equipped to design and craft bows that are not only beautiful and unique but also durable and long-lasting.
Whether you’re making bows for yourself or your team or as a fundraising project, the process is sure to be enjoyable. Remember, the key to great cheer bows lies in your creativity, patience, and practice. Don’t be afraid to experiment with different materials, styles, and decorations. Happy crafting, and here’s to cheering on with style and spirit!


