How to Decorate a Dry Sink
Are you looking for a way to add charm and character to your home? Look no further than how to decorate a dry sink!
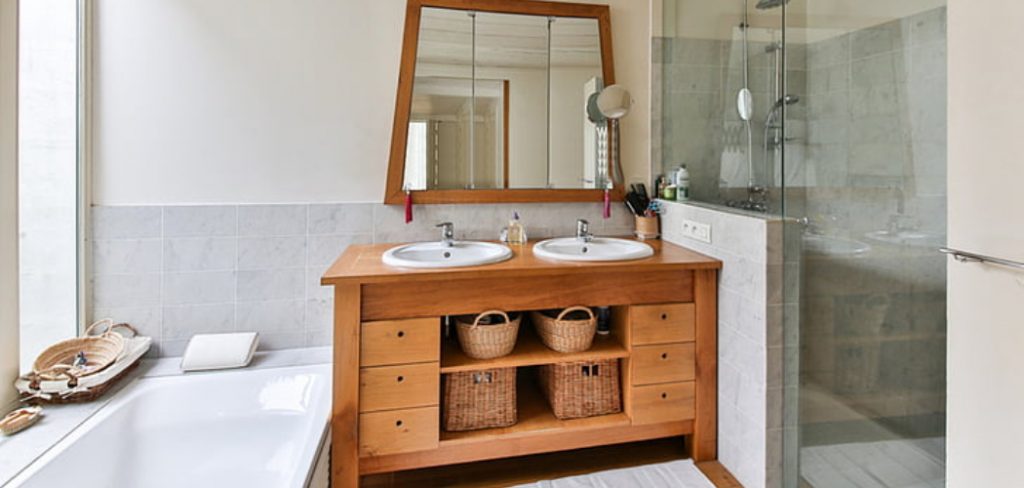
Decorating a dry sink is a delightful way to blend functionality with aesthetic appeal in your home. Originally used before indoor plumbing became widespread, dry sinks have transcended their utilitarian origins to become charming and versatile pieces of furniture. They can be integrated into almost any room of the house, from kitchens to bathrooms, entryways, and living spaces.
This guide will walk you through various creative and practical ways to adorn your dry sink, transforming it into a focal point that complements your home’s decor while offering additional storage or display space. Whether you’re aiming for a rustic, vintage, modern, or eclectic look, you’ll discover tips and inspiration to breathe new life into your dry sink.
What are the Benefits of Decorating a Dry Sink?
Decorating a dry sink presents several benefits, both functional and aesthetic. It allows you to repurpose an old or unused piece of furniture, saving it from ending up in the landfill while giving it new purpose and beauty. By incorporating a dry sink into your home decor, you’ll also:

- Add Character: Dry sinks have a rich history and bring a sense of nostalgia and character to any room. Decorating it with personal touches will make it even more unique and special.
- Create Extra Storage: With its deep basin and shelving, a dry sink offers ample storage space for items that might not fit in conventional cabinets or drawers. This makes it an excellent addition to smaller spaces where storage is limited.
- Enhance Functionality: Dry sinks can serve as multipurpose pieces of furniture, from a kitchen island to a bathroom vanity or entryway catch-all. By decorating it, you can customize it to suit your specific needs and make it even more functional for your daily routines.
- Express Creativity: Decorating a dry sink allows you to unleash your creativity. The possibilities are endless, from choosing the perfect color palette and styling it with decorative accents to repurposing old items or DIY projects.
These are just a few of the benefits of decorating a dry sink. Now, let’s explore some practical tips and ideas for transforming your dry sink into a beautiful and functional piece of furniture.
What Will You Need?
Before you start decorating, gathering all the necessary items is helpful. Here are some essential tools and materials that you might need:
- Cleaning Supplies: Depending on the condition of your dry sink, you might need cleaning supplies such as mild soap, water, and a soft cloth to remove any dust or grime.
- Sandpaper: If your dry sink has a wooden surface, sandpaper can help smooth out any rough areas or imperfections before painting or staining.
- Paint or Stain: Choose a color that complements your home’s decor and matches the look you’re going for. You can opt for traditional wood stains or have fun with bold paint colors to add a pop of personality.
- Brushes and Rollers: These will be necessary for applying paint or stain to your dry sink. Consider using different sizes and types of brushes for various techniques, such as stenciling or distressing.
- Decorative Accents: This is where you can truly let your creativity shine! From decorative knobs and handles to baskets, plants, and artwork, choose pieces that reflect your style and add visual interest to your dry sink.
- Tools for Hanging: If you plan on hanging anything above or on the sides of your dry sink, make sure to have a drill, screws, and anchors ready.
Keep in mind that these are just some basic materials that you might need. You may require additional items depending on the specific project and your personal preferences.
10 Easy Steps on How to Decorate a Dry Sink
Step 1. Clean and Prep the Dry Sink:
Start by thoroughly cleaning your dry sink and removing any accumulated dust, dirt, or grime with mild soap and water. Make sure it’s completely dry before proceeding to the next step. If it’s made of wood and appears worn or has rough spots, use a sandpaper to smooth out the surfaces. This preparatory step is crucial for ensuring that any paint, stain, or decorative finishes will adhere properly.

Step 2. Select Your Theme or Style:
Before you begin decorating, decide on the overall theme or style you want for your dry sink. The room could influence this it will be placed in or your home’s existing décor. If you’re aiming for a farmhouse look, consider natural wood finishes with rustic hardware. You could go for a bold paint color and sleek, modern accessories for a more contemporary vibe. Once you’ve settled on a style, this will guide your choices for paint, finishes, and decorative pieces, ensuring a cohesive look.
Step 3. Paint or Stain Your Dry Sink:
After selecting your theme and properly preparing your dry sink, it’s time to apply your chosen paint or stain. If you’re going for a painted look, apply a primer first to ensure your color’s best coverage and longevity. For staining, ensure the wood is well-sanded and clean for even application.
Whether painting or staining, it’s often best to apply multiple thin coats rather than a single thick coat, allowing for better drying and a smoother finish. Use brushes for detail work and rollers for larger surfaces to achieve the best results. Allow ample drying time, as recommended by the paint or stain manufacturer, before moving on to the next step.
Step 4. Add Decorative Hardware:
Once your dry sink has been painted or stained and is completely dry, the next step is to add or update the hardware. This could include drawer pulls, knobs, or hinges. Changing the hardware is a simple yet impactful way to enhance the overall look of your dry sink and further tie it into your chosen theme.
Opt for hardware that complements the style and color of your dry sink; for example, brushed nickel or stainless steel for a modern look or antique brass or wrought iron for something more rustic or vintage. When selecting new hardware, ensure that it fits the existing holes, or be prepared to fill in old holes and drill new ones if necessary.
Step 5. Choose Functional Add-ons:

After updating the hardware, consider adding functional elements that increase the utility of your dry sink. For example, installing a towel rack on one side could be beneficial if you’re using it in a kitchen or bathroom setting. Alternatively, attaching hooks underneath can provide a convenient place to hang keys or small utensils. Think about how you plan to use your dry sink and include accessories that will enhance its functionality, making it not just a beautiful piece of furniture but also a practical addition to your space.
Step 6. Incorporate Decorative Accents:
Now that your dry sink has a refreshed look with new paint, stain, and hardware, it’s time to add personal touches with decorative accents. This is your opportunity to really make the piece uniquely yours. Consider placing items like vases, books, plants, or framed photos on or around your dry sink. If it is located in a kitchen or dining area, you might display vintage kitchenware or a collection of spices in attractive jars.
The key is to choose items that not only look good but also reflect your personal style and the functional aspect of the piece. Arrange these accents in groupings for a more cohesive and visually appealing display, ensuring that each item is chosen thoughtfully to contribute to the overall aesthetic of your space.
Step 7. Install Lighting (if applicable):
If your dry sink is in a space that could benefit from additional lighting, consider installing a small lamp on top or attaching under-cabinet lights to illuminate the area below. Lighting can not only enhance the functionality of the space by making it easier to see but also create a warm, inviting atmosphere.
Choose a style of lighting that complements the design of your dry sink and the room it’s in. If you’re adding a lamp, look for one that matches your decorative theme, whether it’s a classic, rustic lantern for a farmhouse look or a sleek, modern lamp for a contemporary vibe.
Step 8. Organize Interior Storage:
Optimize the interior space of your dry sink by introducing organizers and dividers, transforming it into a functional storage solution. If your dry sink has cabinets or drawers, consider using shelf organizers, bins, or baskets to categorize and neatly store items. For example, if it’s being utilized in a bathroom, use dividers for toiletries or stackable bins for towels and linens.

In a kitchen setting, baskets could hold dish towels or cooking utensils. The goal is to keep the interior as organized and clutter-free as the exterior, making your dry sink not only a decorative but also a practical addition to your home.
Step 9. Maintenance and Care:
To ensure your refurbished dry sink continues to look its best and functions well for years to come, regular maintenance and care are essential. Clean the surface with a soft, damp cloth, avoiding harsh chemicals that might damage the finish. For wood surfaces, consider using a natural wood cleaner or polish to maintain its lustre.
If your dry sink features metal hardware, keep it polished and free from moisture to prevent tarnishing. Inspect the piece periodically for signs of wear or damage, especially if it’s used frequently. Addressing issues early can prevent further deterioration, preserving the beauty and integrity of your dry sink. Remember, a little effort in maintaining your piece goes a long way in keeping it as a focal point in your home.
Step 10. Enjoy Your Revamped Dry Sink:
Congratulations! You’ve successfully breathed new life into your dry sink, transforming it from a forgotten piece of furniture into a stunning and functional highlight of your home. Take a moment to appreciate the effort and creativity that went into refurbishing this piece.
Whether it’s now serving as a statement in your entryway, offering additional storage in your kitchen, or adding charm to your bathroom, your dry sink is sure to be a conversation starter. Enjoy the blend of historical charm and contemporary function that your dry sink adds to your space.
By avoiding termination phrases and continuing to explore related topics, you can easily expand on the content and provide valuable information for readers who are interested in refurbishing their own dry sink or similar piece of furniture.
5 Additional Tips and Tricks
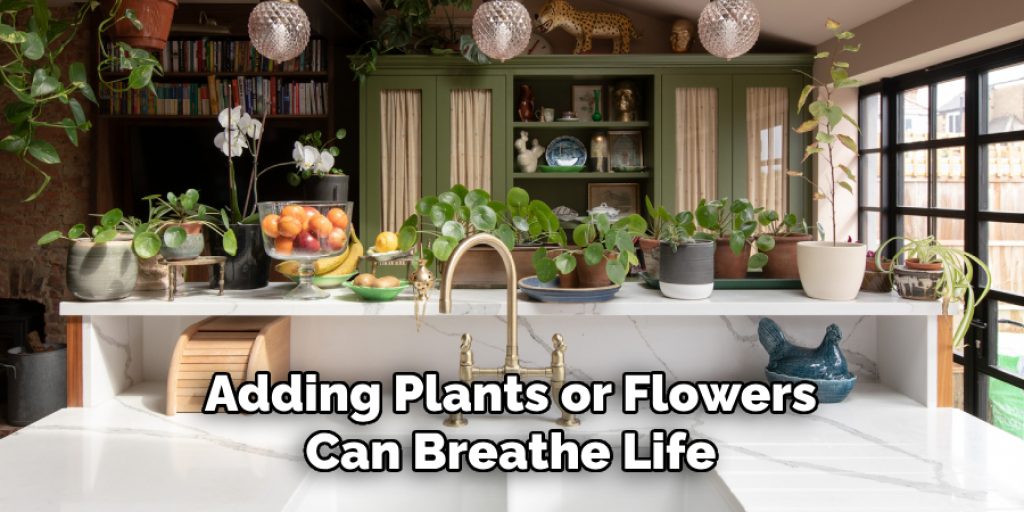
- Incorporate Greenery: Adding plants or flowers can breathe life into a dry sink, creating a vibrant and refreshing focal point in any room. Consider easy-to-maintain succulents or vibrant, seasonal flowers for color.
- Utilize as a Beverage Station: For gatherings, a dry sink can serve as a unique beverage station. Arrange bottles, glasses, and accessories for a cocktail bar, or set it up with teas and coffees for a cozy touch.
- Display Vintage Items: Use your dry sink to showcase antique or vintage items, giving your space a touch of nostalgia and character. This could include old kitchenware, jars, or even framed photographs.
- Organizational Hub: Convert the dry sink into an organizational space by adding baskets or containers. It’s perfect for holding keys, mail, or even crafting supplies, keeping your home tidy and well-organized.
- Seasonal Decorations: Take advantage of the seasons by decorating your dry sink accordingly. From pumpkins and gourds in the fall to twinkle lights and ornaments during the holidays, it can become a dynamic part of your home’s seasonal decor.
With these additional tips and tricks, you can make the most out of your dry sink and elevate its functionality and aesthetic appeal.
5 Things You Should Avoid When Decorating a Dry Sink
- Overcrowding the Space: While it’s tempting to use every inch of your dry sink for display, this can lead to a cluttered look. Maintain enough open space to ensure each item stands out and the area doesn’t become overwhelmed.
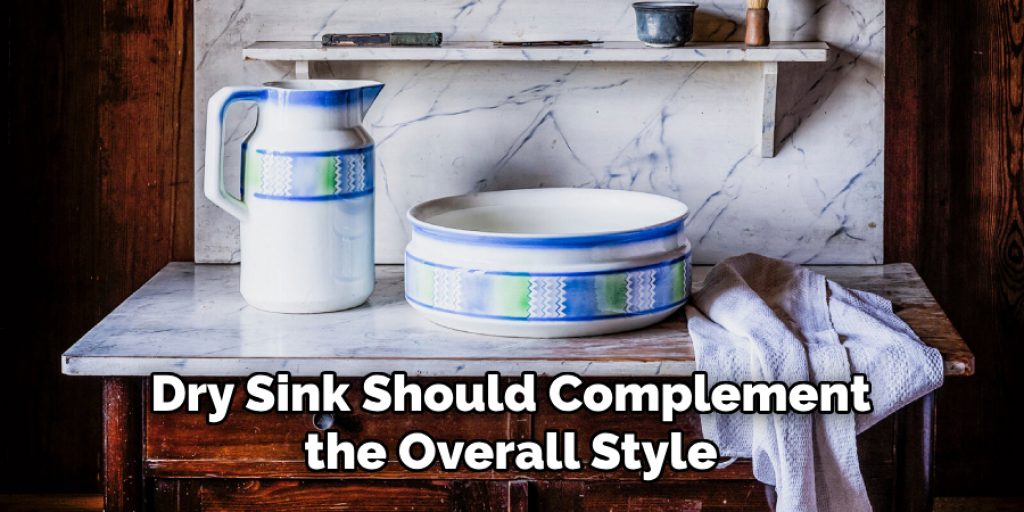
- Ignoring the Style of Your Home: Your dry sink should complement the overall style of your home. Avoid decor that clashes with your room’s aesthetic, as this can create a disjointed appearance.
- Using Delicate Items Without Protection: If you’re using the dry sink to display fragile items, make sure they’re securely placed or protected. The dry sink’s surface might not be ideal for items that can easily be damaged.
- Forgetting About Maintenance: While adding plants and flowers can enhance the beauty of your dry sink, neglecting their care can lead to a less appealing look. Choose greenery that you’re able to maintain regularly.
- Lacking Personal Touch: Finally, avoid making your dry sink look like a showroom piece. Incorporate personal items, heirlooms, or crafted goods that reflect your personality and history, making the space truly unique to you and your family.
By avoiding these common mistakes, you can ensure that your dry sink enhances the overall look and feel of your home.
What’s the Difference Between a Dry Sink and a Washstand?
While both a dry sink and a washstand can serve similar purposes in a home, there are some key differences between the two pieces of furniture.
A dry sink is typically an open-topped cabinet with a recessed trough or basin for holding water. It was commonly used before the invention of indoor plumbing, as a place to wash dishes or clothes. The term “dry sink” comes from the fact that it was used to hold water, but not for bathing or washing up.
On the other hand, a washstand is a smaller piece of furniture with a flat top and shallow drawer or shelf. It was often used in bedrooms or guest rooms as a place to wash up before bed. Unlike a dry sink, a washstand does not have a recessed basin for holding water.

Today, both dry sinks and washstands are primarily used as decorative pieces, adding charm and character to a room. However, they can still serve their original purposes if desired. So, the main difference between a dry sink and a washstand is their size and functionality.
Conclusion
How to decorate a dry sink is an opportunity to blend functionality with personal style, turning an ordinary piece of furniture into a captivating element of your home décor. Whether you’re using it to display vintage treasures, organize day-to-day essentials, or celebrate the changing seasons, a dry sink offers a versatile canvas for your creative expressions.
By incorporating greenery, using it as a unique beverage station, showcasing vintage items, creating an organizational hub, or adorning it with seasonal decorations, you can enhance its charm and utility. However, it’s important to avoid common pitfalls such as overcrowding, clashing with your home’s style, displaying delicate items without protection, neglecting maintenance, or omitting personal touches.
By following these guidelines and allowing your personal taste to shine, your dry sink will not only complement your home’s aesthetic but also serve as a reflection of your individuality and creativity. Good luck!


