How to Make Knitted Words
Creating knitted words is a delightful way to combine the art of knitting with personal expression. This craft allows you to transform simple yarn into meaningful messages, decorative pieces, or heartfelt gifts. Whether you’re a seasoned knitter or a curious beginner, learning to knit words opens a new dimension of creativity, offering endless possibilities for customization and design.
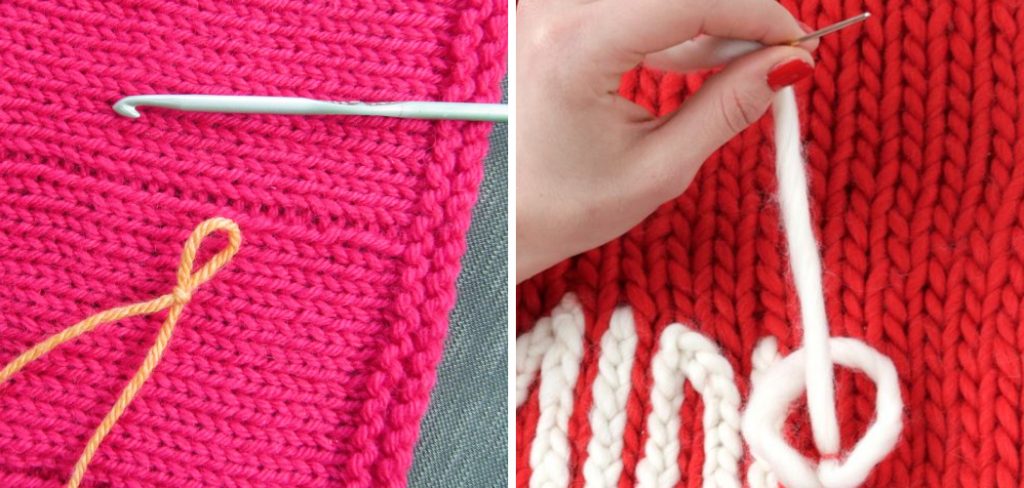
In this guide on how to make knitted words, we’ll explore the techniques and materials needed to bring your knitted words to life, enabling you to add a unique touch to your projects and showcase your individuality through knitted artistry.
Why Make Knitted Words?
Knitting words is not only a fun and fulfilling craft, but it also has many benefits. First and foremost, it allows you to create personalized pieces that reflect your personality or the message you want to convey. Whether it’s a knitted name on a scarf for a loved one or an inspiring quote on a wall hanging, these words hold special meaning and serve as reminders of love, motivation, or positivity.
Furthermore, knitting words can be therapeutic and meditative. The repetitive actions of knitting can have a calming effect on the mind and help reduce stress. It also provides a sense of accomplishment when the final piece is completed, boosting self-esteem and promoting overall well-being.
Materials Needed
To get started with knitted words, you’ll need a few basic materials:
Yarn:
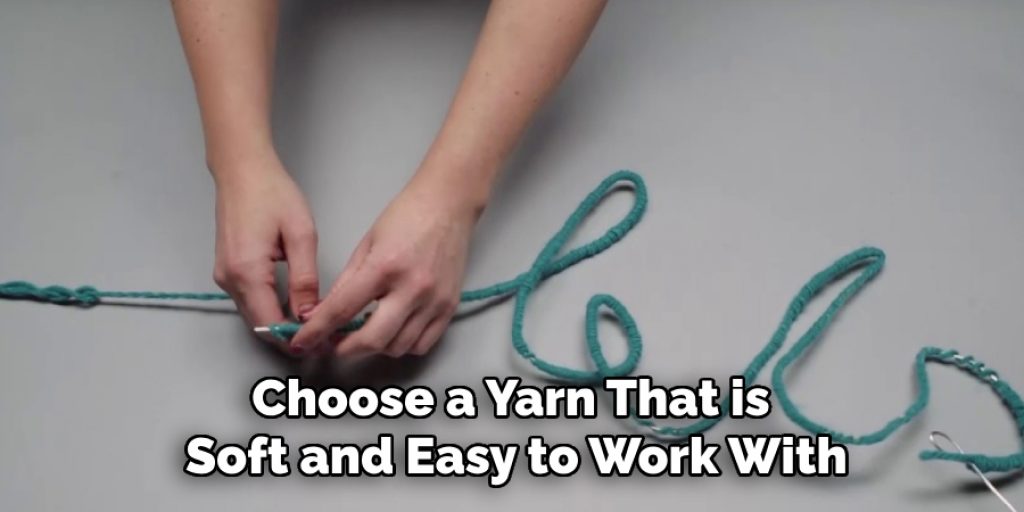
Choose a yarn that is soft and easy to work with. The color and weight of the yarn will depend on your project. If you’re knitting words onto a scarf or blanket, a medium-weight yarn in a neutral color will work well. For wall hangings or decorative pieces, you can opt for brighter colors and different textures to create visual interest.
Knitting Needles:
The size of your knitting needles will depend on the weight of your chosen yarn. Thicker yarn will require larger needles, while thinner yarn will need smaller ones. Make sure to have the appropriate needle size for your project before you start.
Tapestry Needle:
This type of needle has a large eye and blunt tip, making it perfect for weaving in loose ends and sewing together knitted pieces.
8 Step-by-step Guidelines on How to Make Knitted Words
Step 1: Plan Your Design
Before you begin knitting, it’s essential to take the time to plan your design. Start by deciding on the words or phrases you want to create. Consider the meaning behind the words and how they will be represented. Sketching out your design on paper can be helpful; this allows you to visualize the layout, size, and style of the letters.
Think about whether you want your words to be bold and prominent or delicate and subtle. Additionally, you should choose the colors and textures of your yarn at this stage, as these choices will enhance the overall impact of your knitted words. Planning your design not only sets a clear direction for your project but also ensures that you create a piece that aligns with your vision.
Step 2: Choose Your Knitting Technique
Selecting the right knitting technique is crucial for achieving the desired look for your knitted words. There are various methods to consider, each offering a unique aesthetic and challenge. One popular approach is the intarsia technique, which involves using separate pieces of yarn for different sections of your design, allowing for smooth transitions between colors. This is particularly effective for creating intricate letters and detailed designs.
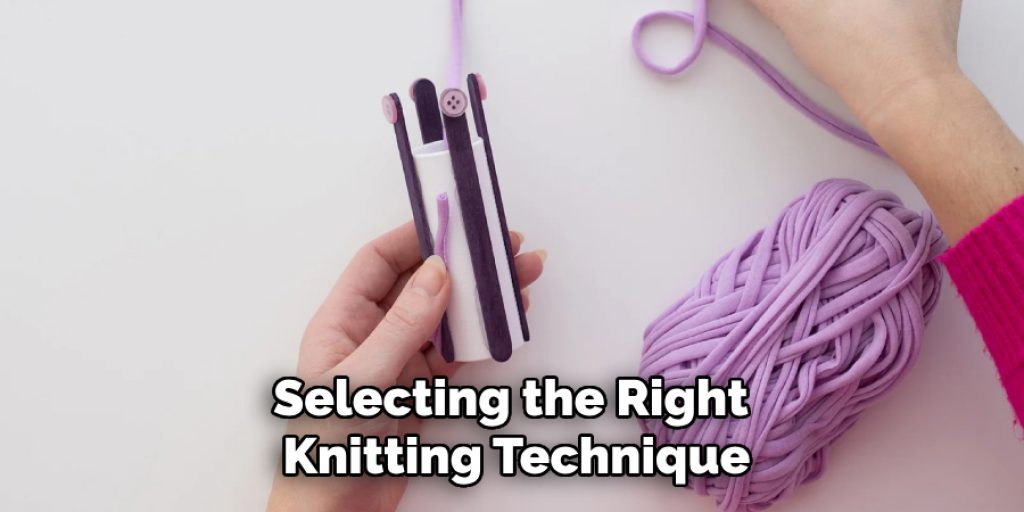
Another technique is fair isle knitting, which uses a single strand of yarn per row, bringing together multiple colors within the same row to create patterns. This technique is excellent for simpler words and designs but can be slightly more complex as it requires managing floats—extra yarn strands carried across the back of the work.
For those new to knitting, starting with duplicate stitches may be a more accessible option. This method allows you to knit your base piece first and then embroider the letters over it using a contrasting color of yarn, giving added dimension without complex techniques. Choose the method that best suits your skill level and the vision you have for your knitted words.
Step 3: Cast On
Once you have planned your design and selected your knitting technique, it’s time to cast on your stitches. The number of stitches you need to cast on will depend on the width of your knitted words and the type of yarn you are using. A good rule of thumb is to cast on a few more stitches than you think you’ll need, as this will allow for adjustments and ensure you have enough room for your letters.
To cast on, make a slip knot and place it onto one of your needles. From here, use either the long tail cast-on method or the knitted cast-on method, whichever you prefer. As you cast on, keep in mind the tension of your yarn—aim for a consistent tightness to keep your work even. Once you’ve cast on the required stitches, you’re ready to move on to the next step, where you’ll start shaping your letters according to your design!
Step 4: Knit Your Base Piece
Using your chosen knitting technique, begin working on the base piece of your project. This may involve creating a scarf, blanket, or other knitted item that will serve as the background for your words. Keep referring to your design and make sure to follow the pattern carefully to achieve clean lines and accurate letter shapes. If using intarsia or fair isle techniques, be mindful of changing colors at the appropriate points in your letters.
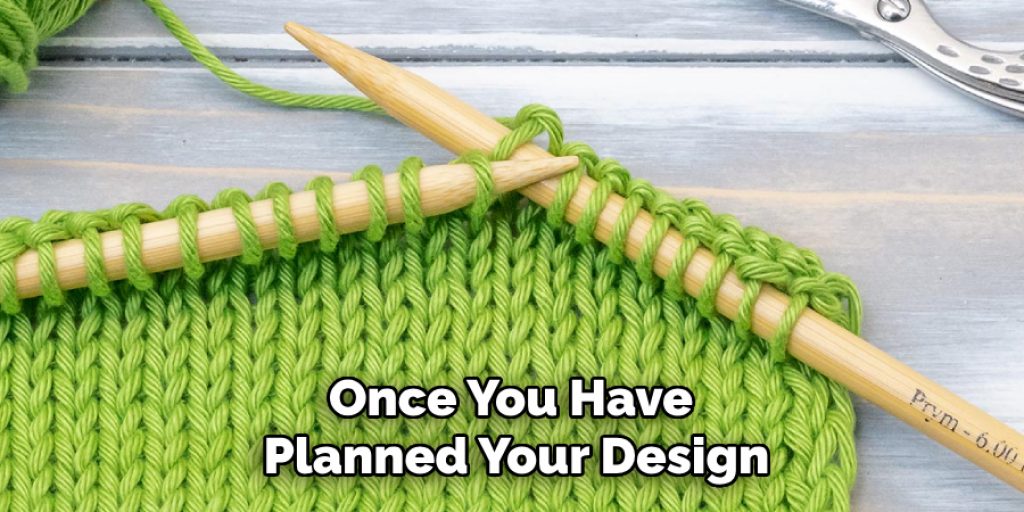
It’s also essential to maintain consistent tension throughout your work, as any unevenness can affect the appearance of your knitted letters. Take breaks and step back from time to time to ensure you’re on track with your design vision.
Step 5: Map Out Your Letters
Before you start knitting your letters, it’s essential to map them out first. Use stitch markers or a contrasting color of yarn to outline the areas where you’ll be knitting your letters. This will help you stay on track and ensure that your letters are evenly spaced and sized correctly.
It’s also a good idea to create a chart or pattern for your letters. This will serve as a visual guide for you to follow as you knit, making it easier to see where you need to change color or decrease stitches. You can use graph paper or various knitting apps and software to create your chart.
Step 6: Knit Your Letters
Using the appropriate technique for your design, start knitting your letters onto the base piece. Pay close attention to the placement of each stitch, following your design carefully to achieve accurate shapes and proportions. Keep checking back with your design as you go along, making any necessary adjustments.
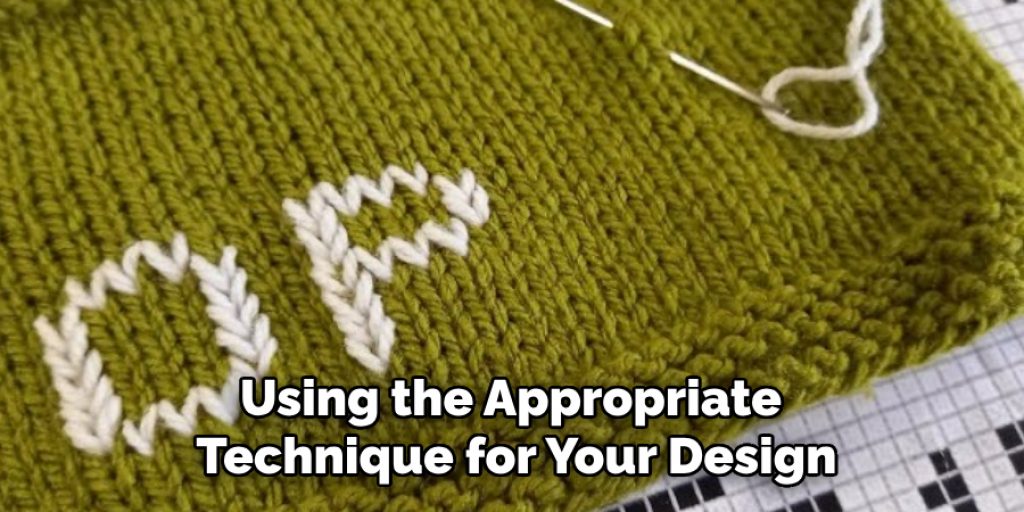
If using duplicate stitch, this is where you’ll begin embroidering over the base piece with a contrasting color of yarn. Use a tapestry needle to create small stitches that cover the knit stitches underneath, filling in the outlined areas of your letters.
Step 7: Sew in Loose Ends
As you finish knitting or embroidering each letter, make sure to sew in any loose ends to secure them. Use a tapestry needle to weave the ends back into the work, making sure they are not visible on the front side. This will give your knitted words a clean and polished look.
You can also choose to block your project at this stage, which involves wetting and stretching the knitted piece to even out any tension discrepancies. This will help your letters stand out and create a uniform appearance.
Step 8: Finishing Touches
Once all of your letters are knitted, it’s time for the finishing touches. This may involve adding any additional design elements or adjusting the overall shape of your knitted words. Take a step back and look at your work as a whole to ensure everything is aligned and visually appealing.
Finally, bind off your stitches and weave in any remaining loose ends. Your unique, hand-knitted words are now complete! You can use them as standalone pieces or incorporate them into larger projects such as scarves, hats, or even wall hangings. With practice and patience, you can create stunning knitted words that add a personal touch to your knitting projects. Following these steps on how to make knitted words and experimenting with different techniques will help you perfect your skills and create beautiful designs. So go ahead, grab your needles and yarn and get started on your first knitted words project! Keep practicing, have fun, and let your creativity shine through in every stitch.
Conclusion
Creating knitted words is a rewarding and creative way to express your artistic vision. By understanding different techniques, mapping out your design, and carefully executing each step on how to make knitted words, you can craft unique pieces that not only showcase your knitting skills but also add a personal touch to your projects.
Whether you’re a seasoned knitter or a beginner, the process allows for experimentation and customization, ensuring that each piece is truly one of a kind. With practice, you’ll find joy in creating lovely knitted words that can be gifted or proudly displayed in your home. Embrace the journey, and let your creativity shine!

