How to Prep Walls for Wallpaper
Preparing walls for wallpaper is a crucial step in achieving a professional-looking finish. Whether you’re transforming a single room or an entire home, the proper preparation ensures that the wallpaper adheres correctly and lasts for years to come. This process involves cleaning, repairing, and priming the walls to create a smooth surface that can support the weight of the wallpaper.

In the following sections on how to prep walls for wallpaper, we will explore the essential steps needed to prep your walls effectively, highlighting tips and techniques to make the task easier and more efficient.
Why Prep Your Walls for Wallpaper?
Before jumping into the steps of preparing walls for wallpaper, it’s crucial to understand why this process is necessary. Without proper preparation, the wallpaper may not adhere correctly or could become damaged over time.
It’s also essential to note that different types of walls may require different preparation methods. For example, unpainted drywall will need a different approach compared to previously painted walls. Taking the time to properly prep your walls will save you time, money, and frustration in the long run.
Needed Materials
Before beginning the prep work, gather all necessary materials. Here’s a list of items you may need:
Sandpaper (Medium Grit):
Sandpaper will help smooth out any rough patches on the wall. It’s also useful for removing small bumps or imperfections.
Spackle:
Spackle is a lightweight filler used to repair holes, cracks, and other surface imperfections in the walls.
Sponge/Tack Cloth:
These items are necessary for cleaning the walls before starting the prep work.
TSP (Tri-Sodium Phosphate) Solution:
TSP solution is an excellent cleaner for removing grease, dirt, and grime from the walls. Be sure to wear gloves and follow all safety instructions when using this product.

Primer:
A good quality primer is essential for creating a smooth surface that will allow the wallpaper to adhere correctly and prevent any potential damage.
8 Step-by-step Guidelines on How to Prep Walls for Wallpaper
Step 1: Clear the Room
Before you begin the wallpaper preparation process, it’s essential to clear the room of any furniture, decorations, or other items that could obstruct your work. Remove any wall hangings, such as pictures and mirrors, and take down any curtains or blinds. If possible, relocate larger pieces of furniture from the room to provide ample space.
If moving large furniture isn’t feasible, push it to the center of the room and cover it with a drop cloth to protect it from dust and debris. By creating a clear, organized workspace, you’ll be able to work more efficiently and minimize the risk of damaging your belongings.
Step 2: Clean the Walls
Before you can begin any repairs or apply primer, it’s crucial to clean the walls thoroughly. Use a sponge or tack cloth and mild detergent to remove any dirt, dust, or grime from the walls. Be sure to clean all areas, including corners and near baseboards.
For tougher stains or grease build-up, use a TSP solution according to the manufacturer’s instructions. TSP is a strong cleaner and can be harmful if not handled properly, so be sure to follow all safety precautions.

Step 3: Inspect the Walls
After cleaning the walls, take some time to inspect them for any imperfections that may need repair. Look for cracks, holes, or other surface damage that could affect the wallpaper’s adherence. You may also want to check for uneven surfaces or bumps that will need sanding down.
It’s crucial to repair any damage before moving on to the next step, as these imperfections can show through the wallpaper and affect its overall appearance.
Step 4: Repair Any Damage
Using a spackle and a putty knife, fill in any holes or cracks in the walls. Be sure to smooth out the spackle with the putty knife and allow it to dry completely according to the manufacturer’s instructions. Once dry, sand down any repaired areas until they are flush with the rest of the wall.
If you notice any uneven surfaces or bumps, use medium-grit sandpaper to smooth them out. This will create a more even surface for the wallpaper to adhere to.
Step 5: Sand the Walls
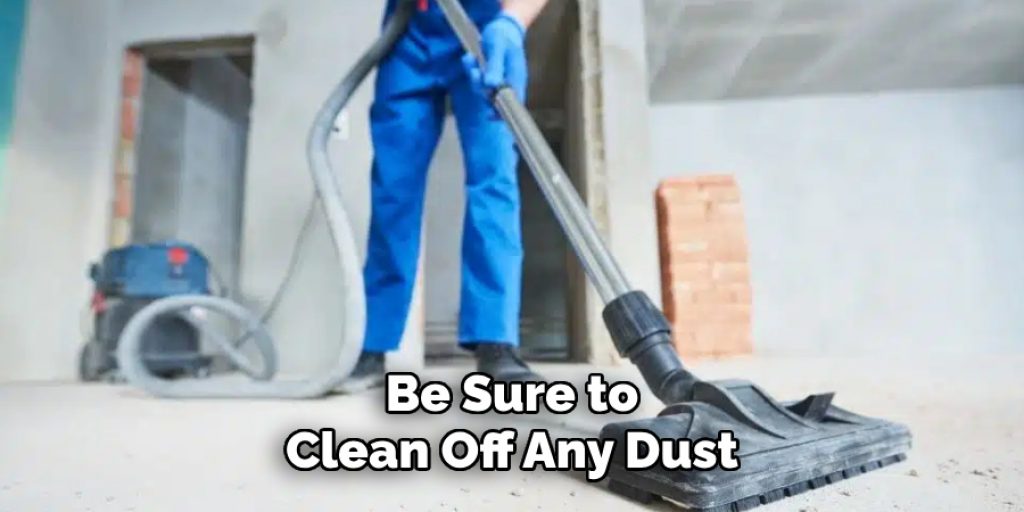
Using medium-grit sandpaper, lightly sand the entire wall surface. This will help remove any bumps or imperfections and create a smooth surface for the wallpaper to adhere to. Be sure to clean off any dust from the walls after sanding.
There may be areas that require more sanding, such as where spackle was used. Continue sanding until the walls are smooth to the touch.

Step 6: Apply Primer
Priming is a crucial step in preparing walls for wallpaper as it creates a smooth surface and helps the wallpaper adhere correctly. Be sure to use a high-quality primer specifically designed for wallpaper application.
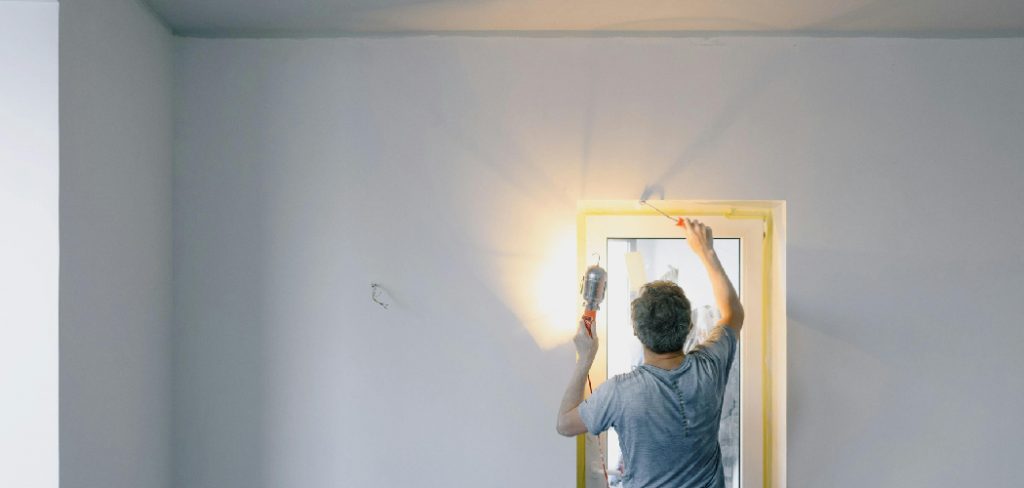
Using a paint roller or brush, apply an even coat of primer to the walls. Allow it to dry according to the manufacturer’s instructions before moving on to the next step.
Step 7: Mark Guidelines on Walls
Before hanging your wallpaper, it’s essential to mark guidelines on your walls using a pencil and level. This will help ensure that your wallpaper is hung straight and evenly.
Measure the width of your wallpaper and mark lines with a pencil at even intervals along the wall. Use a level to ensure the lines are straight.
Step 8: Let Walls Dry Completely
Before hanging your wallpaper, be sure to let the walls dry completely. This may take anywhere from six to eight hours or more, depending on the type of primer used and humidity levels in the room.
Once dried, you’re ready to start hanging your wallpaper!
Following these step-by-step guidelines on how to prep walls for wallpaper will help ensure a smooth, successful application process. By taking the time to properly prepare your walls, you’ll achieve a beautiful and long-lasting result.
Additional Tips
Test for Adhesion:
Before applying your wallpaper, you can perform a simple test by applying a small piece of wallpaper to the wall to ensure that the primer has created a suitable surface for adhesion. If it doesn’t stick well, additional priming may be necessary.
Choose Quality Wallpaper:
Investing in a higher-quality wallpaper can make a significant difference in the final appearance and durability. Look for materials that are designed to withstand wear and tear if the wallpaper is to be applied in high-traffic areas.
Humidity Considerations:
Be mindful of the room’s humidity, particularly if you are applying wallpaper in a bathroom or kitchen. Some wallpapers are better suited for high-moisture environments, so check the manufacturer’s recommendations.
Accurate Measurements:
Always measure your wall space accurately before cutting wallpaper. This will help you avoid wasting material and ensure a clean, professional look once applied.
Use Proper Tools:
Invest in good-quality tools, such as a wallpaper smoothing tool, seam roller, and a sharp utility knife. These will help you achieve clean edges and smooth surfaces, reducing the likelihood of bubbles or wrinkles.

Frequently Asked Questions
Q: Can I Skip the Primer Step?
A: No, primer is crucial for creating a smooth surface and ensuring proper adhesion of the wallpaper. Skipping this step may result in bubbling or peeling of the wallpaper.
Q: Do I Need to Sand the Walls Even if They Appear Smooth?
A: Yes, sanding helps create an even surface and removes any potential imperfections that may not be visible to the naked eye.
Q: Can I Use Spackle on Large Holes or Cracks?
A: For larger holes or cracks, it’s best to use a joint compound instead of a spackle. The joint compound is a stronger adhesive and will provide better support for the wallpaper. It’s also important to allow it to dry completely before sanding.
Q: Can I Use Any Type of Cleaner for TSP Solution?
A: No, it’s essential to use a specifically formulated TSP cleaner for walls. Other household cleaners may not be strong enough and could potentially damage the walls.
Q: How Long Should I Wait Before Hanging Wallpaper After Priming?
A: It’s crucial to follow the manufacturer’s instructions on drying time for the specific primer used. In most cases, you should wait at least six to eight hours before hanging wallpaper.
Conclusion
Properly preparing your walls for wallpaper is essential for ensuring a successful installation and long-lasting results. By following these step-by-step guidelines on how to prep walls for wallpaper and using necessary materials, you can save time, money, and frustration in the long run.
Your hard work and attention to detail will pay off with a beautifully wallpapered room that you can enjoy for years to come. Happy decorating! So go ahead and start your project today! Don’t let the prep work discourage you – it’s a crucial step that will make all the difference in the end result. Good luck!


