
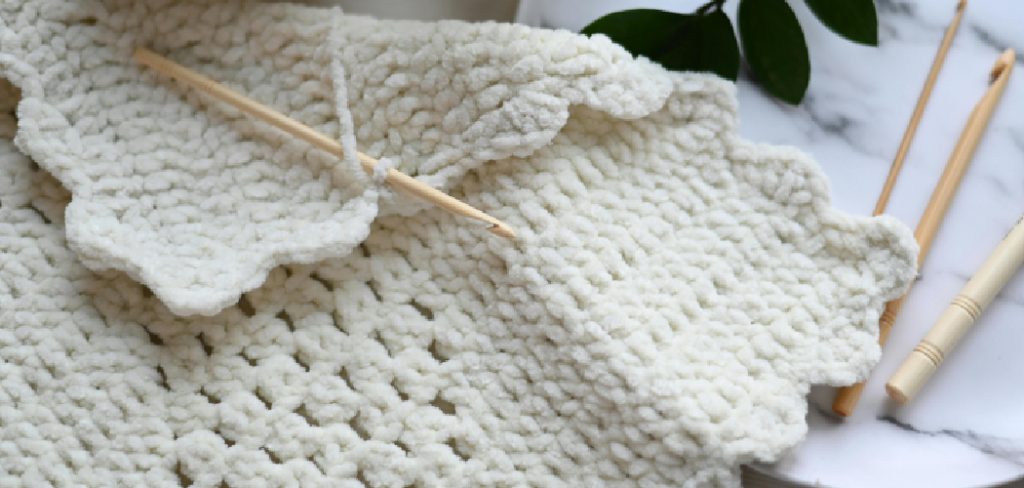
How to Block a Blanket Knitting
Knitting a blanket can be a rewarding and fulfilling project, providing warmth and comfort while allowing for creative expression. However, before diving into the process, it’s essential to understand the technique of blocking, which is crucial for achieving a polished and professional finish. Blocking helps to set the stitches, enhance the blanket’s drape, and ensure that your hard work results in a beautifully shaped piece.
In this guide on how to block a blanket knitting, we will explore the fundamentals of blocking a blanket, covering the necessary tools, techniques, and tips to help you achieve the best possible results.
What is Blocking?
Blocking is the process of shaping and sizing a knitted piece to achieve an evenly distributed appearance. It involves wetting or steaming the fabric and then stretching it out to its desired dimensions. This technique helps relax the fibers, allowing them to settle into place while also helping to even out any inconsistencies in tension.
It is especially crucial for blankets as they tend to be large and made up of several pieces, such as squares or strips. Without blocking, a blanket can end up looking lopsided with uneven stitches, ruining the overall aesthetic.
Tools Needed
Before beginning the blocking process, make sure you have all the necessary tools on hand:
Clean Towels:
These will be used to lay the blanket on and absorb excess moisture during blocking. Make sure the towels are clean and free of any fabric softeners or scents that may transfer onto your blanket.
Rustproof Pins:
You’ll need to pin down the edges of your blanket during blocking, so rustproof pins are essential. Regular pins can leave rust stains on your fabric, which could be challenging to remove.
Measuring Tape:
To ensure you stretch out your blanket to its desired dimensions accurately, a measuring tape is crucial.
Spray Bottle:
If you’re using the wet blocking method, a spray bottle will come in handy for evenly distributing water onto your blanket. Fill it with lukewarm water and add a few drops of mild detergent if needed.

Steamer:
If you’re using the steam blocking method, a steamer will help to evenly distribute steam onto your blanket, helping the fibers relax and reshape.
8 Step-by-step Guidelines on How to Block a Blanket Knitting
Step 1: Read the Pattern
Before you begin the blocking process, it’s essential to thoroughly read the pattern of your knitted blanket. Understanding the specific requirements of your project, such as the dimensions and any unique stitch patterns, will help you determine how to best block your piece. Take note of the recommended blocking method, whether it’s wet blocking or steam blocking, as well as any special care instructions related to the yarn you used.
Familiarising yourself with the pattern will ensure that you’re prepared to achieve the desired shape and drape, leading to a beautifully finished blanket.
Step 2: Prepare Your Work Space
Choose a flat, clean surface that is large enough to accommodate your blanket. Lay down clean towels on the surface, making sure they are completely flat and smooth. You can also use foam-blocking mats or an ironing board if you have one available.
But beware of using a carpeted surface as it can leave impressions on your blanket and affect the blocking process.
Step 3: Wet Blocking Method
If your pattern suggests wet blocking, fill a spray bottle with lukewarm water and add a few drops of mild detergent if needed. Lay your knitted piece flat onto the towels, making sure it’s evenly spread out without any folds or creases.
Spray the fabric lightly with water until it’s damp but not soaking wet. Gently smooth out any wrinkles or unevenness in the fabric with your hands.
Step 4: Steam Blocking Method
If your pattern suggests steam blocking, use a steamer to evenly distribute steam onto the fabric. Hold the steamer about an inch away from the fabric and move it back and forth in a sweeping motion. Make sure not to keep it in one spot for too long as this can cause damage to your blanket.

Smooth out any wrinkles or unevenness with your hands as you go.
Step 5: Stretching and Pinning
Once the fabric is damp or steamed, gently stretch it out to its desired dimensions, making sure all edges are straight and even. Use rustproof pins to pin down each edge of the blanket, securing it in place. Make sure the pins are evenly spaced and not placed too close to each other.
It’s essential not to pull the fabric too tight as this can affect its drape and shape. Be gentle and work slowly, smoothing out any wrinkles or unevenness along the way.
Step 6: Allow to Dry or Cool
If you are using the wet blocking method, allow your blanket to dry completely before unpinning it. This can take anywhere from a few hours to a day depending on the thickness of your yarn and the humidity in your environment.
If you are using steam blocking, let your blanket cool for at least an hour before unpinning. This will give the fibers enough time to set in their new shape.
Step 7: Remove Pins and Check the Shape
Once your blanket is completely dry or cooled, carefully remove the pins. Take a step back and examine your piece to ensure it has achieved its desired dimensions and shape. If there are any wrinkles or unevenness, you can gently smooth them out with your hands.
You can also use a light iron on low heat with a pressing cloth to help set any stubborn wrinkles.
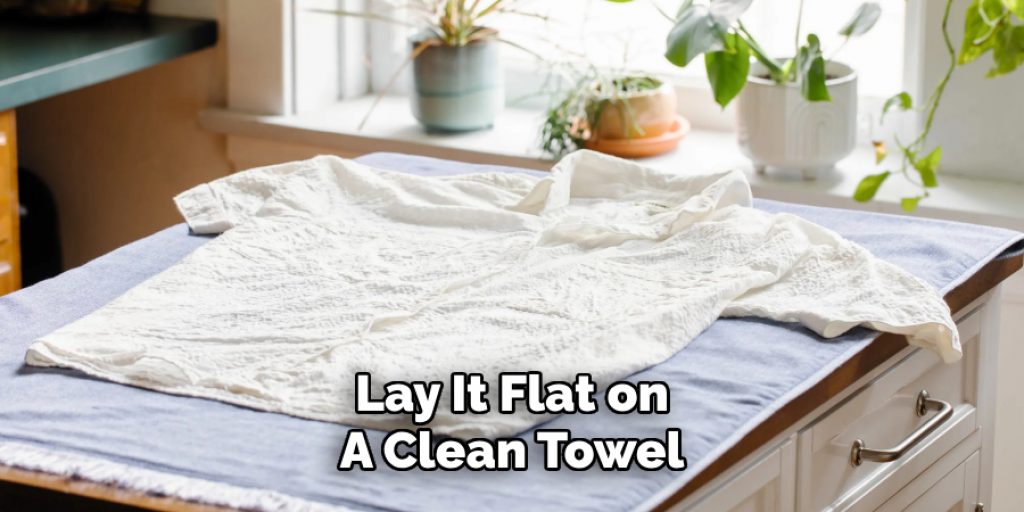
Step 8: Finishing Touches
Once you’re satisfied with the shape of your blocked blanket, lay it flat on a clean towel and allow it to air dry for another day. This will help set the fibers in place and give your blanket a professional finish.
Following these guidelines on how to block a blanket knitting will help you achieve a beautifully blocked blanket, showcasing your knitting skills and creating a polished appearance. Remember to always read the pattern instructions carefully, choose the appropriate blocking method for your project, and take your time to ensure that every detail is perfected. Happy knitting!
Additional Tips
- If using the wet blocking method, make sure to use lukewarm water and avoid hot water as it can cause shrinkage or felting of your yarn.
- For stubborn wrinkles, you can lightly spray the fabric with water and gently pat them out with your hands before pinning.
- If using the steam blocking method, make sure to keep the steamer at least an inch away from the fabric to prevent any damage.
- Always test a small patch of your yarn before beginning the blocking process to ensure that it is colorfast and won’t bleed onto your blanket.
- Once your blanket is blocked, store it flat or folded in a breathable fabric to prevent any creasing or crushing of the fibers. Avoid hanging it, as this can cause the weight of the fabric to pull and distort its shape.
- Don’t be afraid to experiment with different blocking methods and techniques to find what works best for your project. Every knitter has their own preferred method, so don’t hesitate to try new things! Happy knitting!
Frequently Asked Questions
Q1: Can I Block My Blanket Without Pinning It Down?
A1: While pinning is recommended for achieving a precise shape, you can also achieve some blocking effect by simply laying your blanket flat and allowing it to dry. However, this method may not be as effective in shaping the fabric or straightening out any unevenness.
Q2: Can I Block My Blanket in the Washing Machine?
A2: It is not recommended to block your blanket in the washing machine as the agitation and spinning motion can cause damage to your delicate knit fabric. Hand-blocking or steam-blocking are safer and more effective methods for shaping your knitted piece.
Q3: Can I Reuse the Pins I Used for Blocking?
A3: It’s best to use rustproof pins for blocking so they won’t leave any marks on your fabric or corrode over time. However, if you do plan on reusing them, make sure to clean and dry them properly before storing them away. This will prevent any rust or damage to your knitting projects in the future. So, it is recommended to use new pins for each blocking session.

Conclusion
Blocking your knitted blanket is an essential step in achieving a polished and professional finish. By following the outlined methods and tips on how to block a blanket knitting, you can enhance the appearance of your project, ensuring it showcases your craftsmanship beautifully.
Remember that patience is key in the blocking process, and allowing your blanket to fully dry or cool before unpinning is crucial for maintaining its shape. With practice and experimentation, you will master the art of blocking and elevate the quality of your knitted creations. Happy knitting, and may your future projects be as beautiful as the time you put into crafting them!
Elizabeth Davis
Elizabeth is a creative writer and digital editor based in the United States. She has a passion for the arts and crafts, which she developed from a young age. Elizabeth has always loved experimenting with new mediums and sharing her work with others. When she started blogging, she knew that DIYquickly would be the perfect platform to share her tutorials and tips. She's been writing for the blog from the beginning, and her readers love her helpful advice and easy-to-follow instructions. When she's not writing or editing, Elizabeth enjoys spending time with her family and friends.


