How to Make Buttons With Cricut
Creating custom buttons with a Cricut machine allows for a unique and personal touch to your projects, whether for clothing, accessories, or home decor. This guide on how to make buttons with cricut will walk you through the essential steps and techniques needed to make your own buttons, providing tips on materials, design choices, and application methods.
Whether you’re a seasoned Cricut user or just starting out, this easy-to-follow introduction will ensure you have the necessary knowledge to craft beautiful buttons that showcase your creativity. Let’s dive in and explore the exciting possibilities!
Why Make Buttons with Cricut?
Before we dive into the step-by-step process, you may be wondering why you should use a Cricut machine specifically for creating buttons. While there are other methods of making buttons, such as manual button makers or purchasing pre-made ones, using a Cricut machine offers a few unique benefits:
Endless Customization Possibilities:
With a Cricut machine, you have access to various design options and can create buttons in any shape, size, or color you desire. You can also personalize them with names, images, or quotes to make them truly one-of-a-kind.
Time and Cost-Efficient:
Making buttons with a Cricut machine is quick and cost-effective, especially if you plan on creating a large number of buttons. The materials needed are relatively inexpensive, and once you have your design set up, cutting out multiple buttons can be done in a matter of minutes.
Perfect for Small Businesses or Personal Use:
If you’re looking to start a button-making business or simply want to create custom buttons for yourself or as gifts for friends and family, using a Cricut machine allows for professional-looking results without the need for expensive equipment.
Materials Needed
To get started, you will need the following materials:
A Cricut Machine:
There are various Cricut machines available on the market, each with its own set of features and capabilities. Whichever model you choose, make sure it has a cutting function as this is essential for making buttons.
Button Making Supplies:
You will need button blanks (the metal or plastic part of the button), a shell (the front cover of the button), and a back piece (the back cover of the button). These can be purchased in bulk from craft stores or online suppliers.
Cardstock or Fabric:
This will serve as the material for your button design. Cardstock works well for simple designs, while fabric can add texture and depth to your buttons.
Glue:
You will need glue to attach your design to the button blanks. A strong adhesive, such as E6000 or hot glue, is recommended.
8 Step-by-step Guidelines on How to Make Buttons With Cricut
Step 1: Design Your Button
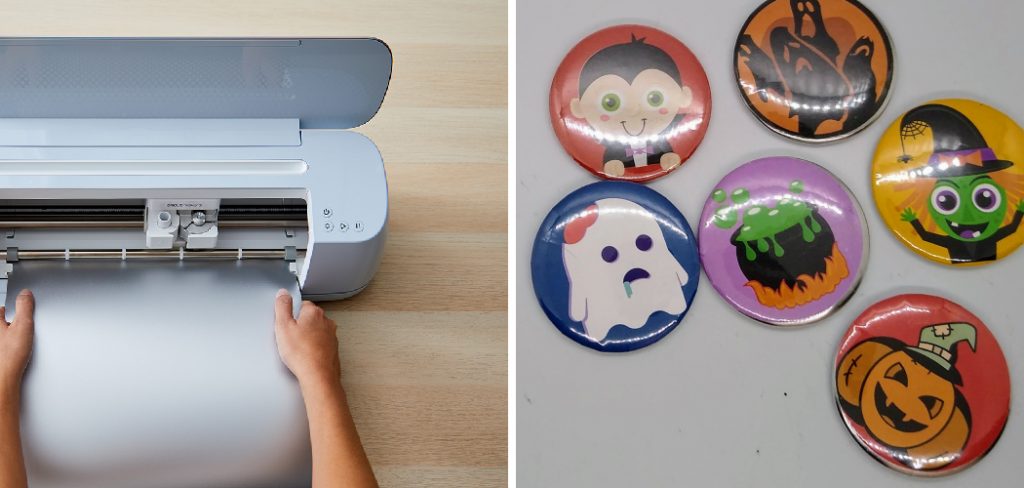
The first step in creating your custom button is to design it using Cricut’s Design Space software. Start by opening Design Space and selecting the appropriate canvas size based on the dimensions of your button blanks. You can choose from pre-made shapes or create your own unique designs using the various tools available. Incorporate text, images, or patterns to personalize your buttons. Remember to consider the color and style that aligns with your project’s theme.
Once you’re satisfied with your design, be sure to save your project. This design will be the basis for the buttons you will create, so take your time to make it as eye-catching and personal as you wish.
Step 2: Set Up Your Cricut Machine
Once your button design is ready, it’s time to set up your Cricut machine. Begin by ensuring your machine is plugged in and turned on. If you haven’t already, connect your Cricut to your computer or mobile device via Bluetooth or USB, depending on your model. Next, load the appropriate cutting mat that corresponds to your material choice—either cardstock or fabric—ensuring it is properly aligned.
Select your saved design in Cricut Design Space and click on the “Make It” button. Follow the prompts to choose your material type, which will guide the Cricut in adjusting its cutting settings accordingly. Make sure to adjust the blade depth if you’re using fabric to ensure a clean cut. Finally, load the mat into the Cricut machine when prompted, and press the “Go” button to start cutting out your button designs. Once the cutting is complete, carefully unload the mat and remove your freshly cut designs with precision.
Step 3: Prepare Your Button Blanks
With your button designs cut and ready, the next step is to prepare your button blanks. Begin by gathering all the necessary button components: the blanks, the shells, and the backs. Ensure your workspace is clean and organized to facilitate a smooth assembly process.
Carefully inspect your button blanks for any imperfections or debris that may affect adhesion. If you’re using metal blanks, you might want to lightly sand the surface to enhance the grip of the glue. Once this is done, place your button blanks face up, ready to receive the design.
If you’re incorporating multiple designs, keep the corresponding designs organized next to their respective button blanks to avoid confusion during assembly. Preparing your button blanks thoroughly will ensure a clean and professional finish once everything is assembled.
Step 4: Glue Your Design to the Button Blanks
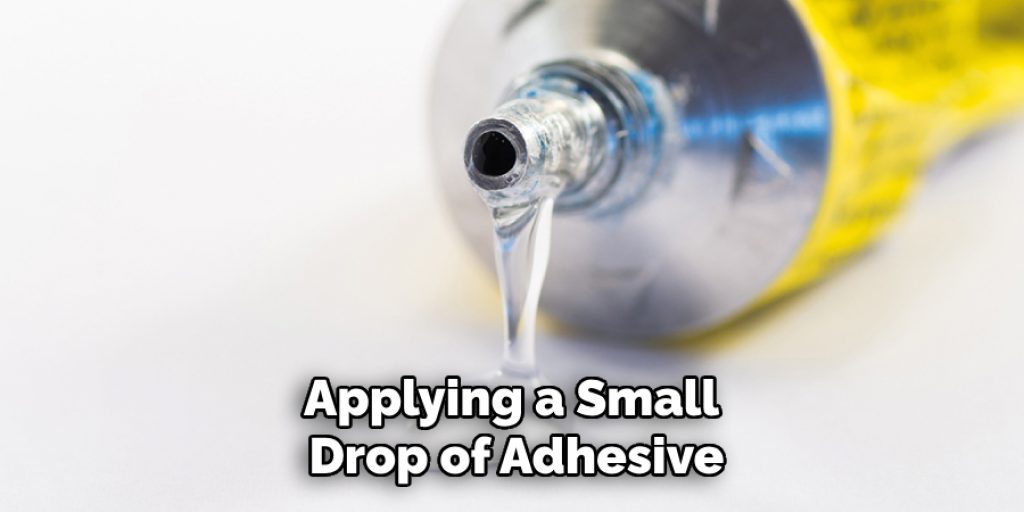
With your button blanks prepared, it’s time to apply the glue. Begin by applying a small drop of adhesive onto the backside of your button blank, ensuring not to use too much as this may cause bubbling or overflow once pressed down. If using hot glue, be mindful not to burn yourself during this process.
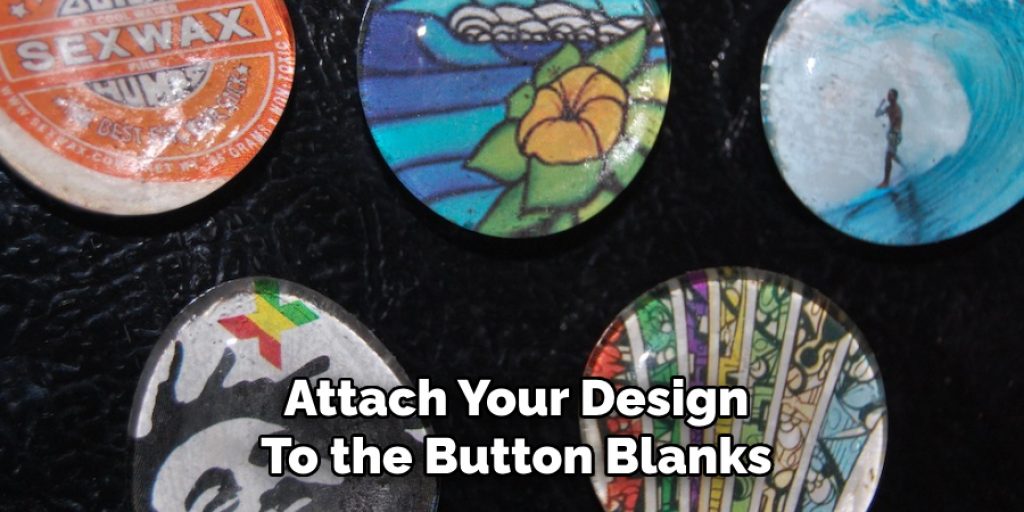
Next, carefully place your design onto the glue and press firmly but gently to ensure it is securely adhered to the button blank. Take care not to smudge or wrinkle the design during this step as it will affect the overall appearance of your button.
Step 5: Attach Shells and Backs
Once your design is firmly attached to the button blanks, it’s time to assemble the shells and backs. Begin by placing the front shell onto the button blank, with the design facing outwards. Then, place the back piece onto the back of your button blank, sandwiching in between both pieces.
Take care to align all components properly before pressing them together firmly. You may use a small rubber mallet or hammer to gently tap on the edges for added security.
Step 6: Let Your Buttons Dry
After assembling your buttons, it’s crucial to allow them sufficient time to dry to ensure that all components adhere properly. Place your completed buttons on a clean, flat surface away from direct sunlight. If you’re using a strong adhesive like E6000, refer to the manufacturer’s instructions for the recommended drying time, which usually ranges from a few hours to overnight.
Keeping the buttons undisturbed during this time will prevent any shifting or misalignment of the elements. Once dry, you can check each button for secure attachment and make any adjustments, if necessary, before moving on to the final step.
Step 7: Optional Finishing Touches
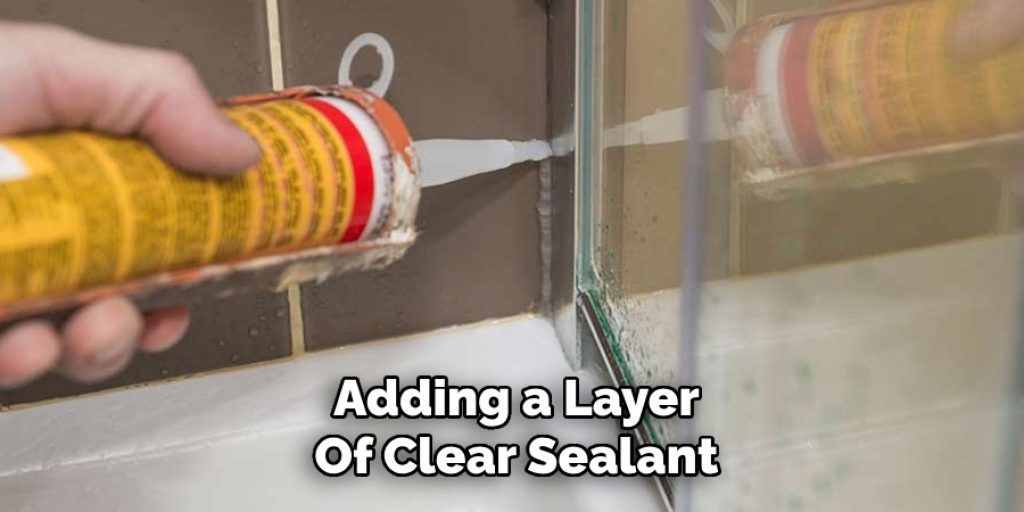
Once your buttons are dry and fully assembled, you may choose to add some finishing touches to enhance their appearance. This could include adding a layer of clear sealant or varnish for added protection and shine or even attaching small embellishments like rhinestones or beads to give your buttons an extra touch of character. Get creative and have fun personalizing your buttons in any way you desire!
It’s also a good idea to use a soft cloth to clean off any excess adhesive or fingerprints from the surface of your buttons before displaying or using them. This will ensure a polished and professional appearance.
Step 8: Enjoy Your Custom Buttons!
Congratulations, you’ve successfully made custom buttons with the help of your Cricut machine! Now it’s time to incorporate them into your projects and showcase your creativity. Whether it’s for clothing, accessories, or crafts, your custom buttons will add a unique and personal touch.
Following these steps on how to make buttons with cricut will ensure that your buttons are made with precision and care, resulting in a polished and professional finish. Don’t be afraid to experiment with different designs, materials, and techniques to create one-of-a-kind buttons for any occasion. Have fun crafting!
Additional Tips and Ideas for Making Custom Buttons
- Use different materials such as leather, wood, or acrylic for unique and creative buttons.
- Experiment with different button sizes to add variety to your designs.
- Consider adding a pin back or magnet to turn your buttons into wearable accessories or home decor.
- Create themed sets of buttons for different occasions, such as holidays or special events.
- Use Cricut’s print-and-cut feature to make custom designs using photographs or digital art.
- Utilize different fonts and colors in your designs to add visual interest and convey a message.
- Consider making personalized buttons for special occasions like weddings, birthdays, or baby showers.
- Don’t limit yourself to traditional circular buttons – try different shapes and sizes for a unique touch.
Remember to have fun and let your creativity flow when making custom buttons with your Cricut machine. The possibilities are endless, so don’t be afraid to experiment and make something truly unique and special! So go ahead and get started on your button-making adventure; the only limit is your imagination. Happy crafting!
Conclusion
In conclusion, making custom buttons with your Cricut machine is not only a fun and creative process but also allows for endless possibilities in design and personalization. By following the step-by-step guide on how to make buttons with cricut provided, you can create professional-looking buttons that reflect your unique style and creativity.
Whether for personal use, gifts, or special events, these custom buttons can add a distinctive flair to any project. Embrace the opportunity to explore different materials, styles, and finishes, and remember that the joy lies in the crafting journey itself. So gather your materials, unleash your imagination, and enjoy making buttons that are truly one-of-a-kind! Happy crafting!
Elizabeth Davis
Elizabeth is a creative writer and digital editor based in the United States. She has a passion for the arts and crafts, which she developed from a young age. Elizabeth has always loved experimenting with new mediums and sharing her work with others. When she started blogging, she knew that DIYquickly would be the perfect platform to share her tutorials and tips. She's been writing for the blog from the beginning, and her readers love her helpful advice and easy-to-follow instructions. When she's not writing or editing, Elizabeth enjoys spending time with her family and friends.