
How to Make a Bird Seed Block
Creating a bird seed block is a rewarding and enjoyable way to provide food for local birds while also engaging with nature. These blocks not only serve as a nutritious source of sustenance for various bird species but also attract them to your backyard, allowing for delightful birdwatching opportunities.
In this guide, we will explore how to make a bird seed block, ensuring you use readily available ingredients that are both safe and appealing to your feathered friends. Whether you’re a seasoned bird enthusiast or a beginner looking to connect with wildlife, this project offers a fun and fulfilling experience.
What is a Bird Seed Block?
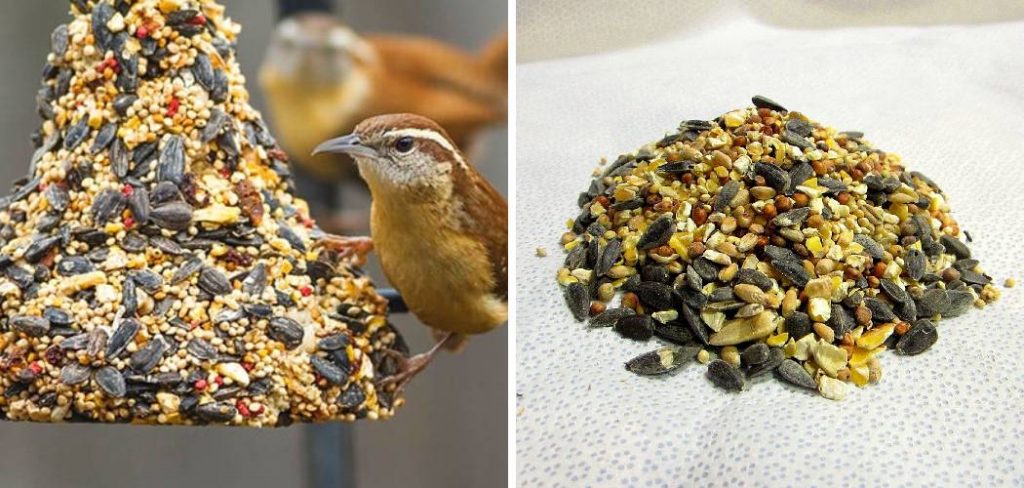
A bird seed block is a compact, molded combination of various seeds and other ingredients designed to attract and nourish birds in your garden or yard. Typically formed into a solid shape, these blocks can include a mix of sunflower seeds, millet, peanuts, and suet, which provide essential nutrients for birds. The blocks can be hung from trees or feeders, making them easily accessible to avian visitors. Not only do bird seed blocks offer a convenient feeding method, but they also serve as an engaging way to observe different bird species as they gather to enjoy a meal.
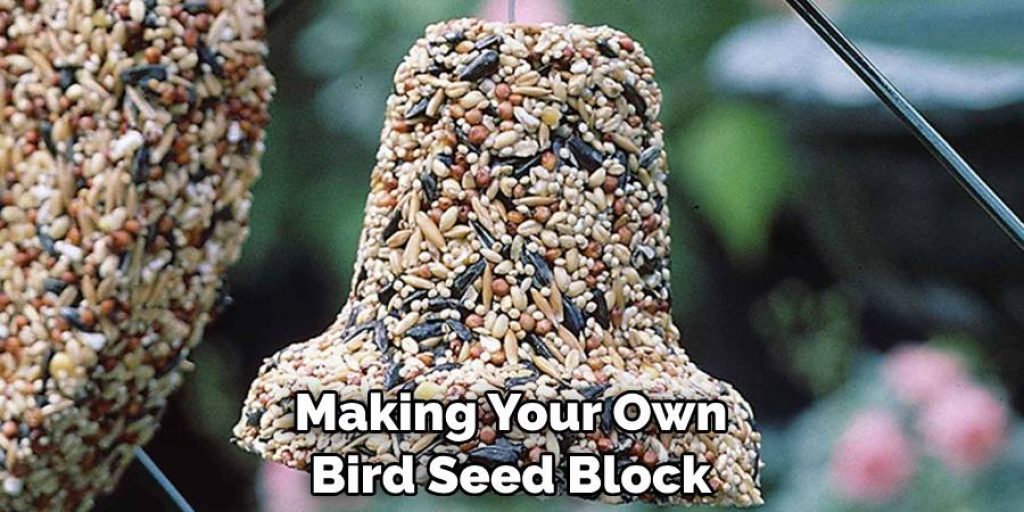
Why Make Your Own Bird Seed Block?
Making your own bird seed block provides numerous benefits that enhance both your experience and the well-being of local wildlife. First and foremost, creating these blocks allows you to customize the ingredients based on the specific bird species in your area, ensuring that the seeds are not only nutritious but also appealing to the birds you want to attract.
Additionally, DIY bird seed blocks can be more cost-effective than store-bought options, allowing you to feed birds without breaking the bank. Engaging in this activity is also a wonderful way to spend time outdoors, connect with nature, and foster a sense of stewardship for your environment. Lastly, crafting these seed blocks can be a fun project to involve children and family, creating lasting memories while simultaneously nurturing the local ecosystem.
10 Methods How to Make a Bird Seed Block
1. Choosing the Right Ingredients
The first step in making bird seed blocks is selecting the right ingredients. A basic bird seed block typically includes birdseed, a binding agent, and optional extras such as nuts, dried fruit, or mealworms. The type of birdseed you choose can attract different birds. For example, sunflower seeds, millet, and cracked corn are popular choices for a wide variety of birds. Adding nuts and dried fruit can attract woodpeckers and finches, while mealworms can entice insect-eating birds. Choosing high-quality ingredients ensures that your bird seed blocks are nutritious and appealing to birds.
2. Selecting a Binding Agent
A binding agent is essential to hold the birdseed together in a solid block. Common binding agents include gelatin, lard, suet, and peanut butter. Gelatin is a popular choice for a more solid block, while lard and suet provide high-energy fat that is especially beneficial in winter. Peanut butter can add extra protein and a sticky texture that birds love. Choose a binding agent based on the climate and the nutritional needs of the birds you wish to attract. Using the right binding agent ensures that your bird seed block holds together well and provides energy to birds.
3. Preparing the Mold
To shape your bird seed block, you’ll need a mold. Silicone molds, muffin tins, or even simple cookie cutters can work well. Grease the mold lightly with oil or non-stick spray to ensure easy removal of the seed block once it’s set. If using a cookie cutter, place it on a baking sheet lined with parchment paper. Preparing the mold properly helps achieve a neat and easily removable bird seed block.
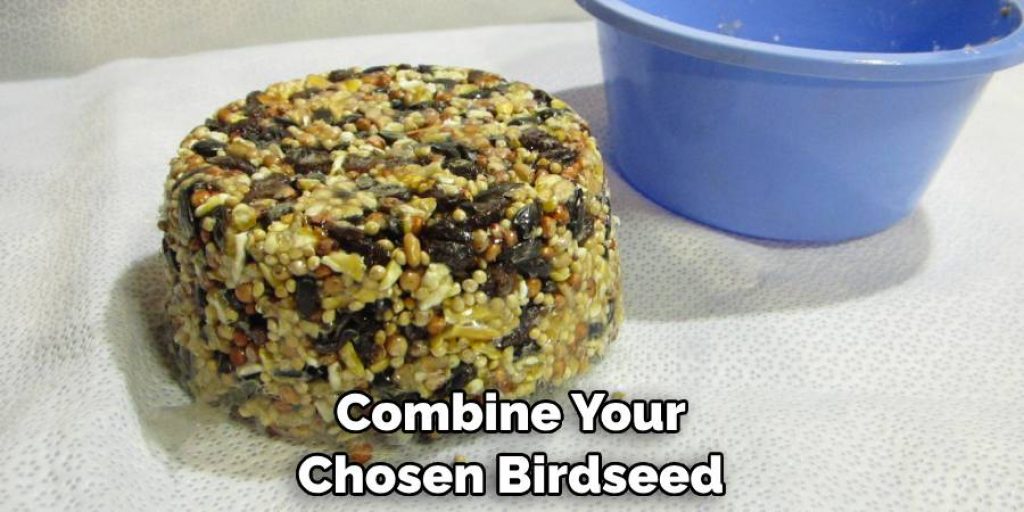
4. Mixing the Ingredients
In a large bowl, combine your chosen birdseed with any additional ingredients like nuts, dried fruit, or mealworms. In a separate container, melt or soften your binding agent if necessary. For gelatin, dissolve it in hot water according to package instructions. For lard or suet, melt it over low heat. Mix the binding agent thoroughly with the birdseed mixture until all the seeds are well-coated and sticky. Ensuring the ingredients are well-mixed guarantees a uniform bird seed block that holds together effectively.
5. Filling the Molds
Spoon the birdseed mixture into your prepared molds, pressing it down firmly to eliminate air pockets and ensure a dense block. Fill the molds to the top and press down again to create a solid, compact block. If using a cookie cutter, fill it with the mixture and press down firmly, adding more mixture as needed. Properly filling and pressing the mixture ensures that the bird seed block holds its shape and doesn’t crumble.
6. Inserting a Hanging Device
If you want to hang your bird seed block, insert a piece of string, twine, or ribbon into the mixture before it sets. Make a loop and ensure the ends are well-embedded in the seed mixture to secure it. Alternatively, you can use a wooden skewer or a piece of wire bent into a hook shape. Inserting a hanging device while the mixture is still pliable ensures that your bird seed block is easy to hang in your desired location.
7. Allowing the Block to Set
Let the bird seed block set in the mold for several hours or overnight. If using gelatin, refrigerate the mold to help the gelatin solidify. For lard or suet, allow the mixture to cool and harden at room temperature or in the refrigerator. Once the block is firm, gently remove it from the mold. Allowing the block to set completely ensures that it is sturdy and holds together when handled.
8. Storing and Preserving
If you’ve made multiple bird seed blocks or are not using them immediately, proper storage is important to maintain their freshness. Store the blocks in an airtight container or plastic bag in a cool, dry place. If you used suet or lard, consider refrigerating or freezing the blocks to prevent them from becoming rancid. Proper storage keeps your bird seed blocks fresh and attractive to birds for longer periods.
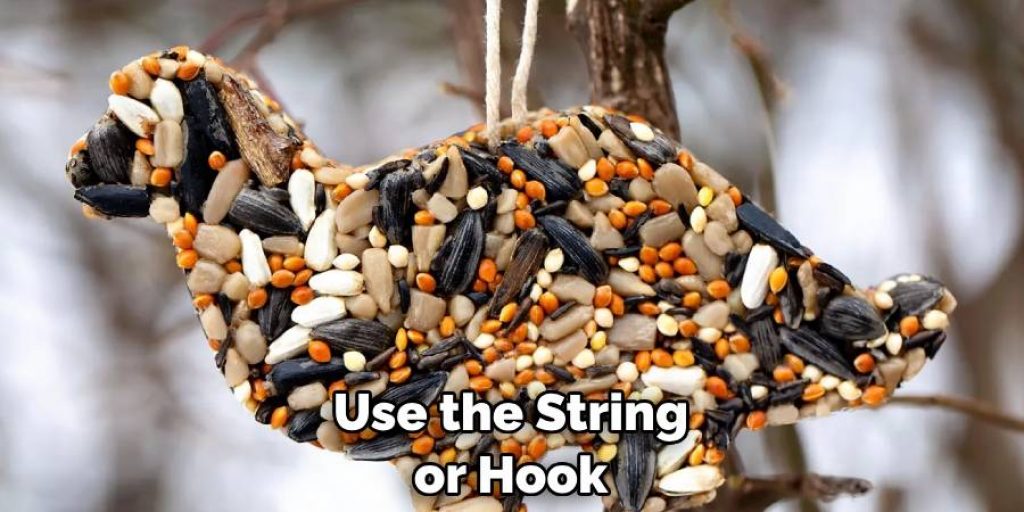
9. Hanging the Bird Seed Block
To hang your bird seed block, choose a suitable location in your garden or yard. Select a spot that is visible and easily accessible to birds but safe from predators. Use the string or hook you inserted during the molding process to hang the block from a tree branch, feeder, or birdhouse. Ensure the block is securely attached and won’t fall in windy conditions. Properly hanging the bird seed block allows birds to easily access the food and ensures it remains in place.
10. Monitoring and Refilling
Once your bird seed block is in place, monitor it regularly to see how quickly the birds are consuming it. Refill or replace the block as needed, especially during peak feeding times like winter or early spring. Clean the area around the feeder periodically to prevent mold or bacteria buildup. Keeping an eye on your bird seed block and maintaining a clean feeding area ensures a healthy feeding environment for birds and enhances your birdwatching experience.
Tips for Achieving the Best Bird Seed Blocks
- Experiment with Ingredients: Don’t hesitate to try various combinations of seeds, nuts, and fruits to discover what works best for the bird species in your area. Keep a journal to track which mixtures attract the most visitors.
- Adjust for Seasonal Changes: Birds have different nutritional needs depending on the season. In winter, consider using high-fat ingredients like suet, while in the warmer months, lighter mixtures with fruits may be more appealing.
- Maintain Cleanliness: Always use clean utensils and molds to prevent contamination. Regularly spruce up the area around your bird seed block to ensure it remains a safe feeding space.
- Observe and Learn: Take some time to watch the birds that visit your seed block. Not only is it enjoyable, but it can also provide insights into their preferences, helping you refine your recipes in the future.
- Choose the Right Location: Position your bird seed blocks in areas that provide shelter and safety for birds while still being visible to them. Places near trees or shrubs can offer protection from predators while attracting birds to your feeder.
Conclusion
Making bird seed blocks is a rewarding and enjoyable activity that benefits both you and the birds in your garden. By following these ten methods—choosing the right ingredients, selecting a binding agent, preparing the mold, mixing the ingredients, filling the molds, inserting a hanging device, allowing the block to set, storing and preserving, hanging the bird seed block, and monitoring and refilling—you can create nutritious and attractive bird seed blocks.
Each method offers valuable insights and techniques to guide you through the process, ensuring that your bird seed blocks are both durable and appealing to birds. Thanks for reading, and we hope this has given you some inspiration on how to make a bird seed block!
Elizabeth Davis
Elizabeth is a creative writer and digital editor based in the United States. She has a passion for the arts and crafts, which she developed from a young age. Elizabeth has always loved experimenting with new mediums and sharing her work with others. When she started blogging, she knew that DIYquickly would be the perfect platform to share her tutorials and tips. She's been writing for the blog from the beginning, and her readers love her helpful advice and easy-to-follow instructions. When she's not writing or editing, Elizabeth enjoys spending time with her family and friends.


