How to Close a Dart on A Pattern
Darts are essential in sewing patterns, strategically placed to shape fabric around the body’s curves for a superior fit. They serve the crucial purpose of transforming flat fabric into a three-dimensional garment, allowing for contours that enhance both style and comfort. Properly closing darts is vital as it directly impacts the final product’s fit, shape, and aesthetics. When executed effectively, darts create a tailored look that flatters the wearer, preventing awkward bunching or gaping.
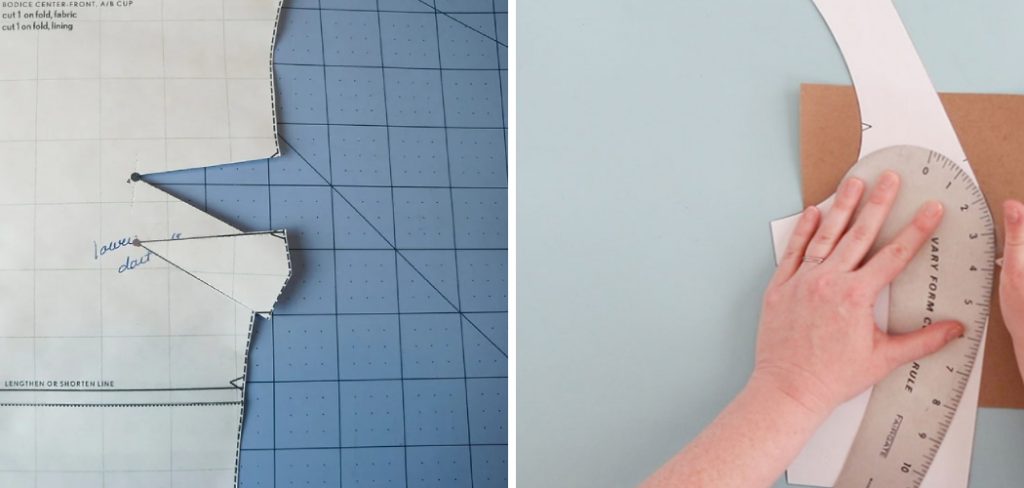
In this guide, we will walk through the step-by-step process of how to close a dart on a pattern, covering everything from preparation to finishing touches. By mastering this technique, sewists can improve their garment-making skills and achieve professional results.
Understanding Darts
Darts are triangular folds sewn into a fabric to provide shape and structure, enabling garments to conform seamlessly to the body’s contours. They are predominantly used in areas like the bust, waist, and hips, where the fabric needs to be manipulated for a fitted appearance. There are several types of darts, including single-point darts, which taper to a single point, and double-point darts, commonly utilized in more complex designs for shaping a garment’s front and back.
Mastering how to close a dart on a pattern is critical, as it directly influences the final fit and shape of the garment. Properly sewn darts enhance the silhouette, ensuring that clothes fit well and look tailored, while poorly executed darts can lead to unflattering results, such as puckering or gaping. Understanding the purpose and application of darts is essential for sewists aiming to create professional-quality garments.
Tools and Materials Needed
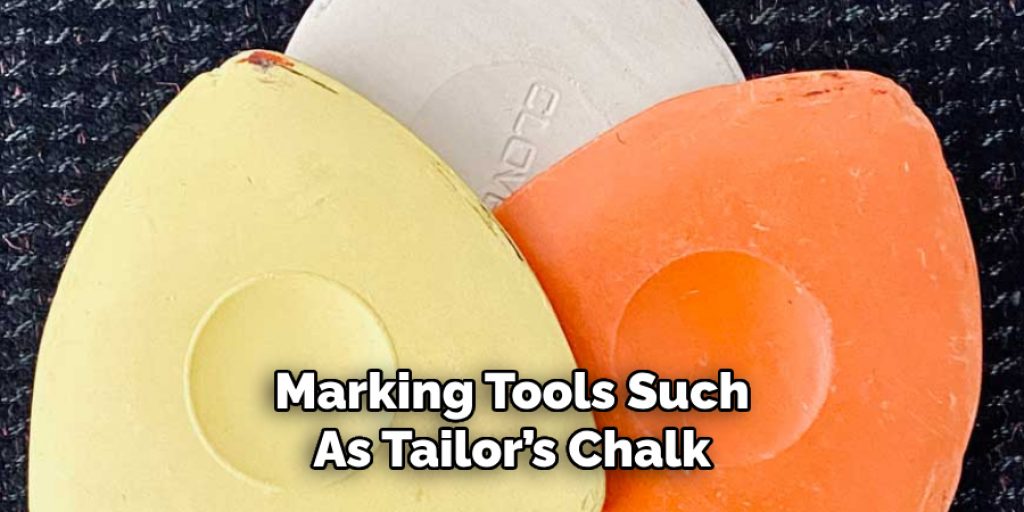
To successfully close a dart on a pattern, having the right tools and materials is essential. The primary materials required include the sewing pattern, the fabric you intend to use, marking tools such as tailor’s chalk or fabric markers, pins for securing the dart, and thread that matches your fabric.
For the tools, a reliable sewing machine is necessary for stitching, alongside fabric scissors for cutting your materials. An iron is also crucial for pressing darts to achieve a polished finish. Additionally, optional tools to enhance your process include dart marking templates to ensure precision and a seam ripper for any necessary adjustments or corrections.
Preparing the Dart
Preparing the dart is a critical step that sets the stage for a successful sewing process. Start by marking the dart on the fabric using the tailor’s chalk or fabric markers, ensuring accuracy in transferring the dart placement from the pattern. Following the dart lines as indicated on the pattern is vital, marking both the dart’s outer edges and the point. Once the dart is marked, fold the dart on the pattern, aligning the dart lines meticulously. This alignment ensures that the fabric will be shaped correctly when sewn.
To achieve accurate marking and folding, consider using a straightedge or ruler to ensure the markings are perfectly straight. It’s also helpful to pin the dart in place after folding; this will prevent any shifts while you prepare to sew. Additionally, working in good lighting can enhance visibility and aid in making precise markings. If you find it challenging to keep the dart lines aligned, practice on scrap fabric first, allowing you to refine your technique before moving on to your main fabric. Taking these steps ensures a clean, professional appearance to your darts and contributes to the overall quality of your garment.
How to Close a Dart on A Pattern: Sewing the Dart
1.Pinning the Dart
Properly pinning the dart is essential for ensuring accuracy while sewing. Begin by aligning the edges of the dart fabric and placing the two dart markings on the right sides together. Use straight pins to secure the dart in place, inserting them parallel to the dart line. Ensure the fabric layers lie flat against each other, avoiding twists or folds, which can lead to puckering during sewing.
Use a few extra pins on either side of the dart point for best results to ensure it stays aligned. It can also be beneficial to gently stretch the fabric while pinning, keeping it smooth and taut. Checking the alignment before moving to the sewing machine can save time and prevent errors later. Taking the time to pin carefully will pay off, resulting in cleaner, more professional-looking darts.
2.Stitching the Dart
With the dart pinned securely, it’s time to stitch along the dart lines. Set your sewing machine to a medium stitch length, which typically ranges from 2.5 to 3.0 mm, ensuring a balance of strength and flexibility. Start sewing from the widest part of the dart and proceed toward the point, maintaining an even seam allowance as indicated by your markings.
Smoothly guide the fabric, but avoid pulling or pushing it through the machine, as this can distort your seam. Upon reaching the dart point, backstitch to reinforce the stitching. This backstitching at the dart ends adds durability and prevents the seam from unraveling. Once finished, carefully remove the pins, ensuring they do not pull on the sewn dart.
Pressing the Dart
Pressing darts is a crucial step in achieving a polished finish. It not only helps to shape the dart but also ensures that the stitching lies flat, enhancing the overall appearance of the garment. Begin by setting your iron to the appropriate temperature for your fabric type. Place the dart with the seam allowances against the pressing surface and gently press down, using an up-and-down motion rather than sliding the iron across the fabric to prevent distortion.
For further shaping, consider using a pressing ham, which can conform to the curves of the dart. This technique allows for more precise shaping, especially around areas with more significant angles. To avoid puckering, always ensure that the fabric is smooth and free of creases before pressing. After pressing, you can set the dart shape by lightly steaming it, which helps to maintain the curve. Finally, check for any puckers or unevenness. If they occur, adjustments can be made by carefully repositioning the dart and pressing again. A well-pressed dart significantly improves the final look of your garment, contributing to a professional finish.
Closing the Dart
After sewing the dart, the final steps involve closing it properly to achieve a smooth and professional finish. First, you’ll need to trim and notch the dart to eliminate excess bulk and facilitate easier pressing. Begin by trimming the seam allowance to about 1/4 inch from the stitching line. This helps reduce bulk at the dart point, which is especially important for fitted garments.
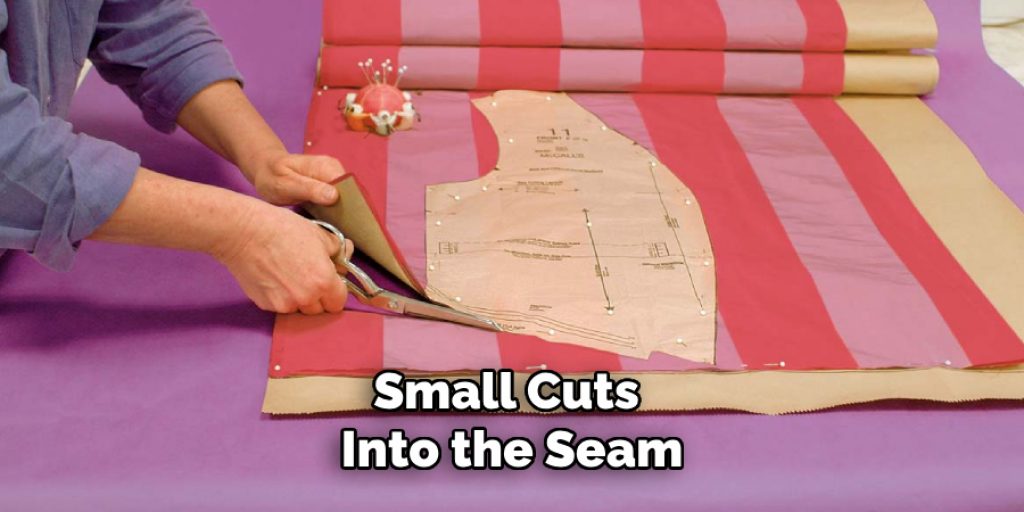
Additionally, notching the dart seam allowances is crucial; small cuts into the seam allowance, without reaching the stitching, allow the fabric to lay flat when pressed. Aim to make notches approximately every half inch, taking care not to cut too deeply to avoid compromising the seam integrity.
Finishing the Dart
Once the dart is trimmed and notched, it’s essential to ensure it is neatly closed and appears smooth. Inspect the dart for any puckering or unevenness along the seams. If you notice imperfections, you can make final adjustments by gently pulling the fabric into place while pressing. This attention to detail ensures that the dart fits seamlessly into the garment, enhancing the overall silhouette and professional appearance.
Common Mistakes and Troubleshooting
When learning how to close a dart on a pattern, it’s important to identify and address common issues such as puckering or uneven darts. Puckering can often occur due to improper pinning or uneven tension while sewing. To prevent these mistakes, ensure your dart is accurately marked on the fabric and pinned securely before stitching. If errors arise, carefully remove the stitches with a seam ripper and re-sew the dart more precisely. In cases where adjustments become complicated, do not hesitate to seek help from a professional sewist, especially if you’re working with delicate fabrics or intricate designs.
Frequently Asked Questions (FAQs)
1. What Is the Purpose of A Dart in Sewing?
Darts are used to shape the fabric to the contours of the body, allowing for a better fit and more flattering silhouette. They help create curves in garments, especially around areas like the bust, waist, and hips.
2. How Can I Prevent Puckering when Sewing Darts?
To avoid puckering, ensure that the dart is pinned securely and that the fabric is smooth and flat before you sew. Additionally, using a medium stitch length and sewing with consistent tension can help maintain an even seam. If puckering does occur, consider unpicking the dart and resewing it with more care.
3. Can I Alter a Pattern without Darts?
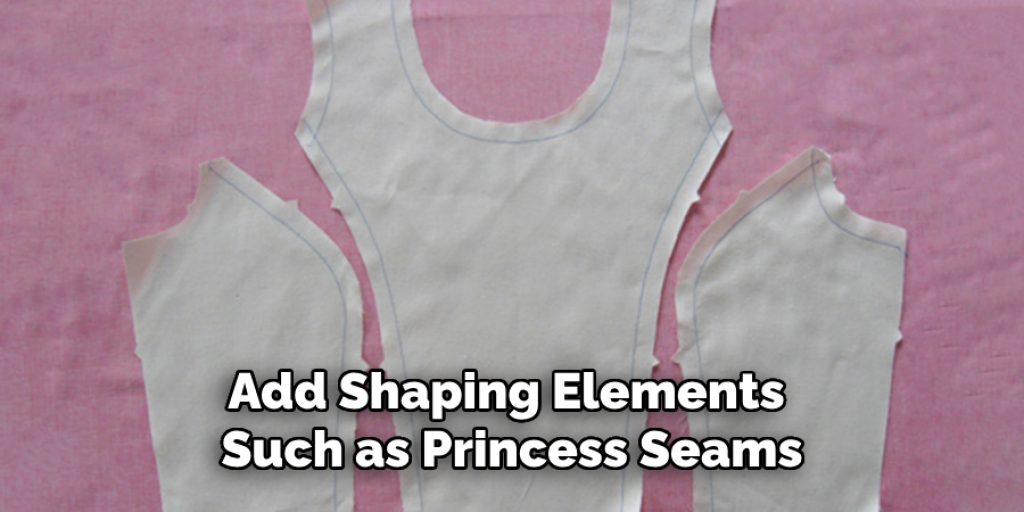
Yes, you can alter a pattern to be artless, but this requires additional skills in pattern manipulation. Instead of darts, you may need to add shaping elements such as princess seams or consider modifying the fit through other means, like adjusting seam allowances or choosing different types of fabric that drape well.
Conclusion
In recap, successfully closing a dart on a pattern involves several crucial steps: preparing, pinning, stitching, trimming, notching, pressing, and finishing to achieve a polished look. Practicing these techniques will improve your sewing skills and enhance the fit and overall quality of your garments. Well-executed darts play a significant role in the structure and design of clothing, allowing for a tailored fit that flatters the wearer. As you continue to practice, you’ll gain confidence in your abilities and discover the artistic potential of sewing. Strive for perfection, and remember that each garment you create only adds to your growing expertise. Thanks for reading our blog post about how to close a dart on a pattern.


