How to Crochet Kitty Ears
Are you a fan of cats and want to show your love for them by incorporating cat-themed accessories into your wardrobe? Or are you looking for a fun and unique project to try out? Look no further because we have the perfect crochet pattern for you – adorable kitty ears!
How to crochet kitty ears is a delightful and creative project that adds a whimsical touch to hats, headbands, or costumes. Whether you are an experienced crocheter or a beginner looking to expand your skills, this fun accessory can be made using basic crochet techniques.
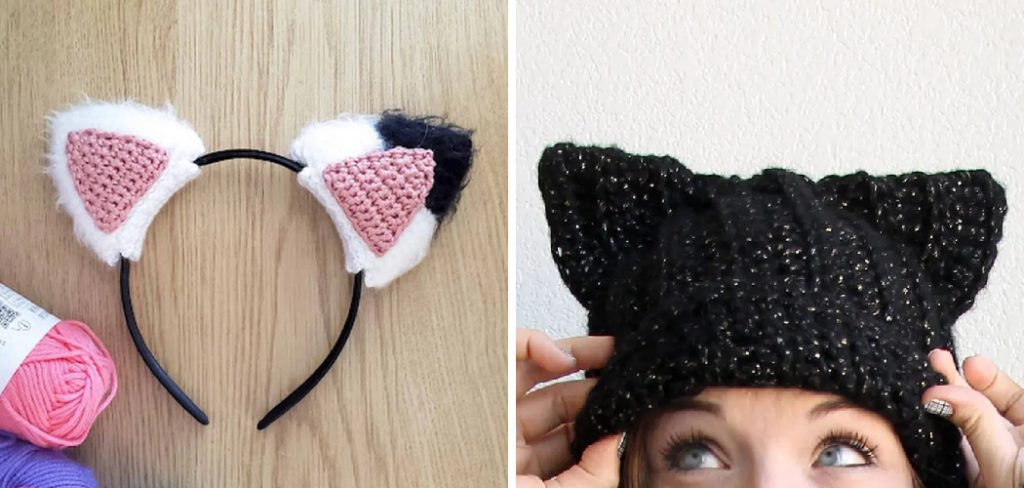
In this guide, we will provide step-by-step instructions on crocheting kitty ears and tips on customizing them for a truly unique look. Enable your creativity and charm everyone with your handmade kitty ears!
What Will You Need?
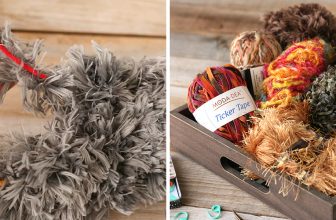
Before diving into the steps, let’s gather all the materials you need.
- Yarn of your choice in two colors (one for the base and one for the inner ear)
- Crochet hook (the size will depend on the yarn weight)
- Scissors
- Yarn needle
Don’t worry if you don’t have these exact materials – feel free to use whatever yarn and hook you have handy. The most important thing is to have fun with it!
9 Easy Steps on How to Crochet Kitty Ears
Step 1: Make a Magic Ring
You’ll first need to make a magic ring to begin crocheting your kitty ears. This technique allows you to start your project with a snug closure, preventing gaps in your work’s center. Here’s how to do it:
- Take your yarn and create a loop, leaving a long tail for later.
- Hold the loop between your fingers, then wrap the working yarn around the loop once, crossing it over.
- Insert your crochet hook into the loop from front to back and pull the working yarn through the loop to create a slipknot.
- With the slipknot on your hook, chain the required number for your pattern, typically around three to start your first round.
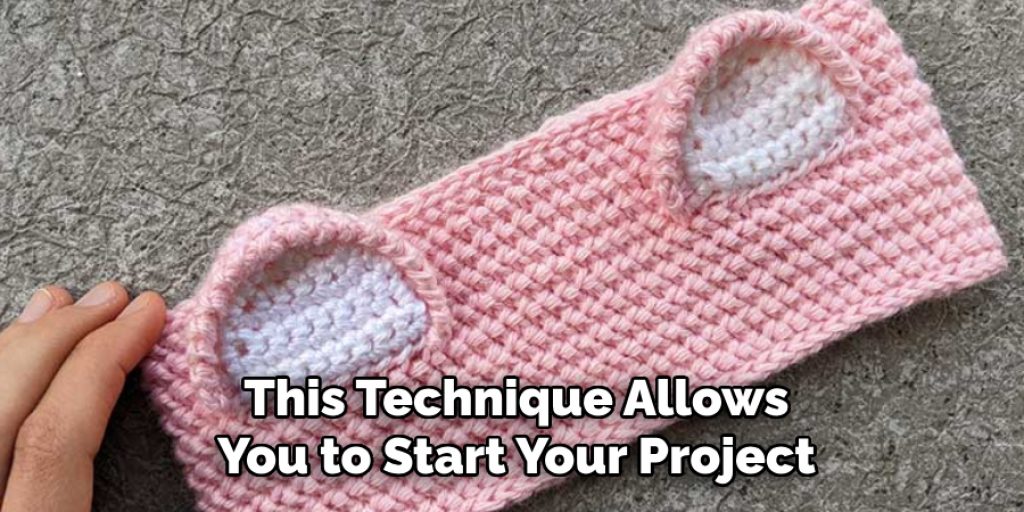
Remember that the magic ring can feel tricky at first, but it becomes second nature with some practice. This step sets the foundation for your kitty ears, so take your time and ensure the ring is tight and secure.
Step 2: Create the Base of the Ear
Now that you have your magic ring ready, it’s time to form the base of the ear. Follow these instructions closely:
- Crochet the stipulated number of single crochets (usually 6) inside the magic ring to create a compact circle.
- Once you’ve completed the single crochets, gently pull on the tail of the yarn to tighten the ring, closing any gaps.
- To secure the round, slip stitch into the first single crochet you made. This will be the foundation of your kitty ear.
Step 3: Increase to Shape the Ear
Next, we will begin shaping the ear by increasing the number of stitches:
- Start the new round with a chain stitch, then make two single crochets into each stitch around the circle. This should double the number of stitches (you’ll end up with 12 total).
- Again, slip the stitch into the first single crochet to close the round, ensuring a smooth transition to the next step.
Step 4: Form the Inner Ear
To give your kitty ears that adorable touch, we’ll now add the inner ear:
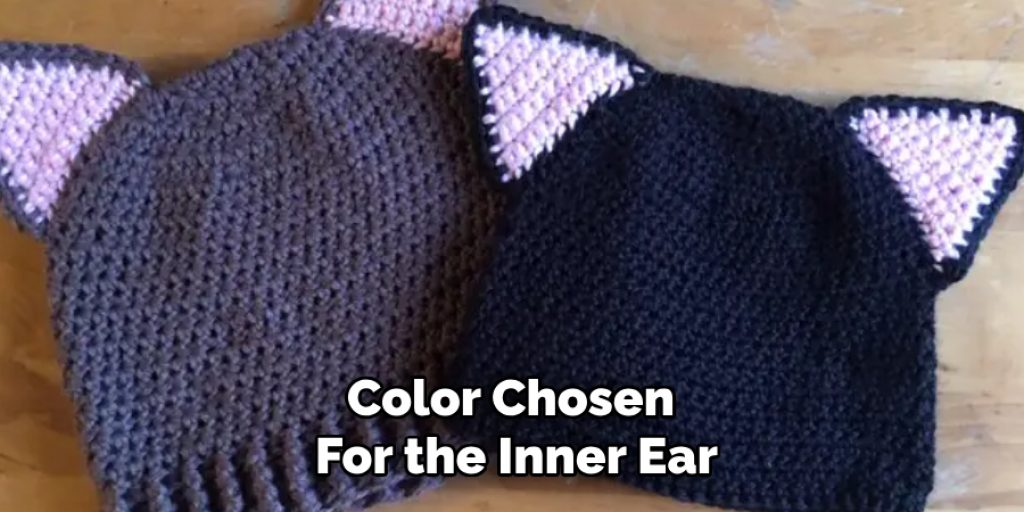
- Switch to the yarn color chosen for the inner ear. Attach it with a slip knot in any stitch of the previous round.
- Chain one, then make a single crochet in the next three stitches.
- In the following stitch, do two single crochets to create a bit of a curve, then single crochet in the next three stitches.
- Finish the round by slip stitching into the first single crochet you made to secure it.
Step 5: Decrease the Top of the Ear
Now, it’s time to shape the top of the ear. This involves a few decreases:
- Start the round by making a single crochet in the next two stitches, then single crochet two together (decrease). Repeat this all the way around until you finish the round.
- You should end up with a smaller circle that resembles the top of your kitty ear.
Step 6: Final Stitching
To finish your kitty ears, cut the yarn, leaving a tail, and pull it through the last loop on your hook to secure it.
- Weave in any loose ends using a yarn needle to give your project a tidy look.
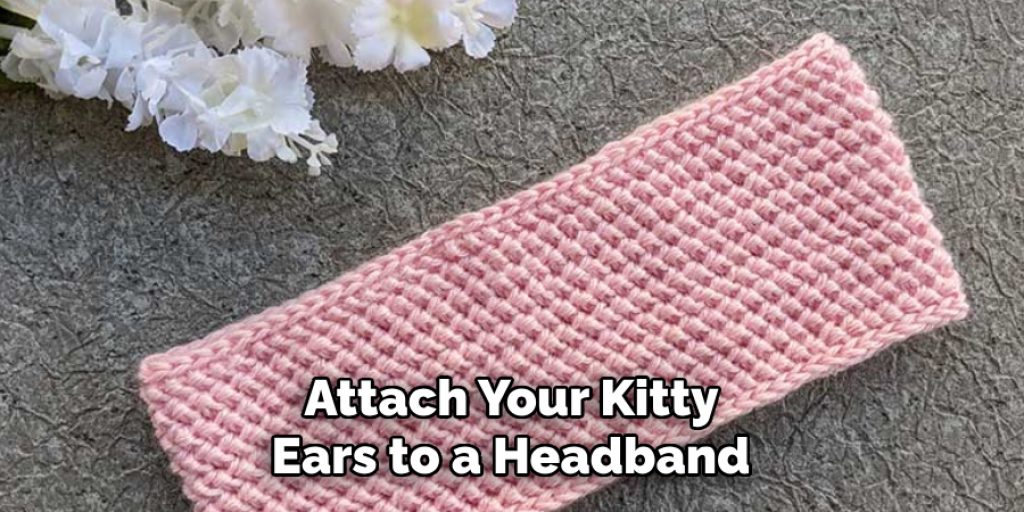
- If desired, attach your kitty ears to a headband or incorporate them into a hat to complete your cat-themed accessory!
Step 7: Customising Your Kitty Ears
Now that you have completed the basic structure of your kitty ears, it’s time to make them your own! Here are a few ideas on how to customize your ears:
- Add Embellishments: To enhance the kitty’s appearance, consider sewing on small felt details, such as whiskers or a nose.
- Change the Size: To create larger or smaller ears, simply adjust the number of rounds you work or add more single crochet stitches during the increases.
- Experiment With Colors: Use multiple colors or ombre yarn to create unique styles. For a playful design, you could also make inner ears that contrast with the outer ones.
- Attach Accessories: Sew on bows, flowers, or other decorations for an added touch of flair.
These customization options allow you to express your creativity and make your kitty ears a genuinely personal accessory!
Step 8: Finishing Touches
Once you have attached your kitty ears to your desired headband or hat, it’s time to add the finishing touches to ensure they look perfect:
- Block Your Ears: Lightly steam or block the ears to help them hold their shape. Use a damp cloth and an iron on a low setting, taking care not to touch the yarn directly.
- Check for Loose Ends: Double-check that all loose ends have been woven securely. This will improve the overall appearance and ensure durability when worn.
- Test the Fit: Try on your creation to ensure the ears sit comfortably and look as you envisioned. You can adjust the positioning for an optimal fit or cut additional embellishments to enhance their appeal if needed.
With these final steps completed, your adorable kitty ears are ready to be showcased! Enjoy wearing them or gifting them to friends who appreciate the charm of handmade accessories.
Step 9: Show Off Your Creation
Now that your kitty ears are complete and all the finishing touches are in place, it’s time to show off your delightful handiwork! Here are some fun ways to display your creation:
- Take Photos: Capture the magic of your project by taking some lovely photos. Consider different settings and angles to showcase your kitty ears, especially if you’ve added unique customizations.
- Wear Them Out: Don your new accessory at casual outings, themed parties, or cosplay events. You’ll not only turn heads but also spark conversations among fellow enthusiasts.
- Share on Social Media: Post your finished project on social media platforms to inspire others. Use relevant hashtags like #CrochetKittyEars to connect with a broader community of crafters and cat lovers.
- Gift Them: Spread the joy by gifting your kitty ears to friends or family who would appreciate the handmade charm. Personalized gifts often bring a smile, and your loved ones will adore the thoughtful gesture.
By sharing your creativity, you celebrate your craftsmanship and inspire others to embark on their own crochet projects!
You have now completed your journey to making adorable crochet kitty ears. We hope this tutorial has helped you create your own unique accessory.
5 Things You Should Avoid
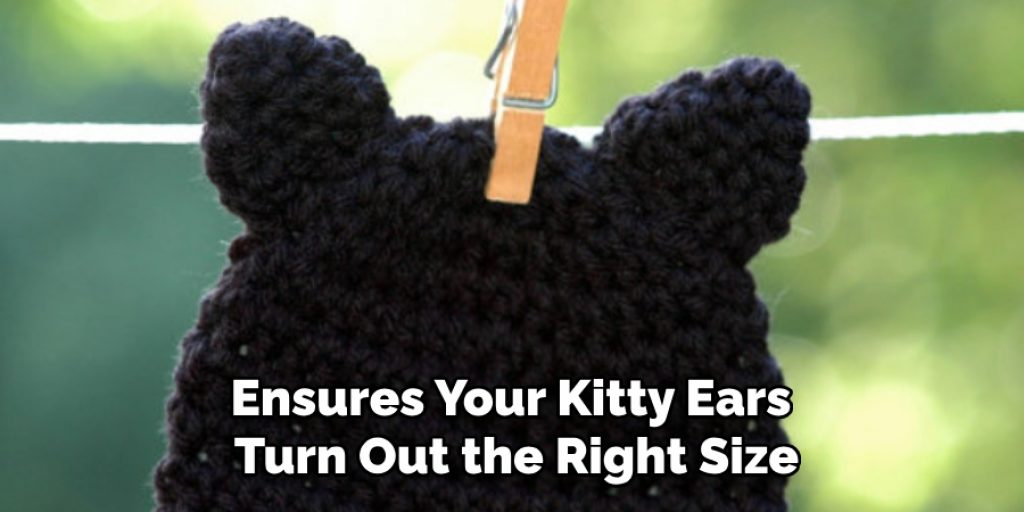
- Skipping the Swatch: Always consider making a swatch before jumping into your project. This helps you understand your tension and ensures your kitty ears turn out the right size. Skipping this step can lead to unexpected sizing issues.
- Using Incompatible Yarn Types: Different yarns have varying thicknesses and textures. Avoid using yarn that’s too thick or too thin compared to your pattern’s recommendations, as this can affect the final look and shape of the ears.
- Neglecting to Count Stitches: It’s easy to lose track of your stitch count, especially during increases and decreases. Avoid this by consistently counting your stitches after each round to prevent awkwardly sized ears.
- Forgetting to Weave in Ends: Leaving loose yarn ends can ruin the neatness of your project. Be sure to securely weave in all ends after you’ve finished to maintain a clean and tidy appearance.
- Ignoring Comfort and Fit: Ensure the ears are cute and comfortable. Avoid making them too heavy or stiff, which can cause discomfort when worn. Always test the fit after finishing to make any necessary adjustments.
Conclusion
In conclusion, how to crochet kitty ears is a fun and rewarding project that allows you to express your creativity while creating a charming accessory.
By following the steps outlined in this tutorial, from selecting your materials to adding personal touches, you can make unique kitty ears that reflect your own style. Remember to take your time and enjoy the process, and don’t hesitate to experiment with different colors, sizes, and embellishments.
Whether you wear them yourself or gift them to someone special, your handmade kitty ears are sure to bring joy and delight. Happy crocheting!


