How to Tie Pussy Bow
Are you looking for a stylish, versatile way to jazz up your outfit? Look no further than the pussy bow!
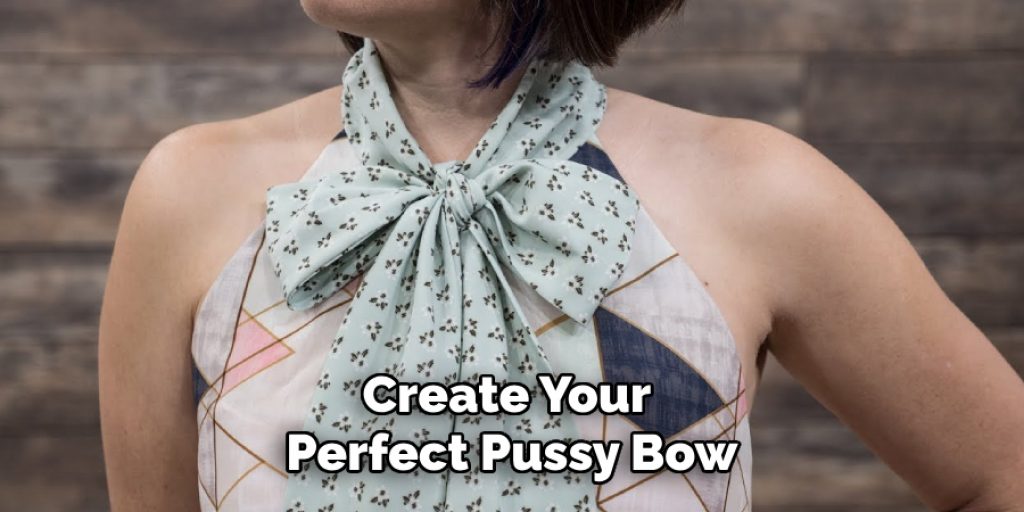
The pussy bow is a charming and elegant detail that adds a touch of femininity to any outfit. Originating from the fashion trends of the 1960s, this style typically features a bow made from a scarf or fabric tied at the neckline, creating a soft and sophisticated look. Whether you’re dressing up for a professional setting or adding flair to a casual ensemble, mastering the art of tying a pussy bow can elevate your overall appearance. As you read on, we will guide you through the steps to create your perfect pussy bow.
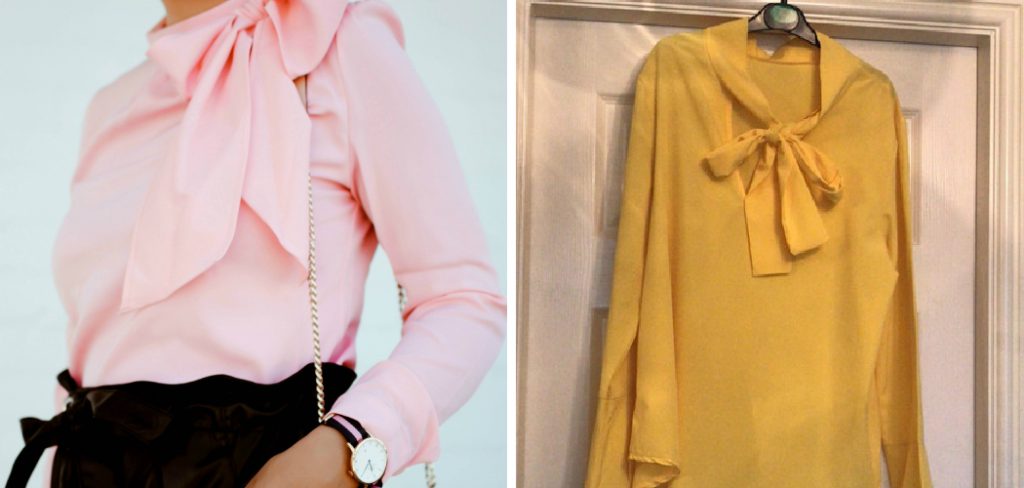
In this guide, we will walk you through the steps on how to tie pussy bow, helping you embrace this timeless accessory with confidence.
What Will You Need?
Before you start, make sure you have the following items on hand:
- A blouse or shirt with a collar
- A long scarf or piece of fabric (at least 60 inches)
- A mirror to check your work
Now that you have everything ready let’s dive into the tying process!
10 Easy Steps on How to Tie Pussy Bow
Step 1. Start with Your Scarf
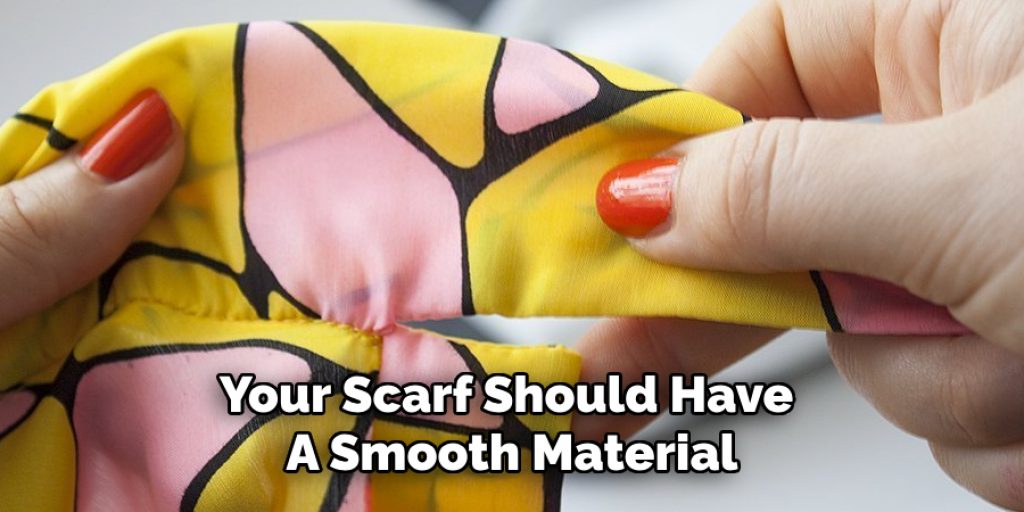
Begin by selecting a long scarf or fabric that complements your outfit. Ideally, your scarf should have a smooth material that drapes well, such as silk or a lightweight cotton blend. Hold the scarf at its center and position it around your neck, with both ends hanging evenly before you. To ensure a neat look, adjust the scarf so it’s not twisted and lies flat against your collarbone, creating a harmonious base for the bow. Once you’ve found the correct positioning, you’re ready to proceed to the next step in crafting your elegant pussy bow.
Step 2. Cross the Ends of the Scarf
Once you have the scarf positioned correctly, take the ends and cross them over each other at your collarbone. The right end should go over the left end, creating an “X” shape. This will form the foundation of your bow and ensure that it sits neatly against your neck. Keep the fabric taut but not too tight, allowing for comfort as you move on to the next step. Adjust the length of each end as needed, ensuring they’re even for a balanced appearance.
Step 3. Create a Loop
After crossing the ends of the scarf, take the right end and create a loop by bringing it under the left end. Pull the right end up toward your neck to form a small loop. This loop will begin the bow shape, so ensure it is snug but not overly tight. Hold this loop in one hand while you prepare to bring the left end around it. Maintaining control over the loop will help achieve a tidy finish as you continue to the next step.
Step 4. Wrap the Left End
With the loop you’ve created held securely, wrap the left end of the scarf around the loop you just formed. Start from the back and bring the left end over the front, moving it around the loop. This wrapping action will help to secure the shape of your bow as it starts to come together. Ensure that the fabric lies flat against the loop, maintaining a smooth and polished appearance. As you complete this step, be mindful of how the bow takes shape, and adjust the fabric accordingly for an elegant finish.
Step 5. Create the Bow Shape
Now that you’ve wrapped the left end around the loop, creating the bow shape is time. Take the left end of the scarf you just wrapped and thread it through the loop you formed in Step 3. This step might feel tricky, but gently guide the left end through the loop while keeping both ends of the scarf firmly in place. Pull the left end down gently to tighten the knot once the left end is through the loop, ensuring the bow maintains its shape without being overly constricted. Take a moment to adjust the proportions of the bow to achieve your desired look. You can use your fingers to gently pull on the fabric and shape the bow into a whole, soft knot.
Step 6. Adjust and Tighten
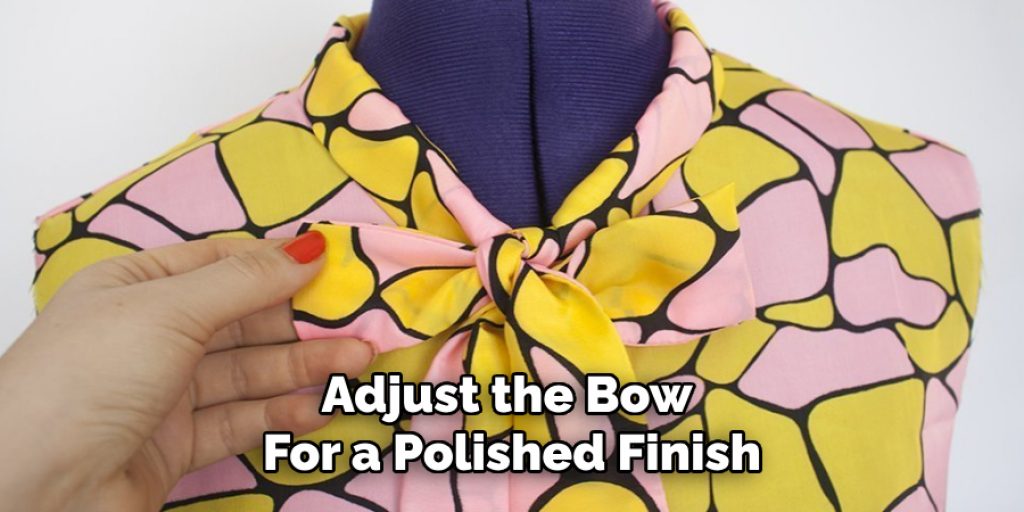
After successfully pulling the left end through the loop, it’s time to adjust the bow for a polished finish. Hold the center of the bow while pulling gently on both ends to tighten the knot at your neck. This will secure the bow in place. If one side feels longer or shorter than the other, carefully adjust until both sides are even. The goal is to have a symmetrical bow that sits beautifully at your neckline, adding a touch of elegance to your outfit. Don’t forget to check your reflection in the mirror to ensure everything looks just right.
Step 7. Create the Drape
Once you’re satisfied with the overall look of the bow, it’s time to create an elegant drape. To do this, gently pull on the center of the bow while allowing the ends to fall naturally. This will give the pussy bow a soft, relaxed appearance. Adjust the fabric to elegantly frame your face and complement the neckline of your blouse or shirt. Be sure to check from different angles in the mirror to achieve a balanced drape that feels both stylish and comfortable.
Step 8. Secure the Bow (Optional)
You may want to secure the bow in place for a more polished look. You can use a small, discreet safety pin or a fashionable clip to hold the bow at your desired position. This is particularly handy if you plan to wear the scarf for an extended period or engage in activities that might cause it to shift. Ensure that any securing method you choose is hidden from view for a seamless appearance.
Step 9. Final Adjustments
Take a moment to step back and assess the entire look. Make any final adjustments to the bow, ensuring both sides are even and the draping is just proper. If the ends of the scarf feel too long or short, you can trim them slightly to achieve your preferred length. Pay attention to how the bow interacts with your collar and any other accessories you’ve chosen. The goal is to create a harmonious ensemble that radiates confidence and style.
Step 10. Enjoy Your New Look!
Now that you’ve mastered the art of tying a pussy bow, it’s time to flaunt your elegant new style! Whether you’re heading to the office, a social event, or a casual outing, the pussy bow is a versatile accessory that can enhance any outfit. Embrace the charm of this timeless fashion statement and enjoy the compliments that are sure to follow as you showcase your beautifully tied pussy bow.
By following these simple steps and practicing a few times, you’ll become an expert in tying a pussy bow in no time.

5 Things You Should Avoid
- Using a Stiff Material: Avoid scarves made from stiff or overly heavy fabrics, as they can make achieving a soft, elegant bow shape challenging. Opt for lightweight materials like silk or chiffon for a more fluid look.
- Neglecting to Adjust Lengths: Failing to adjust the lengths of the scarf properly can result in an uneven bow. Make sure each end is of equal length before wrapping to ensure symmetry.
- Over-Tightening the Knot: While securing the bow is essential, over-tightening can create an uncomfortable fit and distort the shape. Gently secure the bow without constricting it excessively for a more excellent finish.
- Skipping the Final Mirror Check: Don’t overlook the value of a final check in the mirror. This step is crucial for ensuring that the bow is positioned correctly and looks polished from all angles.
- Ignoring Personal Style: Avoid adhering too rigidly to trends or instructions if they don’t resonate with your personal style. Feel free to adapt the size and shape of the bow to reflect your unique fashion sense, allowing it to complement your overall look.
By following these tips and practicing regularly, you’ll be able to tie a perfect pussy bow every time and elevate your style with this trendy yet timeless accessory.
Conclusion
In conclusion, How to tie pussy bow can elevate your style and add a touch of elegance to any outfit.
By following the structured steps outlined, from creating the initial knot to making final adjustments for symmetry, you can ensure a polished and beautiful look. Remember to choose the right fabric, maintain an even length, and always check your reflection for a flawless finish. Embrace your personal style by adapting the bow’s proportions and shape, allowing the accessory to reflect your individuality.
With practice and confidence, you will not only enhance your wardrobe but also enjoy the versatility that the pussy bow offers in various settings, from formal occasions to casual outings. So, go ahead and flaunt your newly acquired skill, and let your style shine!

