How to Glue Paper Without Wrinkles
In the world of crafting and DIY projects, achieving a smooth and wrinkle-free finish is often a key goal. Properly gluing paper can make the difference between a professional-looking result and a messy one. Whether you are creating a scrapbook, constructing a model, or doing any other paper-based project, understanding the right techniques for applying glue is essential.
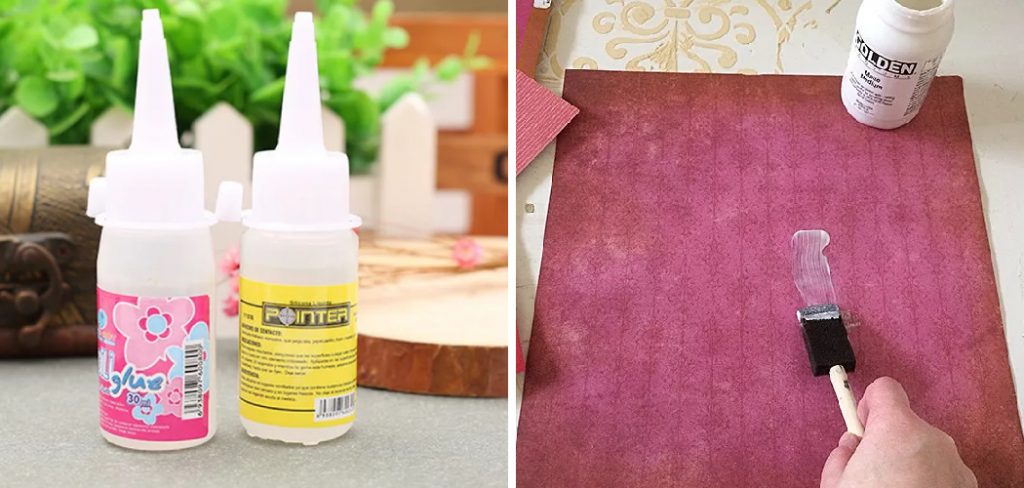
This guide on how to glue paper without wrinkles will explore effective methods to glue paper without wrinkles, ensuring your creations look polished and are as sturdy as possible. Let’s dive into the best practices that will help you achieve pristine results every time.
What is the Cause of Wrinkles When Gluing Paper?
Wrinkles can occur when gluing paper due to several factors. Incorrect adhesive application, excessive glue, and using low-quality glue are some common causes of this issue. If not addressed properly, wrinkles can ruin the overall aesthetic and strength of your project. To avoid these unwanted wrinkles, it is essential to understand the root cause and take appropriate measures.\
It is also crucial to prepare the paper correctly before gluing. Any creases, folds, or bumps on the paper surface can cause wrinkles when glued. Therefore, it is recommended that the paper be smoothed out and cleaned and dried before proceeding with the gluing process.
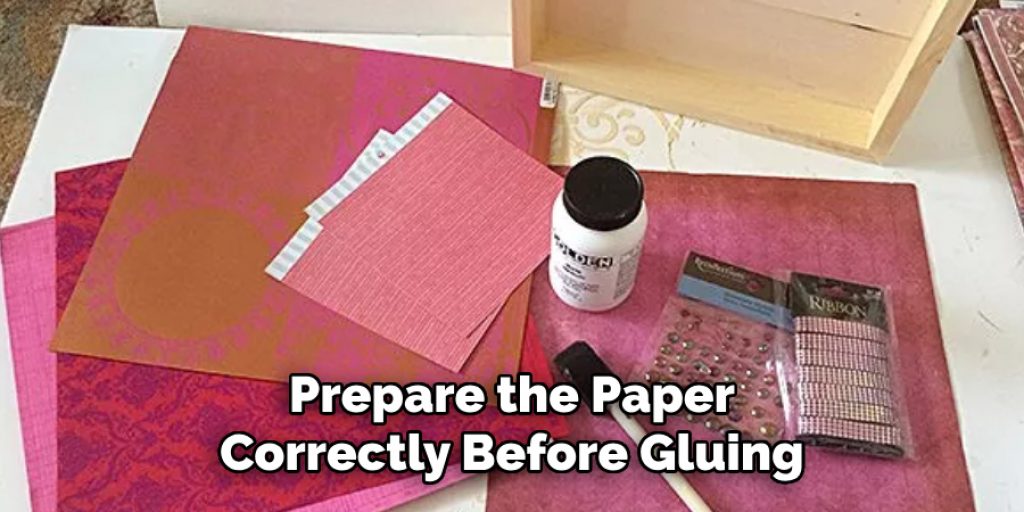
Needed Materials
- High-quality Glue (Acid-free and Archival Glue is Recommended for Long-lasting Results)
- Clean, Dry Paper
- Brush or Roller Applicator
- Flat Surface or Board to Work on
- Paperweight or Clips (if Needed)
7 Step-by-step Guidelines on How to Glue Paper Without Wrinkles
Step 1: Choose the Right Glue
Selecting the appropriate adhesive is crucial for achieving a smooth, wrinkle-free finish when gluing paper. Opt for high-quality glue that is acid-free and specifically formulated for paper crafts. This type of glue not only provides a strong bond but also ensures that your projects remain safe from damage over time.
Avoid using excessive white glue or craft glue, as they can become too brittle or create bubbles during drying. Instead, consider using liquid glue, glue sticks, or adhesive sprays that are designed for paper use. Test a small area first to ensure compatibility with your chosen paper and to determine the best application method for your specific project.
Step 2: Prepare the Paper
Before applying any adhesive, prepare the paper for gluing. Smooth out any bumps or creases on the surface of the paper to avoid wrinkles during drying. You can do this by gently running your fingers over the paper and removing any imperfections. Ensure that both sides of the paper are clean and dry before proceeding.
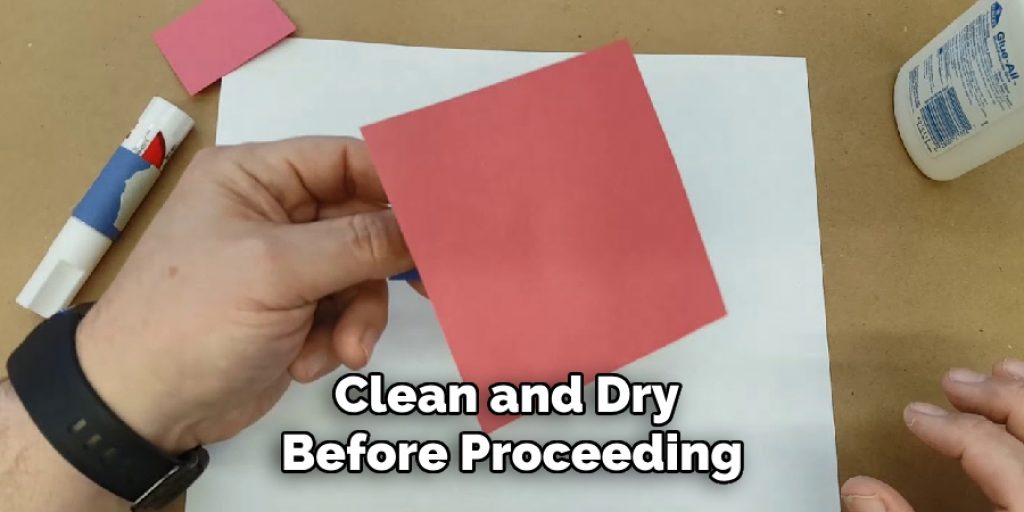
You can also consider using a paperweight or clips to hold the paper in place while gluing. This will prevent it from shifting and causing wrinkles during application.
Step 3: Apply Adhesive
With your paper prepared and your chosen glue at hand, it’s time to apply the adhesive. Start by using a brush or roller applicator to spread a thin, even layer of glue on the back of the paper. Be attentive to the amount of glue you use, as too much can lead to bubbling and wrinkling. Aim for a consistency that lightly coats the surface without saturating it. If you’re working with larger pieces of paper, consider applying glue in sections to maintain control and ensure an even application.
Once the adhesive has been applied, quickly position the paper on the desired surface, using gentle pressure to secure it in place. This technique will help avoid air pockets and maintain a smooth finish.
Step 4: Smooth Out Air Bubbles
After positioning the paper, it’s important to eliminate any air bubbles that may have formed during the application process. Begin by gently pressing the surface of the paper with your fingers, starting from the center and working your way outwards to the edges. This technique helps to push out trapped air and ensures that the paper adheres evenly to the substrate.
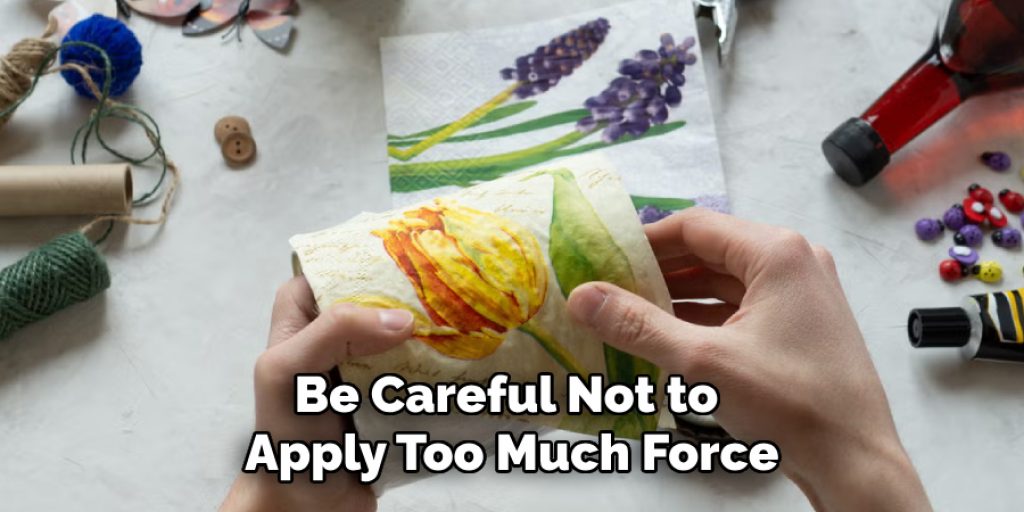
If you encounter stubborn bubbles, a brayer or a flat tool can be useful for rolling over the surface, applying even pressure without damaging the paper. Be careful not to apply too much force, as this can lead to additional wrinkles or tears. Continue smoothing until the surface is completely flat, and allow the glue to dry fully according to the manufacturer’s instructions before handling the project further.
Step 5: Avoid Handling the Paper During Drying
Once you have applied the glue and smoothed out any air bubbles, it is crucial to let the paper dry undisturbed. Avoid handling the paper while it is drying, as this can lead to shifting or misalignment, which may result in unsightly wrinkles. If possible, place a paperweight or some clips on the edges to keep the paper flat and in place without pressing down directly on the glued area. Ensure that the project is located in a stable environment free from drafts and vibrations.
Allow the glue to cure fully for the time specified by the manufacturer, as this will ensure a strong bond and enhance the overall quality of your finished piece. Patience is key; resist the urge to check on the project too frequently, as unnecessary handling can compromise your hard work.
Step 6: Trim Excess Glue
After the glue has fully dried, it’s essential to check for any excess adhesive that may have squeezed out from underneath the paper. Use a sharp craft knife or scissors to carefully trim away any visible glue along the edges of your project. This step will not only enhance the overall appearance by creating clean lines but also prevent the glue from becoming a visible, tacky residue that could attract dirt or dust.
When trimming, take your time to avoid accidentally cutting into the paper itself. For delicate or intricate designs, consider using precision tools to ensure a neat finish. Once trimmed, your project will look polished and ready for display or use.
Step 7: Store and Handle with Care
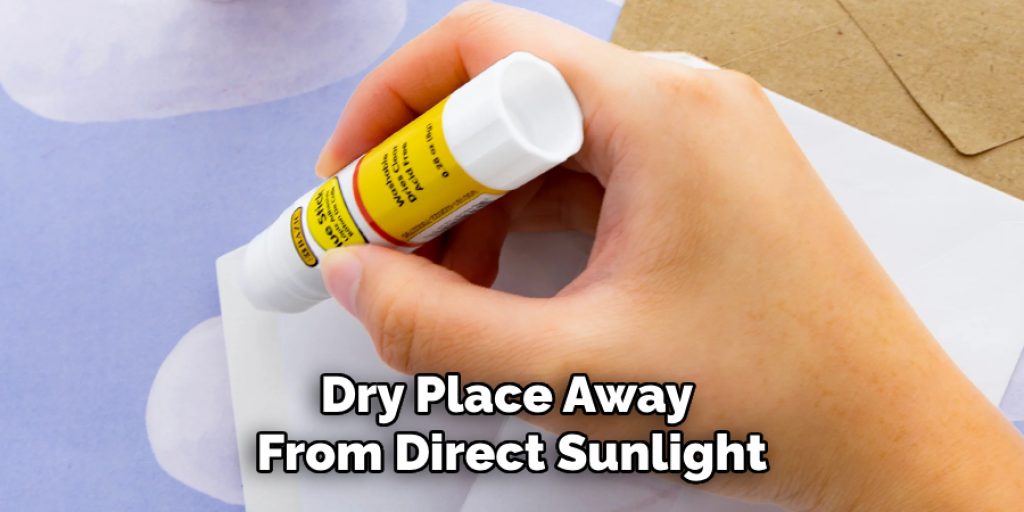
Finally, after completing your project and allowing the glue to dry completely, it’s important to store and handle your paper crafts with care. Keep them in a cool, dry place away from direct sunlight, which can cause fading or discoloration over time. Avoid any unnecessary bending or folding of the paper, as this can lead to creases and wrinkles.
Following these simple steps on how to glue paper without wrinkles will help you achieve a professional, wrinkle-free finish on your paper projects. With the right adhesive and proper preparation and handling, you can create beautiful crafts that will last for years to come. Remember to take your time, use gentle pressure when smoothing out bubbles, and allow for sufficient drying time for the best results. Happy crafting!
Tips for Gluing Paper Without Wrinkles
Now that you know what causes wrinkles when gluing paper, let’s explore some tips and techniques to avoid them:
Choose the Right Adhesive
Using a high-quality adhesive suitable for your specific project is crucial in preventing wrinkles. For example, if you are working with thin or delicate paper, opt for a glue stick or spray adhesive, which provides a finer and more even application. If you are working with thicker or heavier paper, opt for a liquid glue that can provide a stronger bond.
Practice on Scrap Paper
Before applying glue to your final project, it’s always a good idea to practice on scrap paper first. This will help you get used to the consistency of the adhesive and determine the best technique for spreading and smoothing without causing wrinkles.
Work in Sections
For larger pieces of paper, consider dividing the surface into smaller sections and applying glue in stages. This will allow you to have better control over the amount of glue applied and ensure an even distribution for smoother results.
Use Gentle Pressure
When smoothing out air bubbles, be sure to use gentle pressure with your fingers or a suitable tool. Applying too much force can cause additional wrinkles or even damage the paper.
Allow for Sufficient Drying Time
Patience is key when gluing paper without wrinkles. Allow the adhesive to dry completely according to the manufacturer’s instructions before handling or moving the project. Rushing this step can compromise all of your hard work and lead to unwanted wrinkles.
By following these tips and techniques, you can achieve a smooth, wrinkle-free finish on all your paper crafts. Remember to choose the right adhesive, practice on scrap paper, work in sections, use gentle pressure, and allow for sufficient drying time for best results. Happy crafting!
Conclusion
In conclusion, successfully gluing paper without wrinkles requires a combination of the right materials, careful techniques, and patience. By selecting an appropriate adhesive for your project, practicing with scrap paper, and taking the time to smooth out bubbles and allow for thorough drying, you can achieve stunning paper crafts that maintain a professional finish.
Remember to handle your projects with care and follow the tips outlined to prevent the common pitfalls associated with glue application. With these strategies on how to glue paper without wrinkles in mind, you’ll be well-equipped to create beautiful, long-lasting paper crafts that you can be proud of. Happy crafting!


