
How to Put Paper in Resin
Embedding paper in resin is a popular craft technique that allows for the creation of unique, durable pieces of art and functional items. Whether you’re looking to preserve special memories, create custom jewelry, or even design home decor, this method provides endless possibilities for creativity. In this guide on how to put paper in resin, we will explore the necessary materials, step-by-step processes, and tips to successfully encapsulate paper in resin, ensuring a beautiful and long-lasting result.
Why Use Resin?
Before we dive into the steps, let’s first understand why resin is an ideal medium for embedding paper. Resin is a clear, liquid plastic that hardens when mixed with a curing agent. It has many desirable properties, including durability, water-resistance, and UV resistance. This makes it perfect for preserving delicate materials like paper, as well as creating sturdy and long-lasting pieces.
It also allows for a smooth and glossy finish, giving a professional look to your projects. Additionally, resin is versatile and can be used on various surfaces such as wood, metal, or even fabric.
Materials Needed
To put paper in resin, you will need the following materials:
Resin and Hardener:
Resin and hardener are the two main components needed to create resin. They come in liquid form and need to be mixed in a 1:1 ratio.
Mixing Cups and Stir Sticks:
You will need mixing cups and stir sticks to accurately measure and mix the resin and hardener. These can be purchased at any craft store or online.
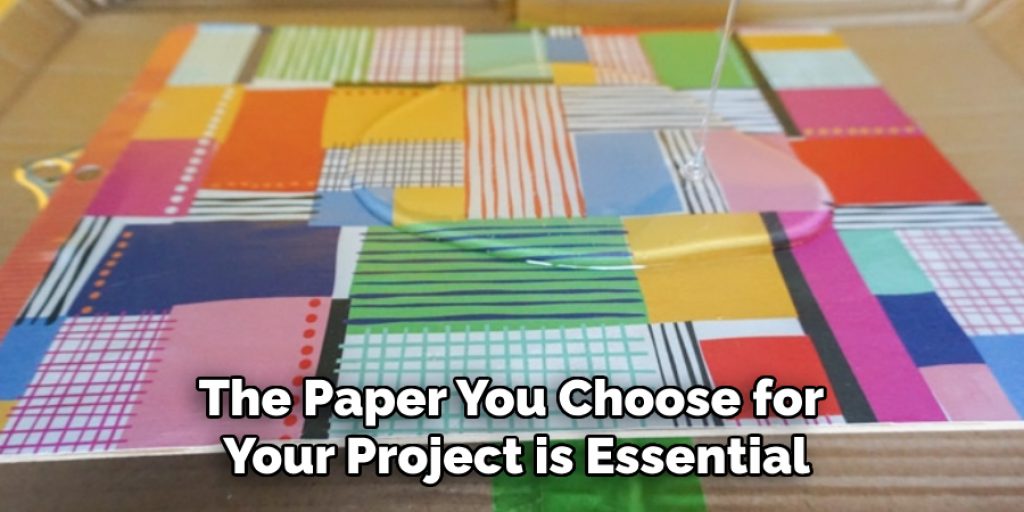
Paper:
The paper you choose for your project is essential. Thin, lightweight papers like tissue paper, scrapbook paper, or even photos work best as they easily absorb the resin without becoming too thick or heavy.
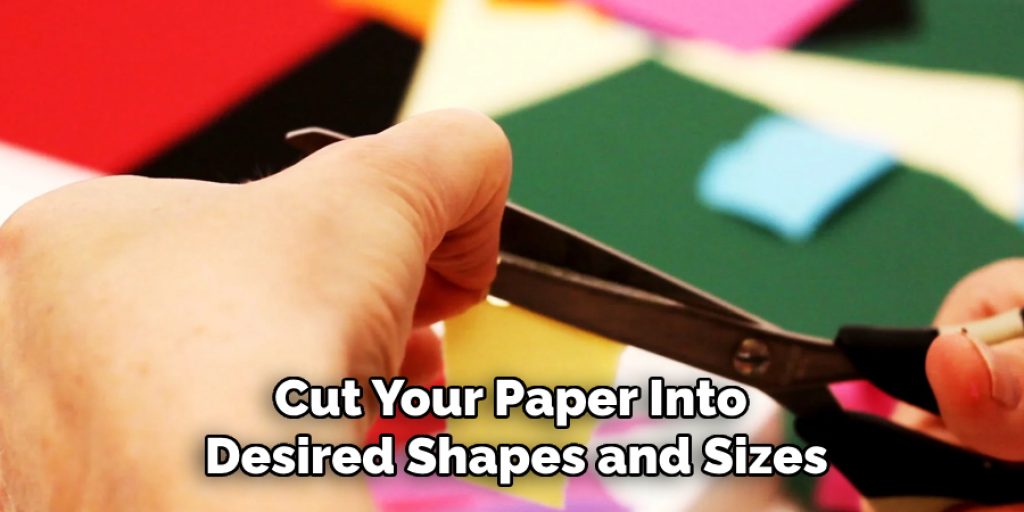
Scissors:
Cut the paper into desired shapes and sizes.
Silicone Molds or Bezels:
Silicone molds or bezels act as the base for your resin projects and can be found in various shapes, sizes, and designs.
Craft Glue:
To adhere paper to the mold or bezel before pouring resin.
Optional Materials:
Resin Dye or Pigment:
This adds color to your resin project.
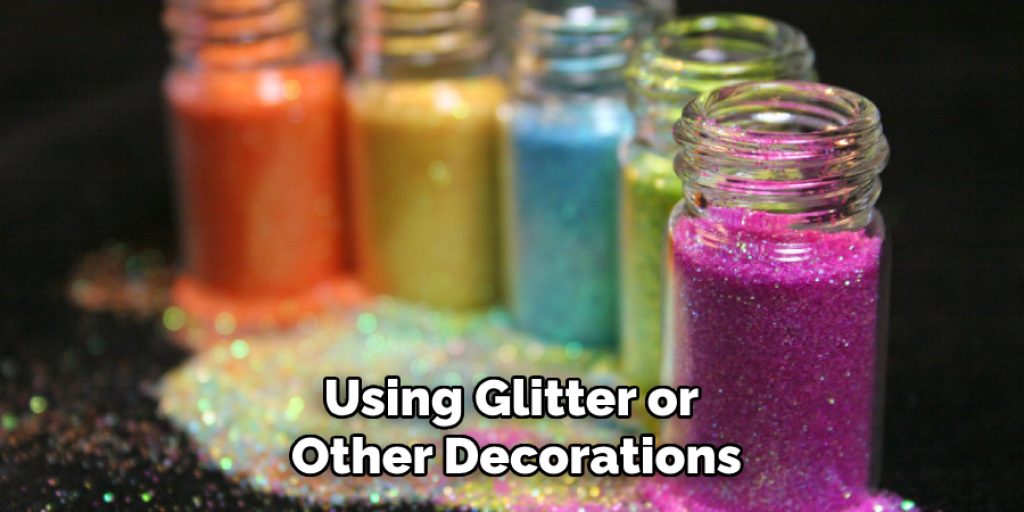
Glitter:
To add a touch of sparkle.
Heat Gun or Torch:
These tools help eliminate any air bubbles that may form during the mixing process.
8 Step-by-step Guidelines on How to Put Paper in Resin
Step 1: Prepare Your Workspace
Before you begin working with resin, it’s crucial to set up a clean and well-ventilated workspace. Cover your work surface with a protective plastic sheet or disposable tablecloth to catch any spills or drips. Make sure to gather all your materials within reach to ensure a streamlined process. It’s also wise to wear disposable gloves and a mask to protect your skin and lungs from any chemicals.
Lastly, check that the area is free of dust and debris, as these can affect the finish of your resin project. Creating a tidy and safe workspace will allow you to focus on your crafting without distractions.
Step 2: Prepare Your Paper
Cut your paper into desired shapes and sizes to fit your molds or bezels. If using photos, make sure they are printed on photo paper for best results. It’s also essential to seal the paper with a thin layer of craft glue before placing it in the mold or bezel. This will prevent any air bubbles from forming between the paper and the resin.
It’s important to note that once the paper is placed in resin, it will become translucent. Therefore, consider this when selecting your paper and how you want the final product to look.
Step 3: Prepare Your Resin
Follow the instructions on your resin and hardener packaging to mix them together accurately. Typically, equal parts of resin and hardener need to be mixed for a few minutes until they are well combined. It’s crucial not to mix too vigorously as this can create air bubbles.
If you intend to add color or glitter, now is the time to do so. Mix in small amounts at a time until you achieve your desired hue or sparkle level.
Step 4: Pour Resin Into Molds or Bezels
Once your resin mixture is ready, it’s time to pour it into your prepared molds or bezels. Start by carefully pouring a thin layer of resin into the bottom of each mold, covering the surface evenly. This will act as a base for your paper. Next, gently place your prepared paper onto the resin layer, ensuring it lies flat without any folds or bubbles. After positioning the paper, gradually pour additional resin over the top, ensuring that the entire piece is completely covered.
Take care not to pour too quickly, as this could cause bubbles to rise. If you notice any air bubbles on the surface, you can use a heat gun or torch to lightly pass over the resin, allowing the bubbles to pop. Finally, let the resin cure according to the manufacturer’s instructions, usually for at least 24 hours, in a dust-free environment.
Step 5: Demold Your Resin Piece
Once the resin has cured, gently flex the sides of your mold or bezel to loosen the finished piece. Turn it upside down, and it should easily fall out.
If there are any rough edges or imperfections, you can use a small file or sandpaper to smooth them out. It’s important to handle your piece with care at this stage as the resin may still be slightly pliable.
Step 6: Finish and Seal
After demolding, you can further embellish your resin piece by adding additional layers of resin over the top, using glitter or other decorations. This will give a glossy finish and add depth to your project.
Once you are satisfied with the appearance, let the piece cure for an additional 24 hours.
Step 7: Add Finishing Touches
After your resin piece has fully cured, it’s time to enhance its aesthetic appeal. You can use fine-grit sandpaper to gently buff the surface, creating a smoother finish. If desired, consider adding a layer of resin on top to increase the shine and depth, effectively sealing any embellishments or details. For added decoration, small charms, beads, or even additional layers of glitter can be adhered with craft glue or embedded into fresh resin layers.
Finally, to complete the look, apply a coat of resin polish or acrylic sealant to protect the surface and enhance durability. Make sure to let everything cure thoroughly to ensure your piece remains beautiful and intact for years to come.
Step 8: Display and Enjoy Your Resin Creation
Once your resin piece is fully cured and finished, it’s time to showcase your creativity! Consider the best way to display your artwork, whether it’s as a functional item, such as a coaster or a decorative piece, like a keychain or pendant. You can place your creation on a beautiful stand, hang it on a wall, or give it as a thoughtful gift to someone special.
Remember to choose a location away from direct sunlight to prevent any potential fading of colors. Enjoy the compliments and admiration from friends and family as they appreciate the unique piece you’ve crafted with care and creativity!
Frequently Asked Questions
Q1: Can I Use Any Type of Paper With Resin?
While you can use various types of paper, it’s best to use acid-free and photo paper for optimal results. These types prevent discoloration and degradation over time. You can also experiment with other materials like dried flowers, fabric, or even small objects like coins or buttons.
Q2: How Do I Avoid Air Bubbles in My Resin?
Air bubbles can be prevented by thoroughly mixing the resin and hardener and pouring it slowly into your molds. You can also lightly pass a heat gun or torch over the surface to pop any air bubbles that may have formed during pouring.
Q3: Can I Embed Objects Into Resin?
Yes, you can embed small objects like charms, beads, glitter, or even dried flowers into resin. Simply pour a thin layer of resin into your mold, place the object on top, and then cover it with additional resin. Make sure to let each layer cure before adding another one.
Q4: How Do I Clean Up After Working With Resin?
It’s essential to clean up any spilled resin immediately with a paper towel and rubbing alcohol. Once the resin has fully cured, it’s challenging to remove without damaging your work surface. It’s also recommended to wear gloves and work in a well-ventilated area when working with resin.
Following these steps and tips on how to put paper in resin, you can create beautiful and unique resin pieces that will impress everyone who sees them. Have fun experimenting with different materials, colors, and techniques to make one-of-a-kind creations. Remember to be patient, take your time, and enjoy the process of creating something beautiful with resin and paper. Happy crafting!
Conclusion
Creating resin art is a fulfilling and creative process that allows you to express your individuality while making unique pieces. By following the steps on how to put paper in resin outlined, from preparing your materials to finishing and displaying your resin creations, you can craft stunning items that reflect your artistic vision.
Remember that practice makes perfect; don’t be discouraged by initial challenges as you refine your skills. Embrace the joy of experimenting with different techniques and materials, and soon, you’ll be able to showcase beautiful resin art that you can proudly share with family and friends. Happy crafting!
Elizabeth Davis
Elizabeth is a creative writer and digital editor based in the United States. She has a passion for the arts and crafts, which she developed from a young age. Elizabeth has always loved experimenting with new mediums and sharing her work with others. When she started blogging, she knew that DIYquickly would be the perfect platform to share her tutorials and tips. She's been writing for the blog from the beginning, and her readers love her helpful advice and easy-to-follow instructions. When she's not writing or editing, Elizabeth enjoys spending time with her family and friends.


