How to Make a Unicorn Tail
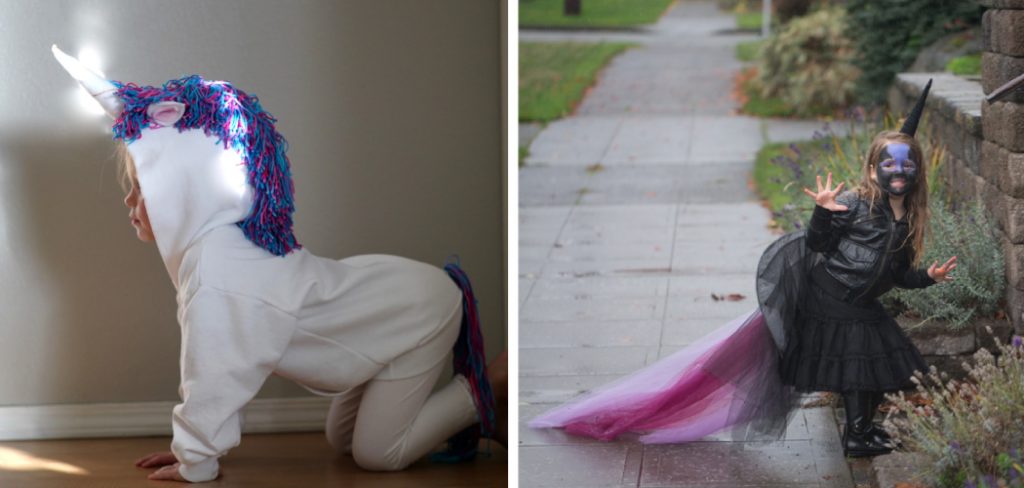
Creating a unicorn tail is a fun and imaginative project that allows you to unleash your creativity and bring a touch of magic into your life. Whether for a costume, a party, or just for play, making a unicorn tail can be an enjoyable activity for people of all ages.

In this guide on how to make a unicorn tail, we will walk you through the step-by-step process of crafting a whimsical and vibrant tail that captures the essence of unicorns. Gather your materials and let’s get started on this enchanting DIY adventure!
What is a Unicorn Tail?
Before we dive into the steps of making a unicorn tail, it’s important to understand what exactly it is. A unicorn tail is a long, flowing piece of fabric or yarn that resembles the tail of a mythical creature – unicorn. Usually, it is made in rainbow colors and has loose strands for added texture and movement.
It is a popular accessory for costumes and dress-ups, especially for children who love to role-play as unicorns. However, it can also be used as a decorative piece for parties or even as home décor. The possibilities are endless when it comes to the uses of a unicorn tail.

Materials You’ll Need
Yarn or Fabric:
Choose your desired material in various shades of pastel or rainbow colors to create an eye-catching effect. You can also opt for glitter or metallic yarn for an extra touch of sparkle.
Scissors:
To cut and trim the material.
Elastic Band:
This will be used to secure the tail in place, so make sure it is stretchy enough to fit around your waist comfortably.
Needle and Thread:
If you are using fabric instead of yarn, you will need a needle and thread to sew the pieces together.
7 Step-by-step Guidelines on How to Make a Unicorn Tail
Step 1: Measure and Cut Your Material
Start by determining the desired length of your unicorn tail. A good length is typically between 24 to 36 inches, depending on personal preference and size. Once you have decided on the length, use your scissors to cut several strands of yarn or fabric, each approximately 1.5 times longer than your intended tail length.
This extra length will allow for knots and styling. Be sure to cut enough strands to create a full and voluminous tail – around 20 to 30 strands should do the trick. After cutting, gather all your strands together, aligning them to ensure evenness and creating a stunning base for your unicorn tail.
Step 2: Secure the Strands
Once you have gathered all your strands, it’s time to secure them in place. Take the bundle of strands and find the midpoint, which is where you will tie them together. Use your elastic band to wrap around the midpoint tightly, ensuring the strands are held together firmly but without damaging them. If you’re using fabric, you can also make a simple knot to keep everything secure.
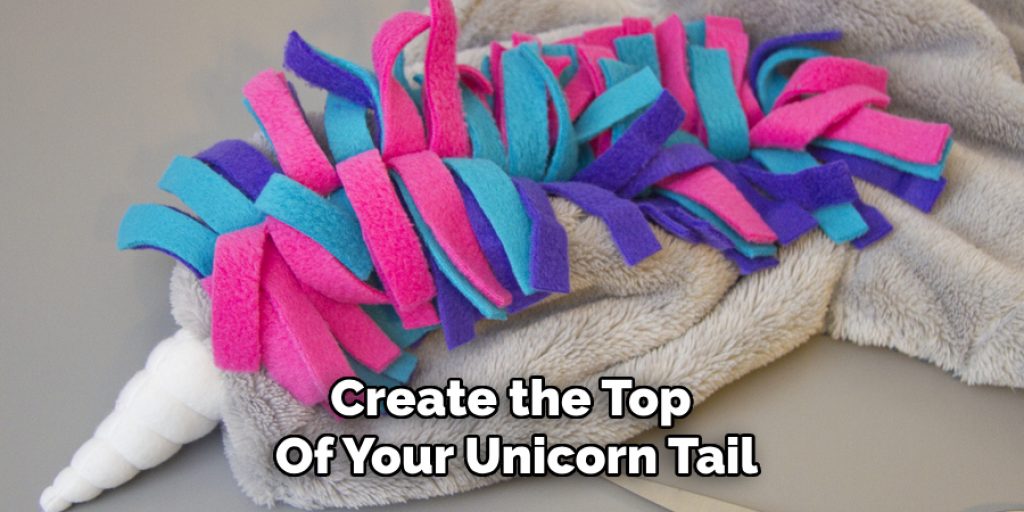
This will create the top of your unicorn tail, giving it a neat and polished look. Make sure the strands hang evenly down for a flowing appearance, as this will enhance the overall effect of your whimsical creation.

Step 3: Braid the Strands
Now that your strands are secured, it’s time to start braiding them. Divide the strands into three equal sections and braid them together tightly all the way down. This will give your unicorn tail a sturdy base, allowing for easier styling later on. Once you reach the end of your strands, secure with another elastic band or knot.
It’s important to braid tightly, but not too tight as this will make it difficult to add volume and movement in the next step.
Step 4: Add Some Color
This is where you can get creative and add some color to your unicorn tail. Using fabric paint or markers, decorate your tail with patterns and designs in various colors to give it a magical touch. You can also use glitter glue or sequins for extra sparkle and shine. Let your imagination run wild and have fun with it!
The more vibrant and colorful your tail is, the more it will resemble a unicorn’s mane. You can also add flowers, ribbons or any other decorative items for a personalized touch.
Step 5: Create Loose Strands
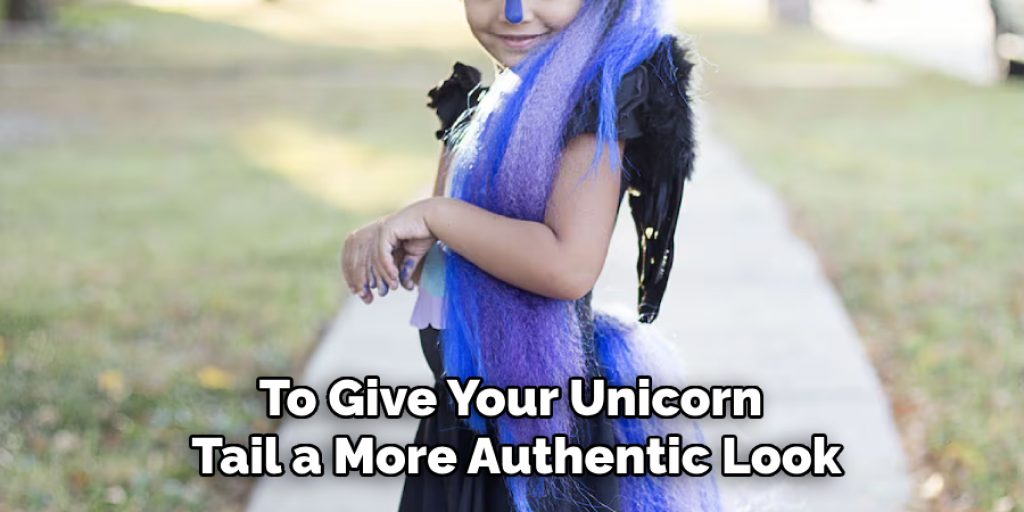
To give your unicorn tail a more authentic look, you’ll need to create some loose strands. Start by unraveling the braid from the bottom up, gently pulling on each strand to loosen them. You can also use scissors to cut some of the strands shorter for added texture and movement.
Remember not to overdo this step as it may result in a thin and sparse-looking tail. A few well-placed loose strands will do the trick.

Step 6: Attach Elastic Band
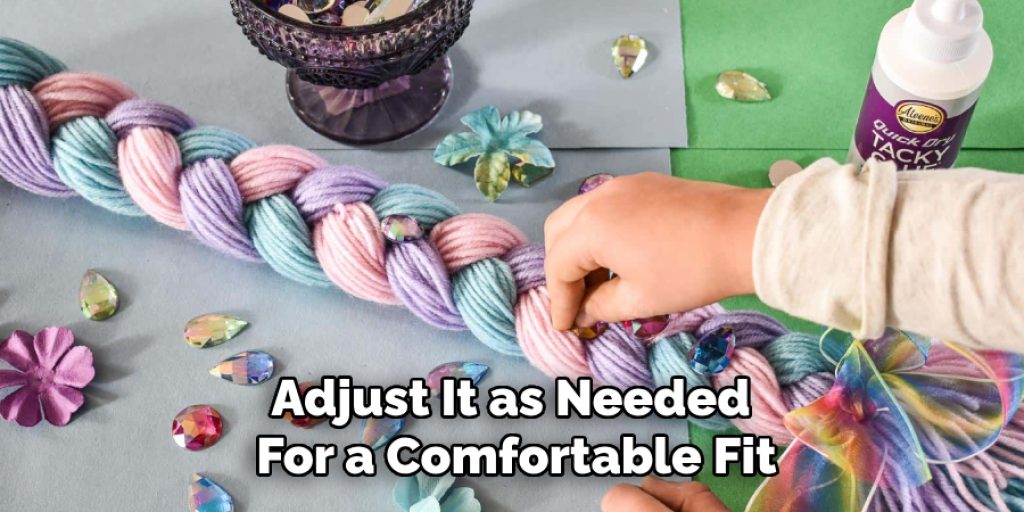
Take your elastic band and wrap it around the top of your finished unicorn tail. This will act as a waistband, allowing you to easily wear your tail around your waist like a belt. Make sure it fits snugly but comfortably and adjust the length of the elastic band if needed.
If you prefer, you can also attach ribbons or fabric ties to the top of your tail to tie it around your waist instead of using an elastic band.
Step 7: Finishing Touches
Your unicorn tail is almost complete! Give it one final fluff and style by gently pulling on some strands to create volume and shape. You can also add some finishing touches such as flowers, ribbons or even more glitter for that extra magical touch.
Congratulations, you now have a beautiful, handmade unicorn tail that will surely make you stand out in any crowd. Now it’s time to put on your creation and let your inner unicorn shine! Following these simple steps on how to make a unicorn tail, you can create your very own unicorn tail that is perfect for any occasion. Get creative and add your own personal touches to make it truly one-of-a-kind. Remember, the best part about making your own unicorn tail is that you can always make adjustments and changes to suit your preferences.
So why wait? Gather your materials, get crafting and unleash your inner unicorn with a beautiful rainbow tail! No matter where or how you use it, this whimsical accessory is sure to bring joy and magic to any occasion. So go ahead and rock that unicorn tail – because who says unicorns only exist in fairy tales? Keep spreading the magic and sparkle wherever you go!
Additional Tips
- Don’t be afraid to experiment with different materials and colors. You can even mix and match different shades of yarn or fabric for a more unique look.
- If you want a longer tail, simply cut longer strands of material before braiding them together. You can also add extensions by attaching extra strands to the top of your finished tail.
- To make your unicorn tail even more enchanting, consider adding some LED lights or glow-in-the-dark accents for a truly magical effect.
- Don’t limit yourself to just wearing your unicorn tail around your waist – get creative and use it as a hair accessory, on a bag, or even as part of a costume.
- Have fun and let your creativity run wild! After all, unicorns are all about imagination and magic. So embrace your inner unicorn and let your tail be a reflection of that.
Frequently Asked Questions
Q: Can I Use Different Materials to Make a Unicorn Tail?
A: Yes, you can use yarn, fabric or even synthetic hair to create your unicorn tail. Just make sure it is long enough and can be easily styled.
Q: How Do I Attach the Tail to My Outfit?
A: Simply wrap the elastic band around your waist and adjust it as needed for a comfortable fit. If you prefer, you can also attach ribbons or ties to tie it around your waist instead of using an elastic band.
Q: Can I Make a Smaller or Longer Unicorn Tail?
A: Yes, you can make a tail of any length by adjusting the size of your material and the number of strands used. Just keep in mind that longer tails may require more time and effort to braid and style.

Q: Can I Wash my Unicorn Tail?
A: Washing your unicorn tail is not recommended as it may cause damage or alter its shape. Instead, spot-clean any stains with a gentle detergent and let it air dry.
Conclusion
Making a unicorn tail may seem like a daunting task, but with these easy-to-follow steps on how to make a unicorn tail and some creativity, you can create a stunning and whimsical accessory that will be the envy of all your friends. Whether for costumes, parties or just for fun, this DIY project is sure to bring a touch of magic into your life.
So gather your materials and get ready to unleash your inner unicorn with this crafty tutorial! Keep spreading the joy and wonder of unicorns with your one-of-a-kind tail.
You can check it out to How to Color Polymer Clay With Acrylic Paint


