
How to Put Vinyl on Ornaments
Vinyl decorating has become an increasingly popular method for adding a personal touch to various projects, and ornaments are no exception. Whether for the holiday season, special occasions, or everyday décor, applying vinyl to ornaments allows you to create unique designs that reflect your style and creativity.
In this guide on how to put vinyl on ornaments, we’ll explore the essential tools, materials, and techniques needed to successfully apply vinyl to ornaments, ensuring that your finished products are not only beautiful but durable as well. Whether you’re a beginner or a seasoned crafter, this process will unlock endless possibilities for customization and artistry.
What is Vinyl?
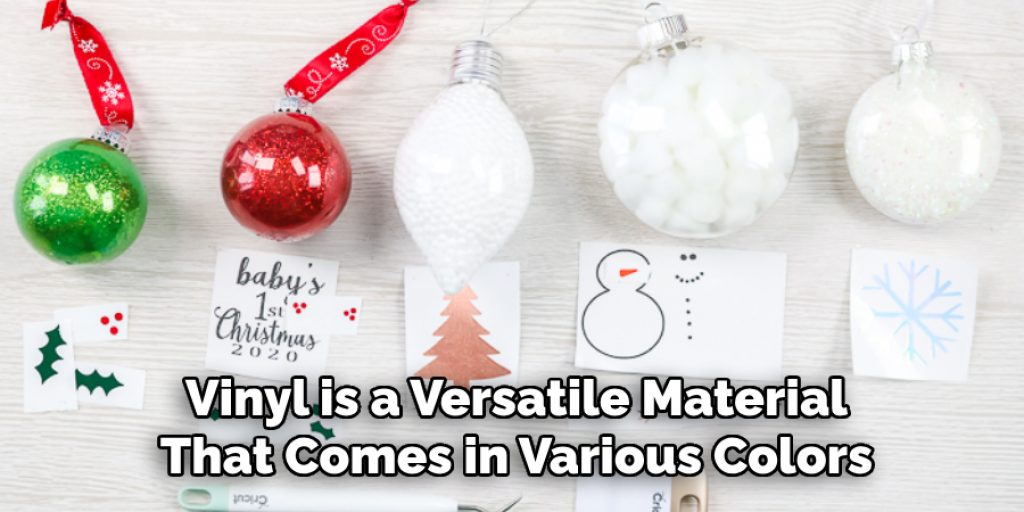
Before we dive into the steps on how to put vinyl on ornaments, it’s essential to understand what vinyl is and its characteristics. Vinyl is a thin, flexible plastic material with an adhesive backing that allows it to stick to various surfaces. It comes in a vast array of colors, patterns, and finishes, making it perfect for personalization projects.
Vinyl can be cut into any shape or design using a vinyl cutting machine or a craft knife, giving you the freedom to create intricate and detailed designs for your ornaments. Additionally, vinyl is waterproof and durable, making it suitable for long-lasting decorations.
Why Use Vinyl for Ornaments?
Vinyl is a versatile material that comes in various colors, textures, and finishes. It’s durable, easy to work with, and can adhere to multiple surfaces such as glass, plastic, wood, and even metal. Additionally, vinyl is relatively inexpensive and widely available at most craft stores.
Another significant advantage of using vinyl for ornaments is its ability to withstand both indoor and outdoor conditions. Unlike other decorating methods such as paint or markers, which may chip or fade over time, vinyl is designed to endure wear and tear, making it an ideal choice for creating lasting decorations.
Tools and Materials Needed
Before you start decorating your ornaments with vinyl, make sure you have the necessary tools and materials on hand. Here’s a basic list of what you’ll need:
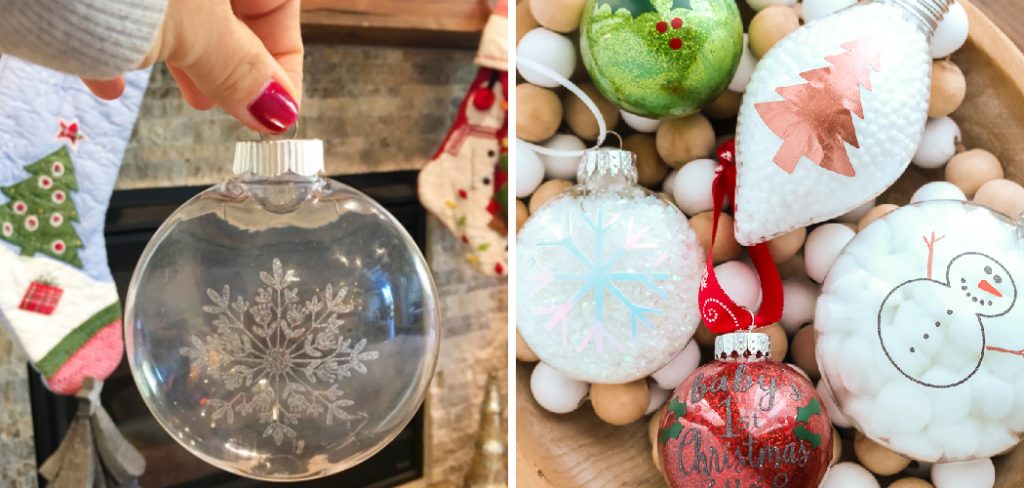
- Ornaments of Your Choice (Glass, Plastic, Wood, Etc.)
- Vinyl Sheets or Rolls in Desired Colors
- Transfer Tape
- Scissors or Cutting Machine (Such as Cricut or Silhouette)
- Weeding Tool (Optional but Helpful)
- Scraper or Credit Card
- Rubbing Alcohol or Window Cleaner
8 Step-by-step Guidelines on How to Put Vinyl on Ornaments
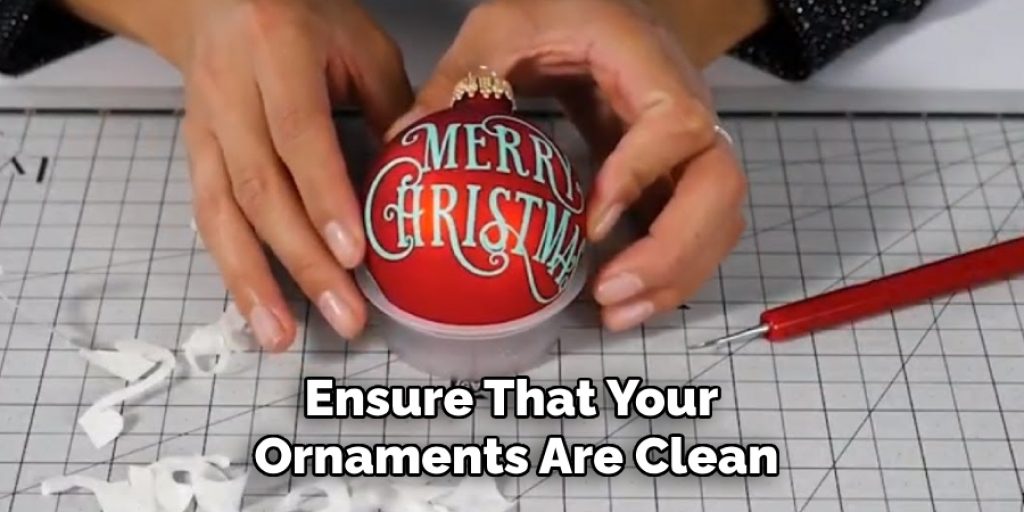
Step 1: Clean Your Ornaments
Before applying vinyl, it’s crucial to ensure that your ornaments are clean and free from any dust, oil, or residue that could interfere with the adhesion of the vinyl. Start by using rubbing alcohol or window cleaner to wipe down the surface of your ornaments.
This step not only cleans the ornaments but also allows for better adherence to the vinyl. Make sure to dry the ornaments completely before moving on to the next steps to achieve a smooth and lasting finish.
Step 2: Design and Prepare Your Vinyl
Once your ornaments are clean and dry, it’s time to design and prepare your vinyl. If you have a cutting machine such as a Cricut or Silhouette, you can use their respective software to create your design. Alternatively, you can also hand-cut the vinyl if you prefer.
For beginners, it’s best to start with simple designs before moving on to more complex ones. Remember to measure and cut the vinyl according to the size of your ornament for a perfect fit.
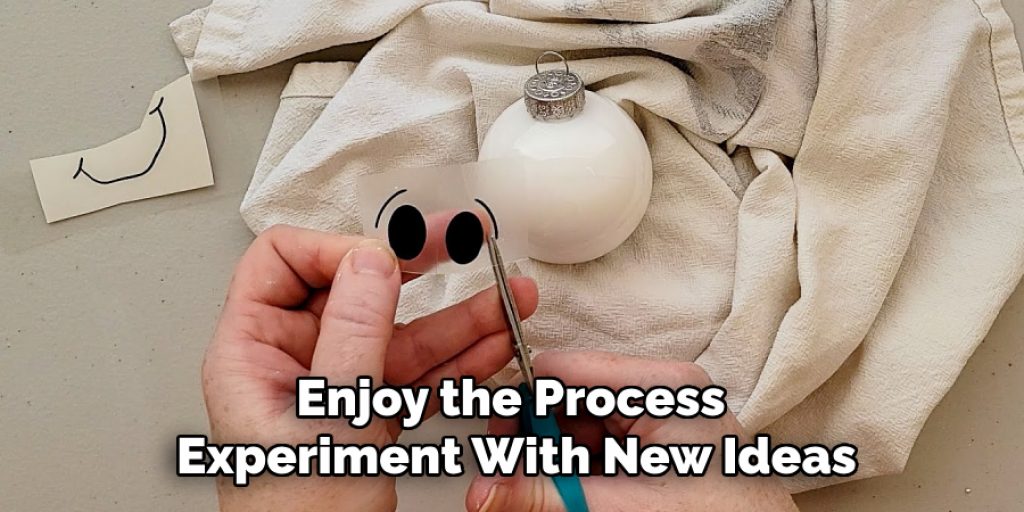
Step 3: Weed Your Design
After cutting your vinyl design, the next step is weeding. Weeding involves removing the excess vinyl that you don’t want to be part of your ornament. This includes any small pieces inside letters or intricate designs that will not be transferred. Using a weeding tool, gently peel away the unwanted vinyl, taking care not to disturb the areas you intend to keep.
If you face difficulty with small details, a craft knife may help to lift and remove stubborn pieces. Once you’ve completed this step, you’ll be left with only your intended design, ready for application onto your ornament.
Step 4: Apply Transfer Tape
To transfer your design from the vinyl backing onto your ornament, you’ll need to use transfer tape. Cut a piece of transfer tape slightly larger than your design and lay it over the top, adhesive side down. Use a scraper or credit card to smooth out any air bubbles and ensure that the transfer tape is well adhered to your design.
It’s essential to make sure the transfer tape is clean and free from any dust or debris before using it. This will prevent any unwanted particles from sticking to your final design.
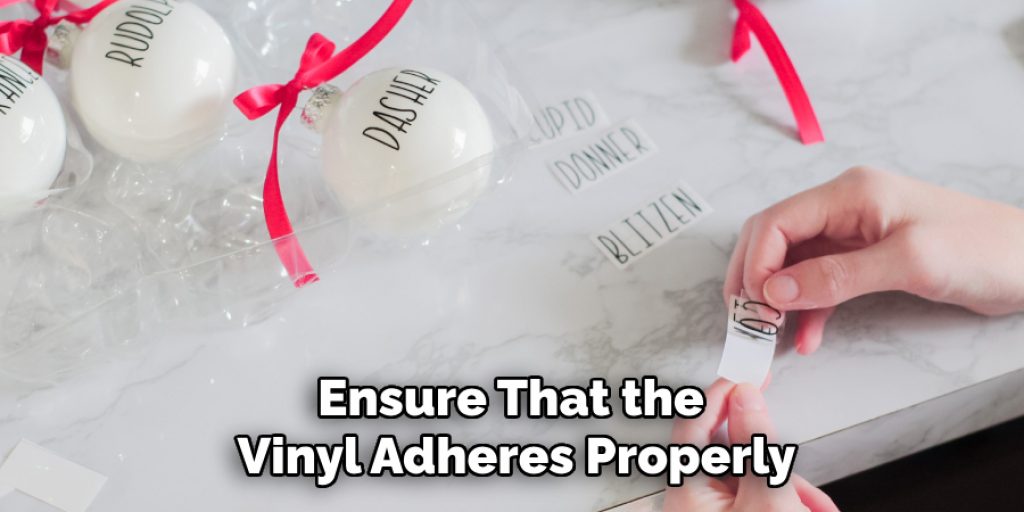
Step 5: Transfer Your Design onto the Ornament
Now that your design is ready, it’s time to transfer it onto the ornament. Carefully peel off the vinyl backing, leaving your design on the transfer tape. Then, place the transfer tape with your design onto the ornament and use a scraper or credit card to smooth out any bubbles and ensure proper adhesion.
Ensure that you align your design correctly before firmly pressing down on all areas of the transfer tape for a seamless application.
Step 6: Peel off the Transfer Tape
Once your design is transferred onto the ornament, gently peel away the transfer tape at a 45-degree angle. Taking your time with this step will help prevent any lifting or tearing of the vinyl. If you notice any areas that didn’t adhere properly, simply press down on them with your finger or scraper.
The transfer tape should come off easily, leaving your design firmly on the ornament.
Step 7: Let it Set and Cure
After transferring your vinyl design onto the ornament, let it set and cure for at least 24 hours before handling or hanging. This will ensure that the vinyl adheres properly to the surface and prevents any lifting or peeling over time.
It’s also essential to note that vinyl may take longer to adhere to certain surfaces such as wood or plastic, so be patient and give it ample time to set.
Step 8: Enjoy Your Customized Ornaments!
Congratulations, you’ve successfully applied vinyl onto your ornaments! Now, It’s time to sit back and admire your unique creations. Don’t be afraid to experiment with different designs, colors, and textures to create one-of-a-kind decorations for any occasion.
With these step-by-step guidelines on how to put vinyl on ornaments, you can now confidently transform plain ornaments into personalized works of art. Have fun creating and happy crafting!
Tips and Tricks for Working with Vinyl on Ornaments
- Use a hairdryer or heat gun to warm up the vinyl before applying it onto curved surfaces such as glass ornaments. This will make the vinyl more pliable and easier to work with.
- If you’re using a cutting machine, adjust the blade depth and pressure according to the type of vinyl you’re using. This will ensure clean cuts and prevent any tearing or lifting during application.
- For intricate designs, use transfer tape with a grid or ruler markings to help align and place your design accurately onto the ornament.
- If your ornaments have small imperfections, such as scratches or dents, use a permanent marker in a matching color to cover it up before applying the vinyl. This will give you a smoother surface for better adhesion.
- Don’t be afraid to mix and match different colors and textures of vinyl for unique effects on your ornaments. You can also layer different designs or add embellishments such as glitter for a more personalized touch.
- When storing your vinyl, keep it in a cool and dry place to prevent any warping or damage. You can also use a vinyl storage organizer to keep your vinyl neatly organized and easily accessible for future projects.
Frequently Asked Questions
Q: Can I Use Any Type of Vinyl for Ornaments?
A: Yes, you can use both permanent and removable adhesive vinyl for ornaments. However, it’s best to avoid using heat transfer vinyl as it may not adhere well to certain surfaces like glass or plastic.
Q: How Long Will the Vinyl Last on Ornaments?
A: With proper application and care, vinyl can last for years on ornaments. However, keep in mind that certain factors such as exposure to direct sunlight or excessive handling may affect the longevity of the vinyl.
Q: Can I Wash Ornaments with Vinyl Designs?
A: It’s generally safe to hand wash ornaments with vinyl designs; however, it’s best to avoid submerging them entirely in water or using harsh cleaning products. Always check the manufacturer’s instructions for specific care guidelines.
Conclusion
In conclusion, creating customized ornaments with vinyl is a rewarding and enjoyable craft that allows you to express your creativity. By following the provided step-by-step guidelines on how to put vinyl on ornaments, anyone can transform ordinary ornaments into personalized treasures perfect for home decor or gifting.
Whether you opt for intricate designs or simple patterns, the possibilities are endless. Enjoy the process, experiment with new ideas, and most importantly, take pride in your unique creations that can be cherished for years to come. Happy crafting!
Elizabeth Davis
Elizabeth is a creative writer and digital editor based in the United States. She has a passion for the arts and crafts, which she developed from a young age. Elizabeth has always loved experimenting with new mediums and sharing her work with others. When she started blogging, she knew that DIYquickly would be the perfect platform to share her tutorials and tips. She's been writing for the blog from the beginning, and her readers love her helpful advice and easy-to-follow instructions. When she's not writing or editing, Elizabeth enjoys spending time with her family and friends.


