How to Make Beaded Daisy Bracelets
Creating beaded daisy bracelets is a delightful and rewarding craft activity that combines creativity and personal expression. This project allows you to design beautiful accessories that can complement any outfit or serve as thoughtful gifts for friends and family.
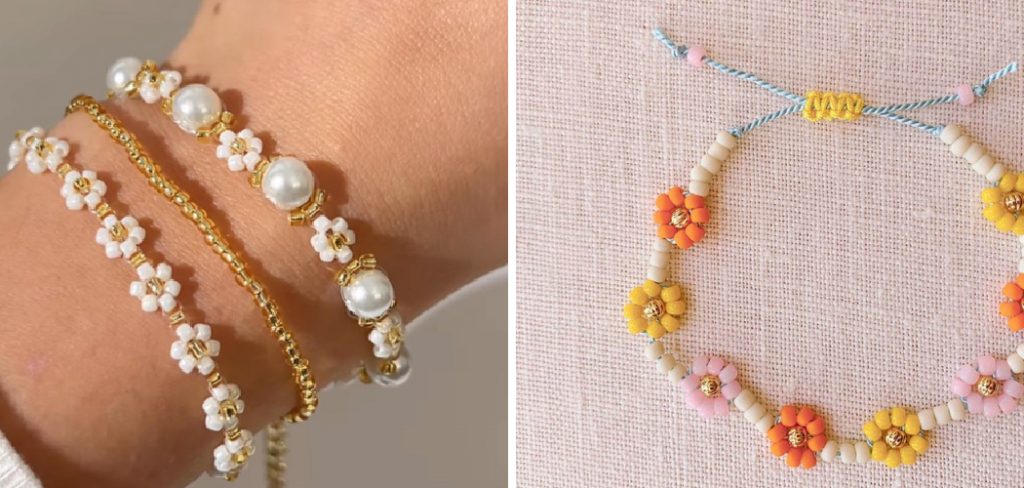
With just a few materials and simple techniques, you can bring vibrant colours and intricate patterns to life while enjoying the therapeutic aspects of crafting. Whether you’re a beginner or an experienced beader, making these charming bracelets will not only enhance your jewellery collection but also spark joy in the process. In this blogpost on how to make beaded daisy bracelets.
What is a Beaded Daisy Bracelet?
A beaded daisy bracelet is a type of jewelry made by stringing together beads in the shape of a flower, resembling a daisy. It is created using various types and sizes of beads, such as seed beads, gemstones, or crystals, strung onto wire or thread with techniques like peyote stitch or right-angle weave. The result is a delicate and versatile accessory that can be customized to your liking.
It is believed that the daisy symbolizes innocence, purity, and new beginnings. Wearing a beaded daisy bracelet can add a touch of whimsy and charm to any ensemble while bringing positive energy to your day.
Materials Needed
To make your own beaded daisy bracelets, you will need the following materials:
A Selection of Beads :
You can choose from a variety of beads in different sizes, shapes, and colours to create unique patterns and designs.
Beading Thread or Wire:
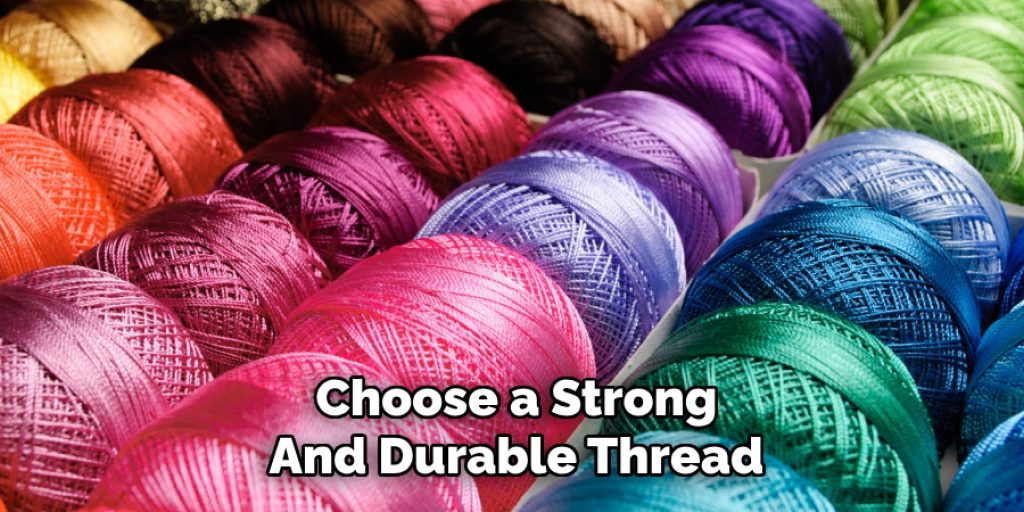
This will serve as the base for your bracelet. Make sure to choose a strong and durable thread or wire that can withstand the weight of your beads.
Beading Needle:
A thin and flexible needle is essential for threading beads onto your chosen base material.
Scissors:
You will need these to cut your thread or wire to the desired length.
Clasp:
This is what will secure your bracelet around your wrist. You can use a simple lobster clasp, toggle clasp, or any other type of clasp you prefer.
Pliers :
These will come in handy when attaching the clasps to your bracelet.
8 Step-by-step Guidelines on How to Make Beaded Daisy Bracelets
Step 1: Choose Your Beads
The first step in making your beaded daisy bracelet is selecting the beads that will bring your design to life. Consider a mix of sizes and shapes to create visual interest; for example, you might combine small seed beads with slightly larger gemstone or crystal beads.
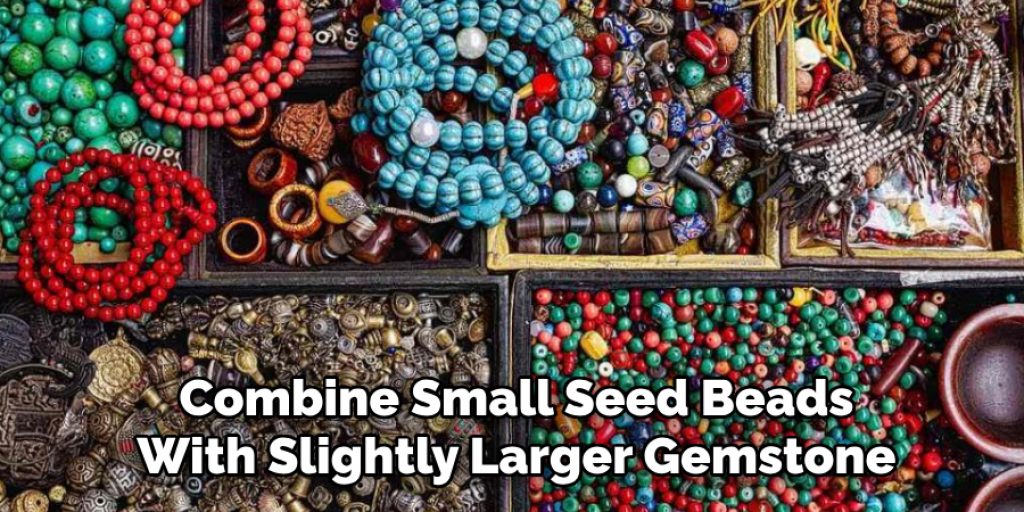
Think about the colours that resonate with you—pastel shades can evoke a soft, delicate look, while vibrant hues can create a bold statement. Additionally, consider the overall theme or occasion for your bracelet, as this can guide your bead choices. Allow your creativity to flow, and don’t hesitate to experiment with different combinations until you find the perfect mix that reflects your personal style.
Step 2: Cut Your Thread or Wire
Once you have chosen your beads, the next step is to cut your thread or wire to the appropriate length. To determine the length of your beading material, measure your wrist and add an extra few inches to allow for the clasp and any desired overhang.
A good rule of thumb is to measure your wrist size and multiply by 2 or 2.5, depending on how many beads you plan to use and how loose or tight you want the bracelet to fit. Using your scissors, carefully cut the thread or wire, ensuring that the end is straight to facilitate easier threading of your beads later on. If you’re using wire, be particularly cautious of sharp edges after cutting, as these can scratch your skin or snag on clothing.
Step 3: Prepare Your Needle
If you’re using a beading needle, it’s essential to prepare it properly before stringing your beads. Start by cutting off about an inch of thread and threading it through the eye of your needle, leaving one end shorter than the other.
Next, tie both ends of the thread together in a knot as close to the needle as possible. This will secure your thread onto the needle and prevent beads from sliding off as you work.
Step 4: Create Your First Daisy
To begin making your daisy bracelet, take three beads and slide them down towards the bottom of your thread or wire. Leave enough space at the end to create a loop later on.
Next, take your needle and thread it back through the first two beads to form a triangle shape. Pull the thread gently to tighten the beads together. This will be the center of your daisy.
Step 5: Add More Beads
Once you have formed the center of your daisy, it’s time to add more beads to create the petals. Begin by picking up a bead of your chosen colour and sliding it onto the thread. Then, take the needle and go back through the same bead you just added, pulling the thread tight to secure it in place.
This will create one petal of the daisy. Repeat this process for each petal, adding a bead and threading back through to secure it, until you have a total of five petals surrounding the centre bead. Feel free to mix and match colours for a more vibrant flower. As you add beads, make sure to space them evenly and gently tug on the thread to keep the petals firm and tightly formed. Once your daisy is complete, you can leave some space for the next flower or design element in your bracelet.
Step 6: Add Another Daisy or Design Element
To make your beaded daisy bracelet more interesting, you can add additional daisies or other design elements between each flower. Repeat the previous steps to create another daisy, a different type of flower, or even a bead cluster for variety. You can also incorporate different types of beads and colours into this step to create an intricate pattern.
It’s important to note that the number of daisies or design elements you add will depend on the length of your bracelet and how close or far apart you want them to be.
Step 7: Finish Off Your Bracelet
Once you have created your desired number of daisies or design elements, it’s time to secure your bracelet. Begin by threading a few additional beads onto the remaining length of your thread or wire to fill in any gaps or to reach your desired length. After you have added these final beads, check the fit by wrapping the bracelet around your wrist. If it fits well, it’s time to attach the clasp.
To attach the clasp, use your pliers to open the jump ring on one end of your clasp, and thread it onto the loop at the end of your bracelet. Close the jump ring securely with your pliers, ensuring that there are no gaps or openings for beads to slip through. Repeat this process for the other side of your bracelet with the other half of the clasp. Once both ends are secure, you can trim any excess thread or wire using scissors.
Step 8: Admire Your Finished Creation
Congratulations, you have now completed your beaded daisy bracelet! Take a moment to admire your unique and beautiful creation. You can also take this opportunity to make any final adjustments to the fit or design before wearing it with pride.
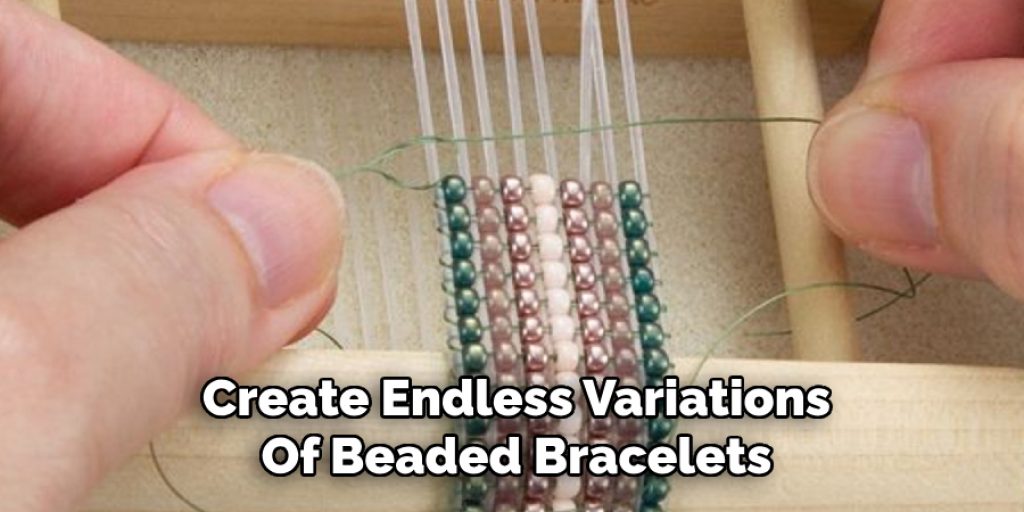
Remember, you can use these step-by-step guidelines on how to make beaded daisy bracelets to create endless variations of beaded bracelets using different colours, beads, and techniques. Have fun experimenting and let your creativity shine! Happy beading!
Frequently Asked Questions
Q: Can I Use Different Types of Beads to Make a Daisy Bracelet?
A: Absolutely! The beauty of beading is the ability to mix and match different sizes, shapes, and colours to create unique designs. Feel free to use your favourite beads or experiment with new ones to create a one-of-a-kind daisy bracelet.
Q: Can I Make a Daisy Bracelet Without a Needle?
A: While using a beading needle can make the process easier and more efficient, it is possible to make a beaded daisy bracelet without one. Simply thread your beads onto your wire or thread before beginning and use your fingers to guide them into place.
Q: How Do I Choose the Right Clasp for My Bracelet?
A: When choosing a clasp for your bracelet, consider both functionality and aesthetics. For smaller bracelets, a simple lobster claw clasp may suffice, while larger and heavier bracelets may require a more secure toggle clasp. It’s also crucial to choose a clasp that complements the overall design of your bracelet.
Conclusion:
Creating a beaded daisy bracelet is not just a rewarding craft but also an expression of your personal style and creativity. With each step on how to make beaded daisy bracelets, from selecting vibrant beads to intricately assembling each element, you’ve crafted something truly unique and beautiful. Whether you choose to keep it for yourself or gift it to someone special, this bracelet is a reflection of your hard work and imagination.
Enjoy the process of beading and let it inspire you to explore more designs and techniques in the world of jewellery making. Happy beading, and may your future creations bring joy and colour to everyday life!

