How to Make Large Paper Flowers for Backdrop
Creating large paper flowers is a delightful and engaging craft that can transform any space into a vibrant and inviting environment. Perfect for events like weddings, birthday parties or even as decor for your home, these stunning blooms add a touch of whimsy and charm to your backdrop.
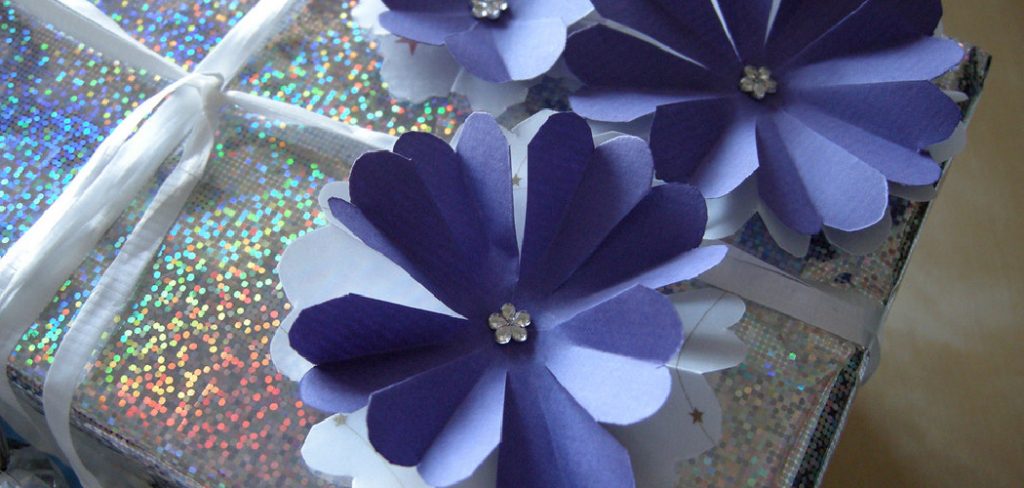
In this guide on how to make large paper flowers for backdrop, we will walk you through the essential materials, techniques, and steps needed to craft your own oversized paper flowers, allowing you to unleash your creativity and bring your vision to life. Whether you’re an experienced crafter or just starting out, this project is accessible and rewarding, giving you beautiful results that will impress all who see them.
Why Make Large Paper Flowers for Backdrops?
As mentioned earlier, large paper flowers are an excellent addition to any backdrop. Unlike real flowers, they won’t wilt or wither, making them perfect for long events such as weddings and parties. Moreover, creating your own flowers gives you the freedom to customize them according to your color scheme and design preferences, ensuring that they fit perfectly into your overall theme.
It’s also worth noting that making large paper flowers is a budget-friendly alternative to real flowers. With just a few supplies, you can create multiple blooms at a fraction of the cost of buying fresh flowers. Plus, with some care and proper storage, your paper flowers can be reused multiple times.
Essential Materials for Making Large Paper Flowers
Before we dive into the steps, let’s go over the materials needed to make large paper flowers for your backdrop:
Colored Cardstock or Construction Paper:
This will serve as the petals and leaves of your flower. You can choose any color you like, but it’s best to stick to one color scheme for consistency.
Scissors:
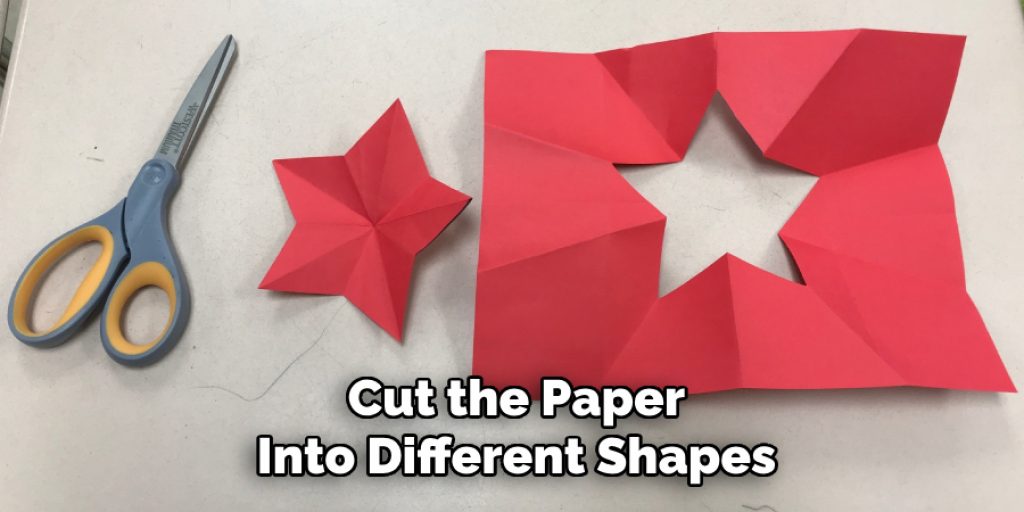
You will need sharp scissors to cut the paper into different shapes and sizes. A pair of detail scissors also come in handy for more intricate designs.
Glue (Hot glue or craft glue):
This will be used to secure the petals and leaves together, as well as attach them to a stem or backing board.
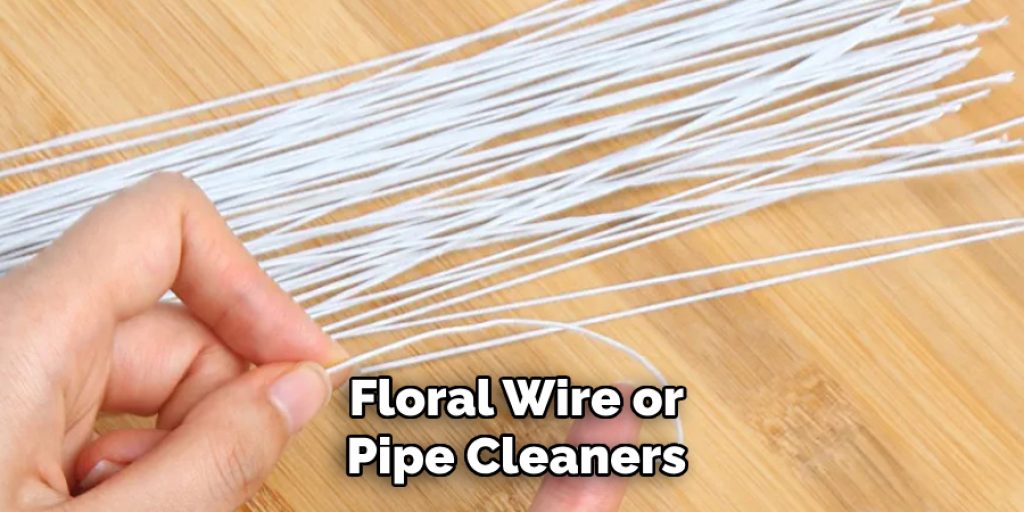
Floral Wire or Pipe Cleaners:
These materials serve as sturdy and flexible support for your flowers, allowing you to shape and position them however you like.
Templates:
If you’re not confident in your freehand cutting skills, templates can help guide you in creating uniform petals and leaves for your flowers.
8 Steps on How to Make Large Paper Flowers for Backdrop
Step 1: Choose Your Flower Design and Size
The first step in creating your large paper flowers is to decide on the design and size you want to achieve. There are numerous flower types to choose from, such as peonies, dahlias, or roses, and each has its unique shape and style. Consider the overall theme of your backdrop and how the flowers will complement it. Sketch out a few ideas or look for inspiration online to help you narrow down your choices.
In terms of size, large paper flowers can range from a modest 12 inches to an impressive 36 inches or more in diameter. Think about how the flower’s size will impact the overall aesthetic of your display. Larger flowers can act as focal points, while smaller flowers can fill in spaces and create a fuller look. Once you have made your decisions, gather reference images to guide your crafting process as you move on to the next steps.
Step 2: Prepare Your Materials
Now that you have your design and size in mind gather all the materials you will need to create your flowers. Make sure you have enough paper for all the petals and leaves, and keep a good pair of scissors on hand.
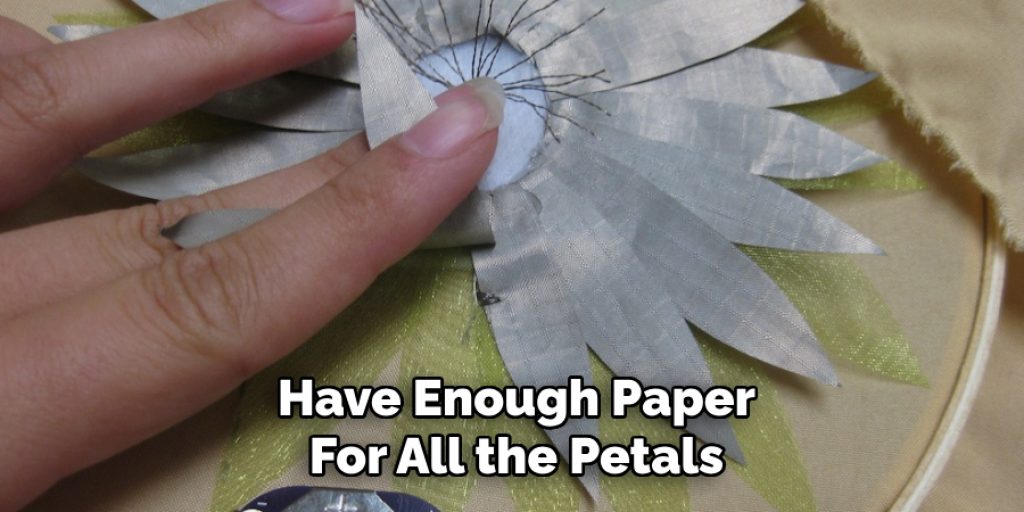
If using templates, print them out or trace them onto your cardstock beforehand.
Also, prepare your glue gun or craft glue and floral wire or pipe cleaners to assemble the flowers.
Step 3: Cut Out Petal Shapes
Using either a template or freehand cutting, cut out multiple petal shapes from your colored cardstock or construction paper. The number of petals needed depends on the design and size of your flower. For example, a large rose may require around 15-20 petals, while a daisy would need fewer.
Experiment with different petal shapes and sizes to create a more realistic and textured look for your flowers.
Step 4: Cut Out Leaf Shapes
In addition to the petals, leaves are essential for completing your large paper flowers and providing a more natural appearance. Begin by selecting a leaf design that complements your flower’s style—this could be simple oval shapes for a classic look or more intricate designs to add detail. Using your colored cardstock or construction paper, cut out several leaf shapes.
You may want to create leaves in different sizes to add variety and depth to your arrangement. For added realism, consider using a lighter or darker shade of the same color for your leaves. Once you have your leaf shapes cut out, set them aside for assembly in the later steps.
Step 5: Shape and Curl Petals and Leaves
To give your flowers a more lifelike appearance, use your fingers or a pencil to gently curl the edges of the petals and leaves. This will add dimension and texture to your blooms, making them more visually appealing.
You can also use scissors to create creases along the petal’s length for a more defined shape. Experiment with different techniques to find what works best for your chosen design.
Step 6: Assemble Your Flower
Now that you have all the necessary components ready, it’s time to assemble your flower. Begin by selecting one petal as the base and adding petals around it in a circular motion, slightly overlapping each one. Use your hot glue gun or craft glue to secure the petals in place.

As you add more layers, continue shaping and positioning the petals to achieve a full and natural look. Once you are satisfied with the shape and size of your flower, attach the leaves to the bottom using the same method as before.
Step 7: Add Stem or Backing Board
Adding a stem or backing board to your flowers will make them easier to display on your backdrop. For a stem, wrap floral wire around the base of your flower’s petals and twist it together at the desired length for stability. If using pipe cleaners, simply insert them into the back of your flower and bend them into shape.
For a backing board, cut out a large circle or square from sturdy cardboard and attach your flower to the center using hot glue or craft glue. This will provide stability for your flower when displayed vertically on a backdrop.
Step 8: Arrange and Display Your Flowers
Once you have completed all of your flowers, it’s time to arrange them on your backdrop. You can create a pattern or randomly place them for a more organic look. Secure them in place with tape or pins and step back to admire your beautiful creation!
With these 8 easy steps on how to make large paper flowers for backdrop, you now know how to make large paper flowers for your backdrop at a fraction of the cost of buying fresh flowers.
Frequently Asked Questions
Q: How Long Do Large Paper Flowers Last?
A: Large paper flowers can last for many years if stored and handled properly. Keep them away from moisture and direct sunlight to prevent discoloration and deterioration.
Q: Can I Use Different Types of Paper for Large Paper Flowers?
A: Yes, you can use different types of paper such as tissue paper, crepe paper, or even fabric, to create unique textures and designs for your flowers.
Q: Are Templates Necessary for Making Large Paper Flowers?
A: No, templates are not necessary but can be helpful in creating uniform petals and leaves. You can also freehand cut your shapes for a more organic look. However, using templates may make the process easier and more efficient if you are not confident in your cutting skills.
Q: What Other Materials Do I Need Besides Paper?
A: In addition to paper, you will also need scissors, glue gun or craft glue, floral wire or pipe cleaners, and a backing board if desired. You may also want to have additional tools such as pencil, ruler, and wire cutters for more precise cutting and shaping.
Conclusion
Creating large paper flowers for your backdrop is not only a cost-effective solution but also an enjoyable and rewarding craft that allows for personal expression. By following the steps on how to make large paper flowers for backdrop outlined, you can produce beautiful, durable flowers that elevate any event or space.
Whether you choose to follow templates or let your creativity run wild, the final arrangement will undoubtedly add a unique touch to your decor. With just a few materials and a little time, you can achieve stunning results that mimic the beauty of real blooms, making your backdrop a visual feast for the eyes.


