How to Make Juggling Balls
Juggling is an exhilarating activity that not only entertains but also enhances hand-eye coordination and concentration. Creating your own juggling balls adds a personal touch to this skill and can be a fun DIY project.
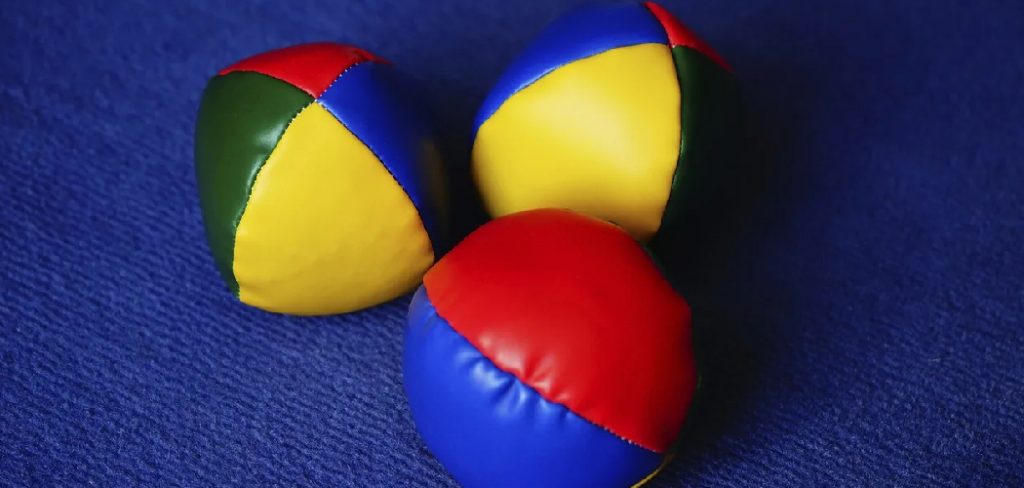
This guide on how to make juggling balls will walk you through the simple steps to make your own juggling balls using readily available materials, ensuring that you can start practicing in no time. Whether you’re a beginner eager to learn or an experienced juggler looking for a cost-effective alternative, crafting your juggling balls can elevate your juggling experience.
Why Make Your Own Juggling Balls?
While you can always purchase juggling balls, there’s a unique satisfaction in making your own set. Here are some reasons why you should consider crafting your juggling balls:
Cost-effective:
Making your juggling balls is typically more cost-effective than buying them. With just a few materials, you can create multiple sets of juggling balls, saving you money in the long run.
Personal touch:
Crafting your juggling balls allows you to customize and add a personal touch to your props. You can choose your preferred color, design, and even weight, making your juggling experience unique and tailored to your preferences.
Fun activity:
Making juggling balls is an enjoyable DIY project that can be done alone or with friends and family. It’s a great way to spend some quality time while creating something useful together.
Materials Needed
To make your own juggling balls, you will need the following materials:
- 3 Balloons (Preferably in Different Colors)
- Rice, Dried Beans, or Sand
- Funnel
- Scissors
- Bowl for Filling
8 Step-by-step Guidelines on How to Make Juggling Balls
Step 1: Prepare the Materials
Before you start crafting your juggling balls, it’s essential to gather all the necessary materials and ensure you’re working in a tidy space. Begin by selecting your balloons—choose colours that inspire you or represent your personal style.

Once you have your balloons ready, measure out your filling material, whether it’s rice, dried beans, or sand. Use a funnel to make the filling process easier and have a bowl handy for any mess. Additionally, keep a pair of scissors close at hand to cut the balloons as needed. By having everything prepared, you can streamline the process and focus on creating your juggling balls.
Step 2: Prepare the Filling
Now that your materials are organized, it’s time to prepare the filling for your juggling balls. Using your chosen filling material, such as rice, dried beans, or sand, measure out approximately one cup per juggling ball. This amount can be adjusted based on how firm or soft you want your balls to be. Carefully pour the measured filling into the bowl.
If you’re using a funnel, place it into the neck of the balloon to make transferring the filling easier. This step is crucial, as the right amount of filling contributes to the overall balance and weight of your juggling balls, enhancing your juggling experience.
Step 3: Fill the Balloons
Now it’s time to fill your balloons with the prepared filling. Begin by stretching the balloon neck to make it easier to insert the funnel or filling tool of your choice. Carefully pour in the measured amount of filling using a funnel or spoon, ensuring that it does not overfill. You can always add more filling later if needed.
Once you have achieved your desired level of firmness and weight, carefully remove the funnel and tie a knot at the neck of the balloon to secure the filling inside.
Step 4: Repeat for Additional Juggling Balls
Repeat steps two and three for each additional juggling ball you want to create, using different colors or filling materials if desired. This process allows you to make multiple sets of juggling balls, giving you the freedom to switch between them as needed.
It’s also an excellent opportunity to experiment and find the perfect weight and firmness that works for you. The more you make, the more you’ll understand your personal juggling preferences.
Step 5: Trim the Excess Balloon
After you have successfully filled and tied off your first juggling ball, it’s time to trim any excess balloon material. Using your scissors, carefully cut away any leftover length from the neck of the balloon, leaving about an inch from the knot.
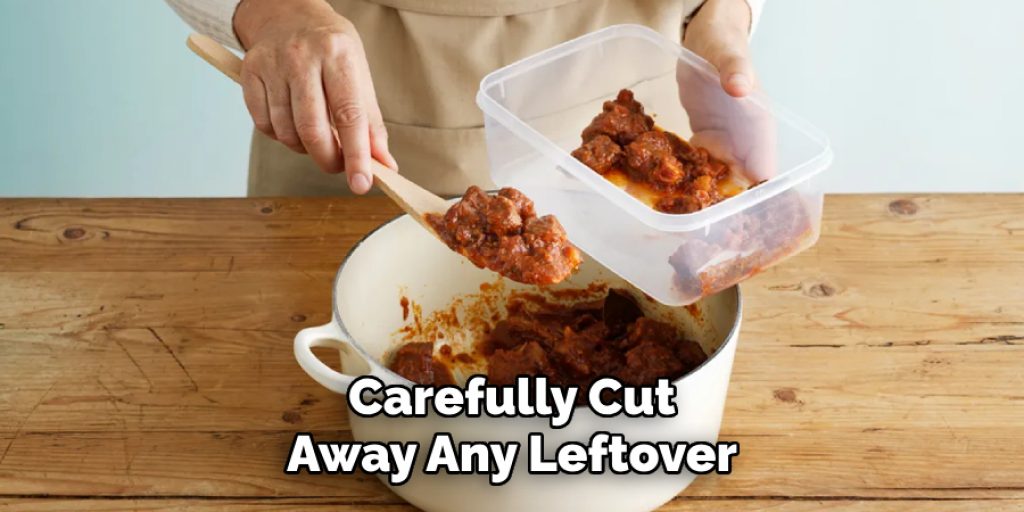
This will not only give your juggling ball a cleaner appearance but also help prevent it from becoming a distraction while you practice. Make sure to be cautious and cut straight to avoid any accidental tearing. Once trimmed, you will have a neat and compact juggling ball ready for use.
Step 6: Add Another Layer of Balloon
Now, take a second balloon and trim the neck as you did in step five. Once trimmed, carefully stretch it around your first juggling ball to create an additional layer. This will not only add durability but also help prevent the filling from escaping during use.
Trim any excess material once again to ensure that the second balloon is snugly fit and does not interfere with your juggling practice. You can repeat this step for a third time if desired for added strength and protection.
Step 7: Repeat for Additional Juggling Balls
Repeat the process of adding layers with balloons for each additional juggling ball you have created until all are completed. This step may take some practice and patience, but it adds a significant level of durability to your juggling balls, making them last longer.
The added layers also bring a unique texture and feel to your balls, enhancing your grip and control as you juggle.
Step 8: Let Them Rest
After completing all the steps, it’s essential to let your newly made juggling balls rest for at least an hour before using them. This will allow the filling to settle evenly, creating a more stable juggling experience.
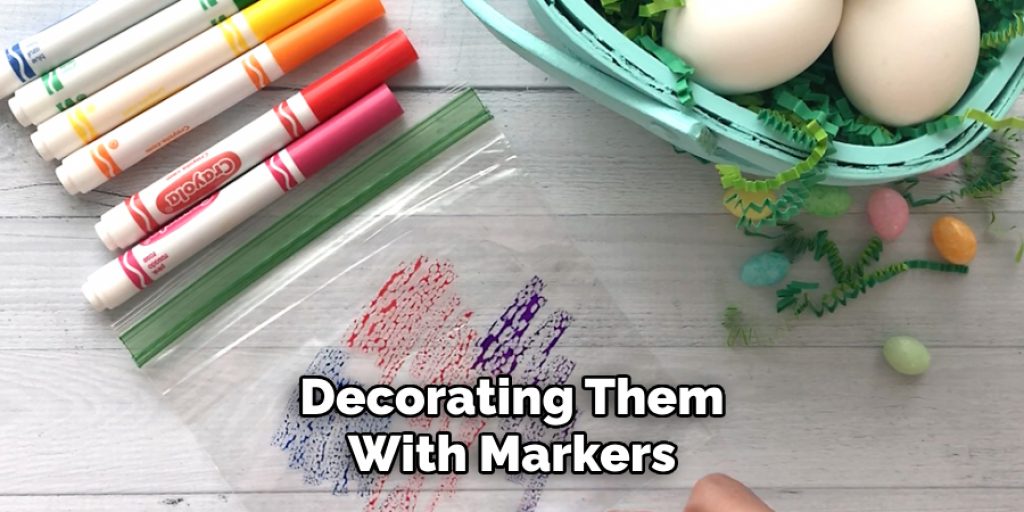
Once rested, pick up your homemade juggling balls and start practicing! You can also add your personal touch by decorating them with markers or stickers. Most importantly, have fun and enjoy the satisfaction of crafting your own props!
How Long Will It Take?
Creating your own juggling balls can be a quick and enjoyable project, typically taking around 30 to 60 minutes, depending on your crafting speed and experience. The initial preparation, including gathering materials and measuring the filling, may take about 10 to 15 minutes. Filling and sealing each balloon can take an additional 20 to 30 minutes, especially if you’re adding multiple layers for extra durability.
Finally, allowing the balls to rest for an hour is essential for the best performance, but this can be a perfect time to practice your juggling skills with other props or take a break before getting back to your new craft. Overall, this is a great activity that can be completed in a short session, making it perfect for an enjoyable afternoon.
Following these simple steps on how to make juggling balls, you can create your own set of juggling balls that are customized to your preferences and style. Not only is it a fun and creative project, but it also allows for a more personal connection with the props you use in your juggling practice.
Frequently Asked Questions
Q: How Do I Know How Much Filling to Use?
A: The amount of filling used depends on personal preference. Start with approximately one cup per ball and adjust as needed. You can always add more filling later to achieve your desired firmness and weight.
Q: Can I Use Different Types of Filling?
A: Yes, you can use rice, dried beans, or sand as filling for your juggling balls. Each type will provide a different weight and feel, so experiment with different options to find what works best for you.
Q: How Many Layers of Balloons Should I Use?
A: It’s recommended to use at least two layers of balloons for added durability and protection. However, you can add a third layer if desired for even more strength and texture. You can also use different colors and patterns for each layer to create a unique design for your juggling balls.
Q: Are There Any Safety Precautions to Consider?
A: When using sharp scissors, be cautious and cut straight to avoid any accidental tearing. Also, make sure the filling you choose does not contain any harmful substances or allergens. And always supervise children during this project.
Q: Can I Decorate My Juggling Balls?
A: Yes, feel free to add your personal touch by decorating your juggling balls with markers or stickers. Just make sure the decorations do not interfere with your grip and control during juggling. It’s also recommended that the balls be decorated before adding any additional layers of balloons for easier application.
Conclusion
Making your own juggling balls is not only a rewarding DIY project but also a fantastic way to engage creativity while enjoying quality time with others. By following the simple steps on how to make juggling balls outlined above, you can craft juggling balls that suit your unique style and preferences.
Not only do these custom-made balls enhance your juggling practice, but they also serve as a testament to your skills and personal flair. So gather your materials, unleash your creativity, and take pride in mastering the art of juggling with your very own handmade props!


