How to Make a Feather Hat Band
Are you tired of wearing the same old plain hat every day? Want to add a touch of style and personality to your accessories? Then why not try making your feather hat band?
How to make a feather hat band is a delightful and creative way to add a personal touch to your headwear. Whether you’re looking to enhance your style with a cowboy hat, a fedora, or even a wide-brimmed sunhat, a feather band can elevate your style while showcasing your personality. This project allows for artistic expression and an opportunity to explore different textures, colors, and patterns.
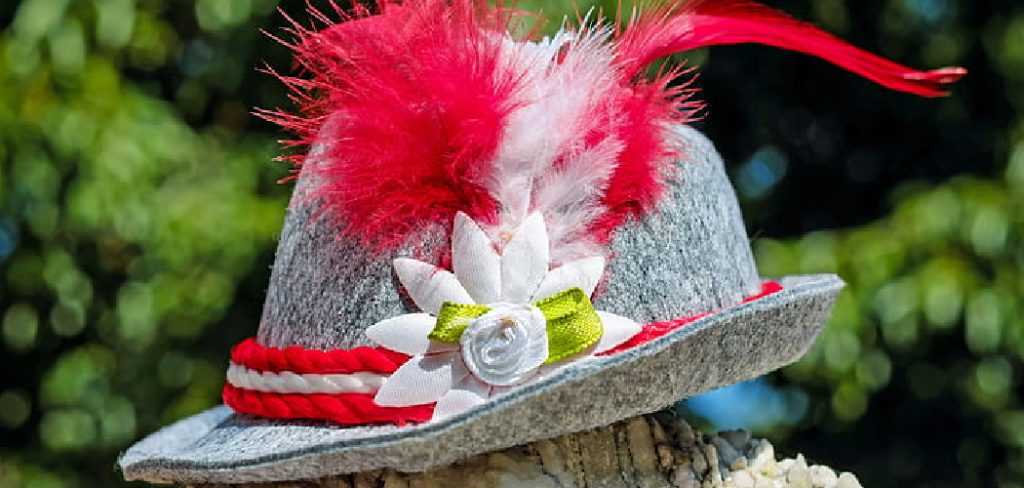
In this guide, we will explain the essential materials needed, the steps to create your feather hat band, and some tips for customisation. Get ready to create a unique accessory that will turn heads and make your hat truly stand out!
What Will You Need?
Before we start, gathering all the necessary materials and tools for this project is essential. Here is a list of what you’ll need:
- A plain hat (cowboy hat, fedora, sunhat, etc.)
- An assortment of feathers (can be found at craft stores or online)
- A glue gun
- Glue sticks
- Scissors
- Ribbon or elastic band
Once you have everything on the list, it’s time to get creative and start making your feather hat band!
10 Easy Steps on How to Make a Feather Hat Band
Step 1. Prepare Your Hat:
Before attaching your feather band, ensure your hat is clean and dry. If you’re using a cowboy hat or sunhat, inspect the surface for any dust or debris that might interfere with the adhesive. It’s also a good idea to try on the hat to determine how tight or loose the fit is before adding any additional elements. This way, you can ensure that your feather band will look great and maintain comfort when worn. If you want to personalize the look further, consider adding embellishments like beads or charms to your band, which can be seamlessly integrated into your design later.
Step 2. Select Your Feathers:
Now, it’s time to choose the feathers you want to use for your band. Consider the size, shape, and color of the feathers, as they should complement your hat and reflect your style. You can opt for long, flowing feathers for a dramatic look or smaller, daintier ones for a subtle effect. Once you’ve selected your feathers, lay them flat to visualize the arrangement before gluing them down. This step allows you to experiment with combinations and placements until you find the perfect design that makes your hat stand out.
Step 3. Cut the Ribbon or Elastic Band:
Once you have your feather arrangement visualized, it’s time to prepare your base. Measure a length of ribbon or elastic band that will comfortably fit around the base of your hat. You want it to be snug enough to hold the feathers in place without slipping but not so tight that it alters the shape of your hat or becomes uncomfortable to wear. Cut the ribbon or elastic to size, leaving a little extra length to create a bow or additional decorative elements. This base will serve as the foundation for attaching your feathers and help secure your beautiful design.
Step 4. Attach the Feathers:
Now that your base is prepared, it’s time to attach the feathers to your ribbon or elastic band. Using your glue gun, apply a small amount of hot glue to the feather’s quill (the stiff shaft). Carefully press the feather onto the base, holding it in place for a few seconds to allow the glue to set. Begin with the more giant feathers, placing them strategically to create a balanced look, and then fill in the gaps with smaller feathers. You can layer the feathers for added texture or arrange them in a fan shape for a dramatic effect. Work patiently, ensuring each feather is securely attached before proceeding to the next. Your creativity shines here, so have fun arranging your feathers to achieve your desired aesthetic!
Step 5. Let the Glue Dry:
After you’ve attached all your feathers, it’s crucial to let the glue dry completely before moving on. Depending on the glue you’re using, this could take anywhere from a few minutes to half an hour. Ensuring everything is set will prevent the feathers from shifting or falling off when you wear the hat. While waiting, you can tidy up your workspace or even plan out any additional embellishments you might like to add later.
Step 6. Trim the Feathers:
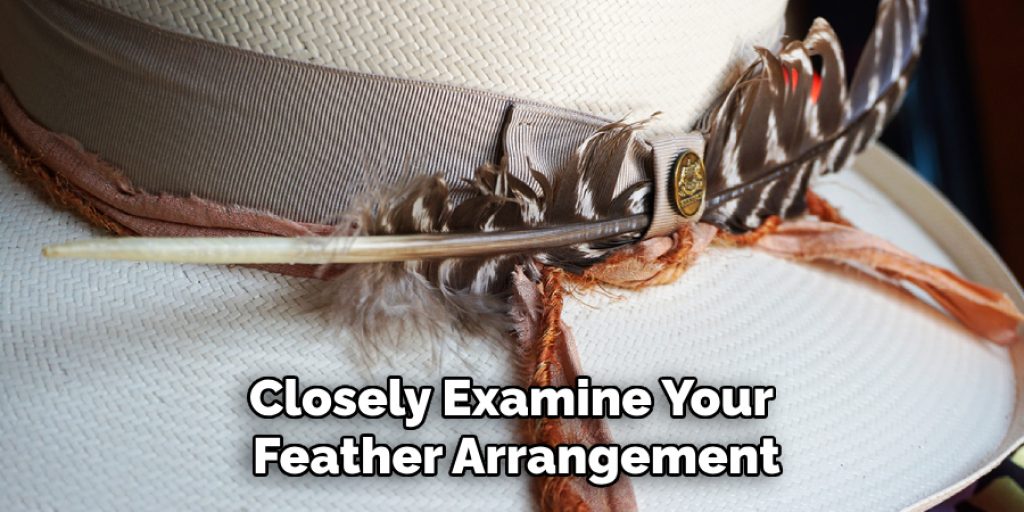
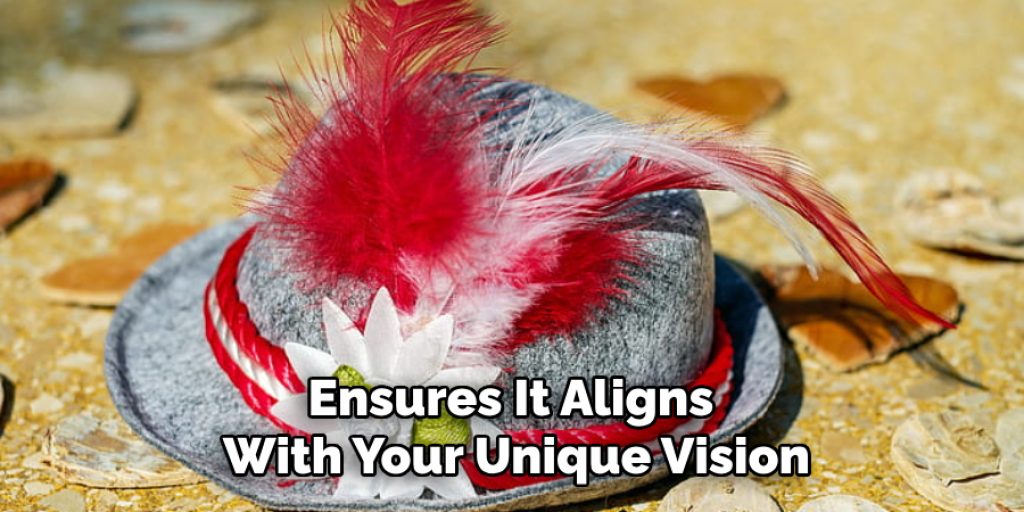
Once the glue is dry, closely examine your feather arrangement. You may find that some feathers are longer than others or that certain edges need refining. Using scissors, carefully trim any feathers that appear too long or out of place to achieve a uniform look. Be cautious not to cut too much at once; you can always trim more if needed. This step allows you to perfect the overall appearance of your feather band and ensures it aligns with your unique vision.
Step 7. Add Embellishments:
Consider adding embellishments such as beads, sequins, or charms to elevate your creation. These can be integrated into the feather band to add an extra layer of dimension and personal flair. Use your glue gun to attach these decorative pieces sparingly; too many embellishments may overwhelm the design, whereas a few can enhance its elegance. Take your time to experiment with placements before committing, ensuring that each embellishment complements the overall aesthetic of your feather hat band.
Step 8. Secure the Ends:
After finalizing your feather and embellishment arrangement, pay attention to the ends of the ribbon or elastic band. To prevent fraying and create a polished look, consider folding the ends inwards and securing them with additional glue. If you’re using ribbon, apply a small amount of Fray Check (or a similar product) to ensure your edges stay intact. This added attention to detail will elevate the professionalism of your handmade accessory.
Step 9. Try on Your Hat:
Now comes the exciting moment—putting your hat on! Try it on to see how the feather band looks in action. Assess the fit and appearance; ensure the band sits comfortably around the base of the hat without slipping or altering the hat’s shape. This is also an excellent opportunity to make any last-minute adjustments to the feathers and embellishments if needed, ensuring everything looks just suitable for your style.
Step 10. Show Off Your Creation!
After completing your feather hat band, it’s time to flaunt your hard work. Whether attending a festival, a casual outing, or just looking to elevate your everyday look, your unique feather hat band will turn heads. Remember, the best accessory is confidence, so wear it proudly and enjoy the compliments that come your way! If you feel inspired, consider making additional bands for different hats or occasions, allowing your creativity to flourish.
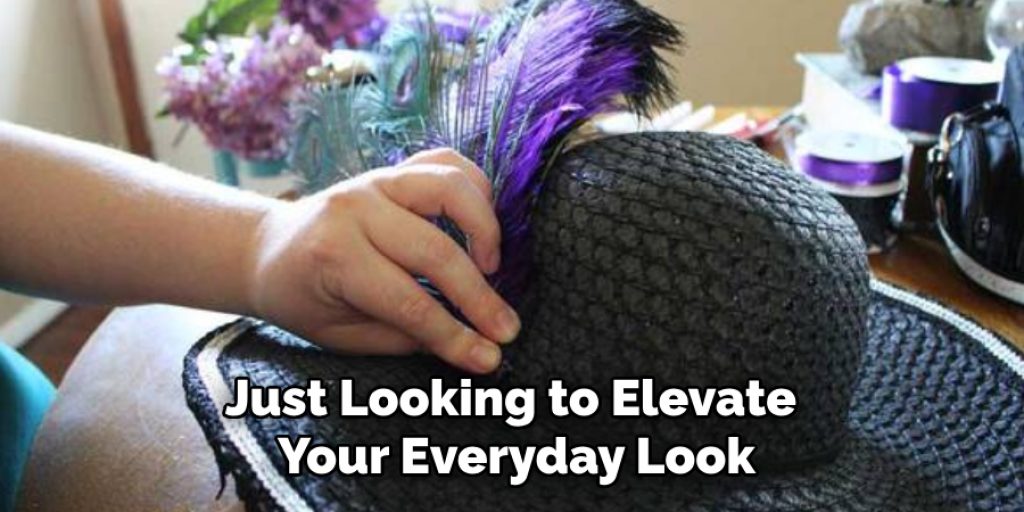
By following these simple steps, you can easily create a stunning feather hat band that reflects your unique style and adds a touch of elegance to any outfit.
5 Things You Should Avoid
- Using Low-Quality Feathers: Opt for high-quality feathers that are free from damage and maintain their natural beauty. Low-quality feathers can look frayed or dull, detracting from your overall design.
- Overloading with Embellishments: Adding embellishments can enhance your feather hat band; too many can overwhelm the design. Aim for balance and cohesiveness, focusing on a few key pieces that complement the feathers.
- Rushing the Gluing Process: It’s tempting to move quickly, but allowing each piece to set properly before proceeding is crucial. Rushing may lead to feathers shifting or falling off over time, compromising the durability of your creation.
- Neglecting the Fit: Before you finalize your design, ensure that the band fits nicely around your hat. An overly tight or loose fit can spoil the look and comfort, so take the time to check and adjust as needed.
- Ignoring Safety Precautions: Hot glue guns can be hazardous if not handled properly. Always be cautious to avoid burns, and keep your workspace clear of any flammable materials. Additionally, use scissors carefully when trimming feathers to prevent accidents.

By avoiding these common mistakes, you can create a professional-looking and durable feather hat band that you’ll be proud to wear.
Conclusion
In conclusion, How to make a feather hat band is a rewarding project that allows you to express your creativity while adding a stylish accessory to your wardrobe.
By carefully selecting your materials, following the step-by-step process, and paying attention to details such as fit and quality, you can create a unique piece that reflects your personal style. Remember to embrace the fun of experimenting with different colours, textures, and embellishments; it’s all about making a statement.
With a little patience and creativity, your handmade feather hat band will not only enhance your outfit but also serve as a conversation starter wherever you go. Enjoy the process, and don’t hesitate to explore new designs as your skills grow!


