How to Make a Cornucopia Craft
Creating a cornucopia craft is a delightful way to celebrate the abundance of the harvest season. Often associated with Thanksgiving and autumn festivities, the cornucopia, or horn of plenty, symbolizes nourishment and prosperity. This fun and engaging project not only allows for artistic expression but also serves as a wonderful decorative piece for your home.

In this guide, we will explore the materials needed and step-by-step instructions on how to make a cornucopia craft, making it a memorable activity for families and friends alike.
What Is a Cornucopia Craft?
A cornucopia craft is a creative project that involves constructing a representation of the traditional horn of plenty, typically using various materials such as paper, cardboard, or natural items like leaves and dried fruits. This craft not only serves as a festive decoration but also engages participants in an exploration of themes associated with abundance and gratitude.
By crafting a cornucopia, individuals can enhance their fine motor skills and express their artistic flair, all while celebrating seasonal themes, making it an ideal activity for classrooms, family gatherings, or community events.
Benefits of Crafting a Cornucopia
Creating a cornucopia craft offers numerous benefits, making it an enjoyable and enriching experience for individuals of all ages. Firstly, it promotes creativity and self-expression, allowing crafters to infuse their unique style and personality into their designs.
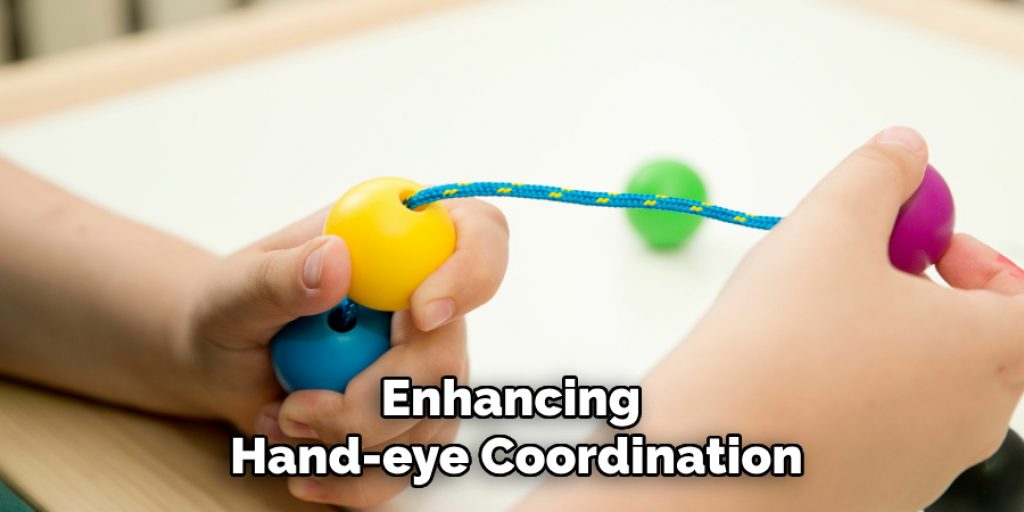
Additionally, the act of crafting helps improve fine motor skills as participants manipulate various materials and tools, enhancing hand-eye coordination and dexterity. Furthermore, engaging in this project can foster a sense of accomplishment and boost self-esteem, especially when the final product is proudly displayed as a meaningful decoration.

Lastly, crafting a cornucopia provides an excellent opportunity for social interaction; families and friends can bond over this shared activity, creating lasting memories while celebrating the themes of gratitude and abundance that the cornucopia represents.
Essential Tools and Materials
To create a cornucopia craft, you will need a variety of tools and materials to bring your vision to life. Here’s a list of essentials to have on hand:
Materials
- Base Material: Cardboard or a thick paper plate to form the shape of the cornucopia.
- Decorative Items: Dried leaves, small pinecones, acorns, or artificial fruits to embellish your cornucopia.
- Coloring Supplies: Markers, paints, or coloured pencils for personalizing your project.
Tools
- Scissors: For cutting your base and decorative materials.
- Glue: A strong adhesive or hot glue gun for securing the various components.
- Tape: To provide additional support where necessary.
Gathering these tools and materials will set the foundation for an enjoyable crafting experience!
10 Methods How to Make a Cornucopia Craft
1. Paper Plate Cornucopia
A paper plate cornucopia is an easy and fun craft suitable for children. Start by taking a paper plate and cutting it in half. Roll one half into a cone shape, securing it with tape or a stapler. Paint the cone in a brown or gold color to mimic the look of a wicker cornucopia. Once dry, stuff the cone with crumpled tissue paper or paper shreds to add volume.
Then, glue or tape small paper fruits, vegetables, and autumn leaves around the opening of the cone. This simple craft is perfect for young kids and can be completed in a short amount of time.
2. Construction Paper Cornucopia
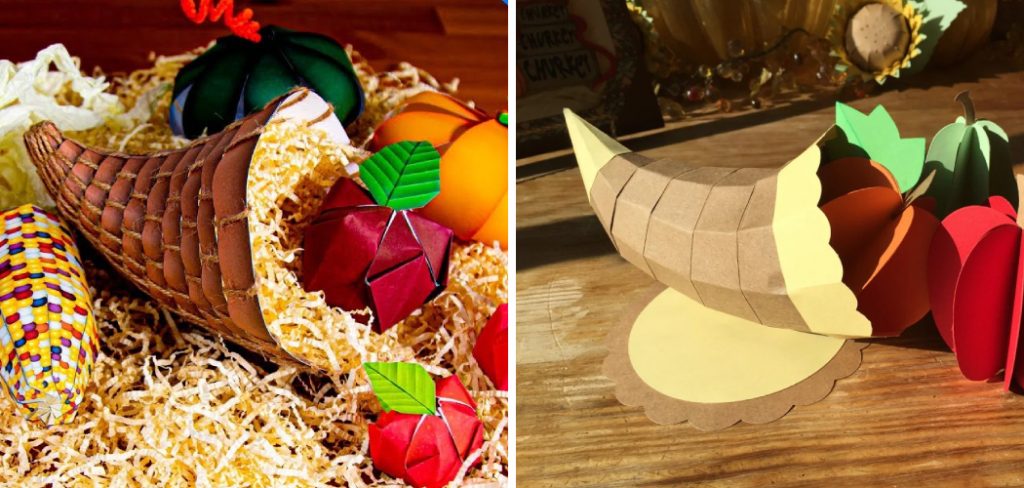
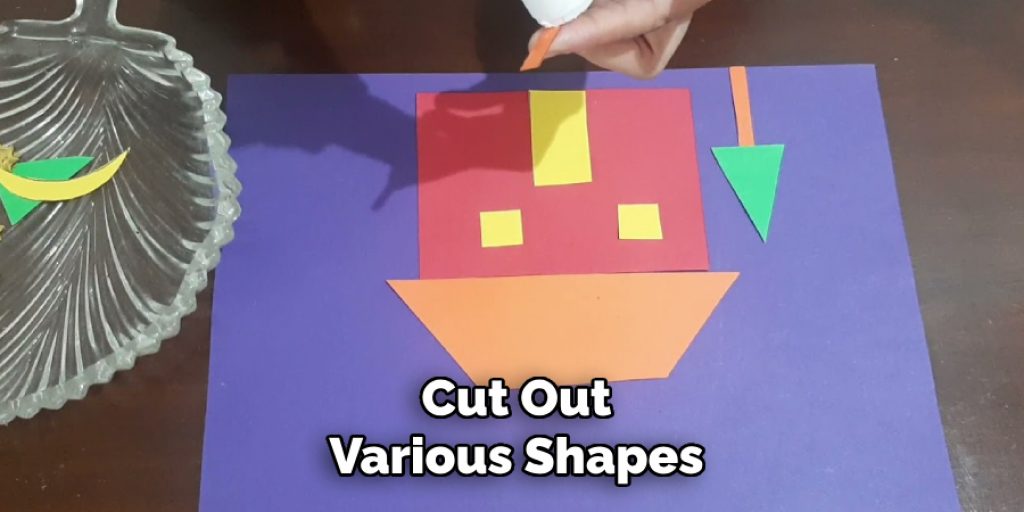
For a construction paper cornucopia, begin by cutting a large triangle from brown construction paper. Roll the triangle into a cone shape and secure it with glue or tape. Next, cut out various shapes from colored construction paper to represent fruits, vegetables, and leaves. You can make apples, pumpkins, grapes, corn, and more. Decorate the cone with these paper shapes, arranging them to overflow from the opening. This craft encourages creativity and can be customized with different types of produce and colors.

3. Cornucopia from a Cardboard Tube
A cardboard tube, such as one from a paper towel roll, can serve as the base for a sturdy cornucopia. Cut the tube to the desired length and slit one end to create flaps. Fold these flaps out to form a base for the cornucopia. Cover the tube with brown construction paper or paint it brown. For the cone’s opening, use glue to attach paper or felt fruits, vegetables, and leaves. This method results in a more durable cornucopia that can stand on its own, making it a great centerpiece for a table or mantel.
4. Felt Cornucopia
A felt cornucopia is soft and tactile, making it ideal for younger children to play with. Cut a large triangle from brown felt and roll it into a cone shape, securing it with hot glue or fabric glue. Create felt fruits and vegetables by cutting shapes from different colors of felt and assembling them with glue or stitching. Stuff the felt pieces with a bit of cotton or fiberfill to give them a three-dimensional look. Arrange these felt items to overflow from the cornucopia. This craft is not only fun to make but also creates a lovely, soft decoration.
5. Woven Paper Cornucopia
Create a woven paper cornucopia for a textured and intricate design. Cut strips of brown construction paper and weave them together to form a sheet. Roll this woven sheet into a cone shape and secure it with glue. For added detail, you can trim the edges of the woven strips to create a more polished look.
Fill the cornucopia with paper fruits and vegetables, attaching them with glue. This craft requires some patience and dexterity, making it ideal for older children or adults who enjoy detailed work.
6. Natural Materials Cornucopia
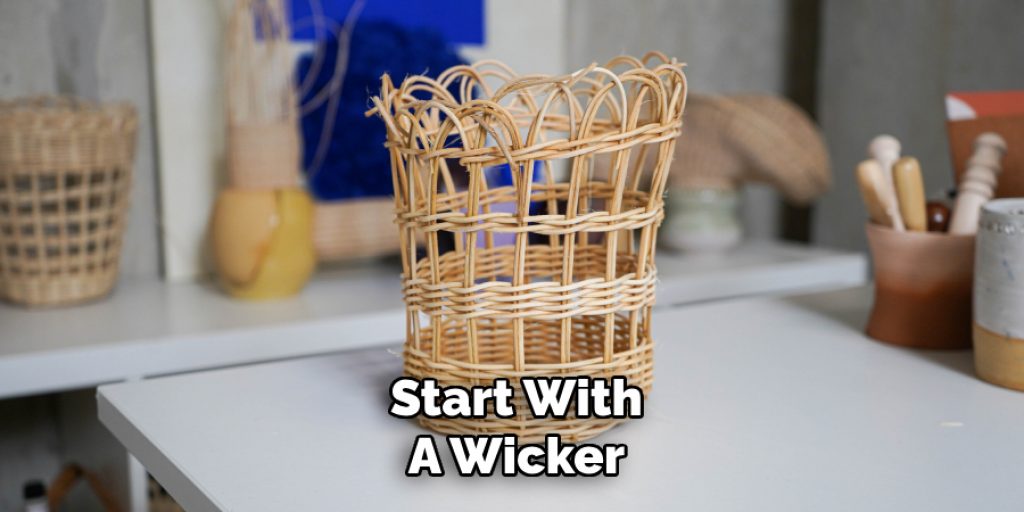
Using natural materials to make a cornucopia brings an earthy, authentic feel to your craft. Start with a wicker or straw cornucopia base, which can be purchased from a craft store or made from woven twigs. Fill the cornucopia with real or faux fruits, vegetables, nuts, pinecones, and autumn leaves. Secure the items with hot glue or floral wire to keep them in place. This method creates a stunning, natural centerpiece that embodies the essence of the harvest season.

7. Recycled Bottle Cornucopia
Transform a recycled plastic bottle into a cornucopia for an eco-friendly craft. Cut the bottle in half and use the bottom half as the base. Cover the bottle with brown construction paper or paint it brown. To create the cone shape, cut a slit up the side of the bottle and overlap the edges, securing them with tape or glue. Fill the cornucopia with paper or felt fruits and vegetables. This craft not only recycles materials but also results in a sturdy, reusable decoration.
8. Beaded Cornucopia
A beaded cornucopia adds a touch of elegance and sparkle to your craft. Begin by forming a cone shape from wire mesh or chicken wire. Cover the wire frame with brown fabric or paint it to match the autumn theme. Using string or thin wire, attach beads to the cone, either randomly or in patterns, to create a beaded surface. Fill the cornucopia with beaded fruits and vegetables made from beads strung together and shaped. This intricate and beautiful craft is perfect for adding a bit of shine to your autumn decor.
9. Edible Cornucopia
An edible cornucopia makes a delightful and tasty centerpiece. Start by making a cone shape from waffle cones or sugar cones. Fill the cone with a variety of edible items such as nuts, dried fruits, small cookies, and candies. Arrange the edible items to overflow from the cornucopia. This method is perfect for Thanksgiving or autumn-themed parties where guests can enjoy both the decoration and the treats.
10. Origami Cornucopia
For a more sophisticated craft, try making an origami cornucopia. Use a large square of brown origami paper to fold a cone shape, following traditional origami techniques. Create origami fruits and vegetables using colored paper, folding them into recognizable shapes like pumpkins, apples, and corn. Arrange these origami pieces to fill the cornucopia. This method requires some skill in origami but results in a delicate and impressive decoration that showcases your paper-folding talents.
Common Mistakes to Avoid
When creating your cornucopia crafts, it’s easy to encounter some common pitfalls that can affect the overall outcome. One frequent mistake is rushing the assembly process, which can lead to uneven shapes or poor adherence of materials. Take your time to ensure that all components are securely attached and that the cone shape is symmetrical.
Additionally, using inappropriate types of glue can result in a weak structure; be sure to use glue that is suitable for the materials you’re working with, whether it’s paper, felt, or natural items. Another common error is neglecting to plan the arrangement of fruits and vegetables before gluing them down. This step is essential to achieving a balanced and visually appealing design.
Finally, remember to keep safety in mind, particularly when using sharp tools or hot glue, and supervise younger children during crafting sessions. By avoiding these mistakes, you can create a beautiful and successful cornucopia that adds charm to your autumn decor.
Conclusion
Creating a cornucopia is a wonderful way to celebrate the harvest season while engaging in a variety of crafts that cater to different skill levels and preferences. Whether you’re using recyclable materials, natural elements, or traditional crafting supplies, each project offers an opportunity for creativity and fun. These cornucopias not only serve as beautiful decor but also encourage family bonding and artistic expression.
By involving children in these crafts, you can foster a love for art and nature while teaching them the importance of gratitude during the Thanksgiving season. Thanks for reading, and we hope this has given you some inspiration on how to make a cornucopia craft!


