How to Make Paper Sunflowers
Paper sunflowers are charming and versatile creations that can brighten up any space. These handcrafted flowers serve various purposes, from decorative accents in home interiors to unique gifts for loved ones.
They are perfect for crafting projects with friends or family, encouraging creativity and fun. One of the key benefits of making paper sunflowers is the ability to customize them according to your preferences, including color choices and petal shapes.
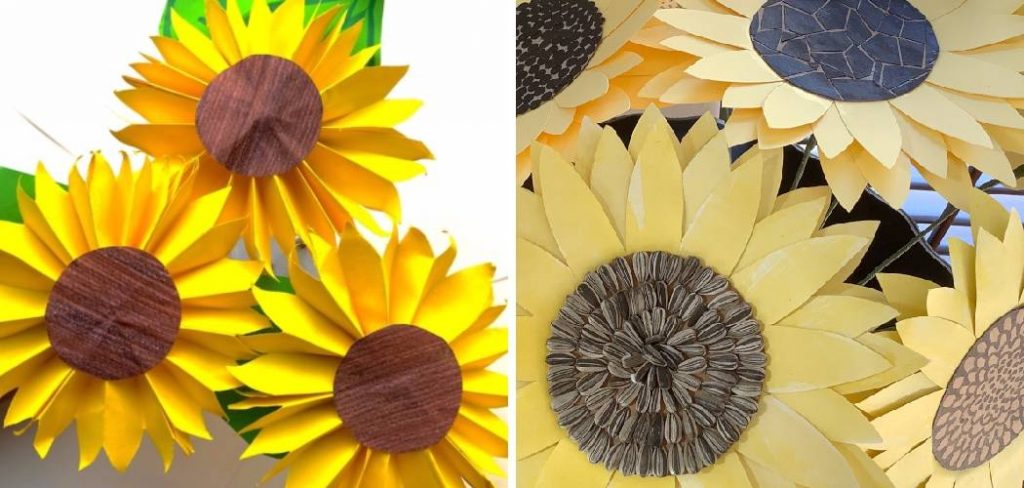
Creating these blooms is an enjoyable, cost-effective craft requiring minimal investment. In this guide on how to make paper sunflowers, we will outline the essential steps involved in crafting your own: preparing the paper, cutting and shaping petals, assembling the flower center, attaching petals, adding leaves and stems, final touches, and displaying your beautiful creation.
Materials and Tools Needed
To create stunning paper sunflowers, you will need various materials and tools. The primary materials are colored paper (preferably in yellow, brown, and green), floral wire for the stem, green paper for the leaves, glue, and scissors. Essential tools for the project include a ruler for measuring, a pencil for marking, a craft knife for precise cuts, and a hot glue gun for securing components together.
Optional materials for added detail may include paint to enhance texture, glitter for a sparkling effect, or additional craft supplies like buttons or beads for the flower center. With these materials at hand, you’re equipped to embark on the joyful journey of crafting beautiful paper sunflowers.
Preparing the Paper
Choosing the right type of paper is crucial for creating vibrant and durable paper sunflowers. Construction paper offers a variety of colors and is easy to work with, while cardstock provides added sturdiness for a more robust flower. Once you’ve selected your paper, the next step is to cut it into suitable sizes for the petals and leaves. Ideally, petals should be cut larger than you initially think, as they will be shaped and curved later on.
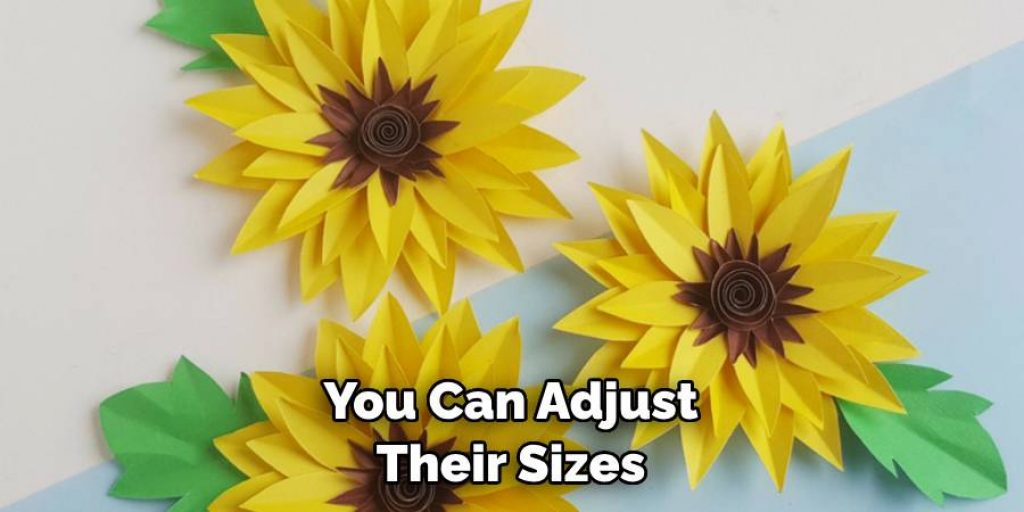
A simple oval shape works well for leaves, and you can adjust their sizes to complement your sunflowers. When selecting colors and patterns, consider using shades of yellow and brown for the petals and center, with different hues of green for the leaves. Adding patterns can give your flowers unique flair—think polka dots or stripes, which can enhance the overall aesthetic of your paper sunflowers.
How to Make Paper Sunflowers: Making the Petals
Cutting the Petal Shapes
To begin crafting your paper sunflower petals, first draw petal shapes onto your chosen colored paper. Opt for a traditional teardrop shape or experiment with varying sizes and forms to achieve a more natural appearance. For a realistic look, consider cutting petals in different dimensions and patterns; larger petals can create an eye-catching outer layer, while smaller ones can fill in the center for added texture.
When cutting out the shapes, maintain a steady hand to ensure neat edges—this is essential for a polished finish. A sharp craft knife can help achieve clean lines, while scissors are useful for rounded or intricate cuts. Always remember to cut several petals, as layering them will enhance the fullness of your sunflower.
Shaping the Petals
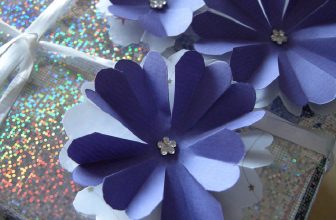
Once your petal shapes are cut out, it’s time to add dimension and character to each piece. Use the edge of a pencil or another tool to gently curve the petals, creating a more lifelike appearance. Place the petal on a flat surface, and roll the edges slightly with the rounded end of your pencil or another spherical object to establish a gentle curve. This technique will mimic the natural shape of sunflower petals, giving your flowers depth.
After shaping, carefully stack the petals in layers and glue them together, starting with the largest ones at the bottom and gradually working up to the smaller ones. This layering technique adds volume and creates an eye-catching 3D effect that will make your paper sunflower stand out.
Assembling the Flower Center
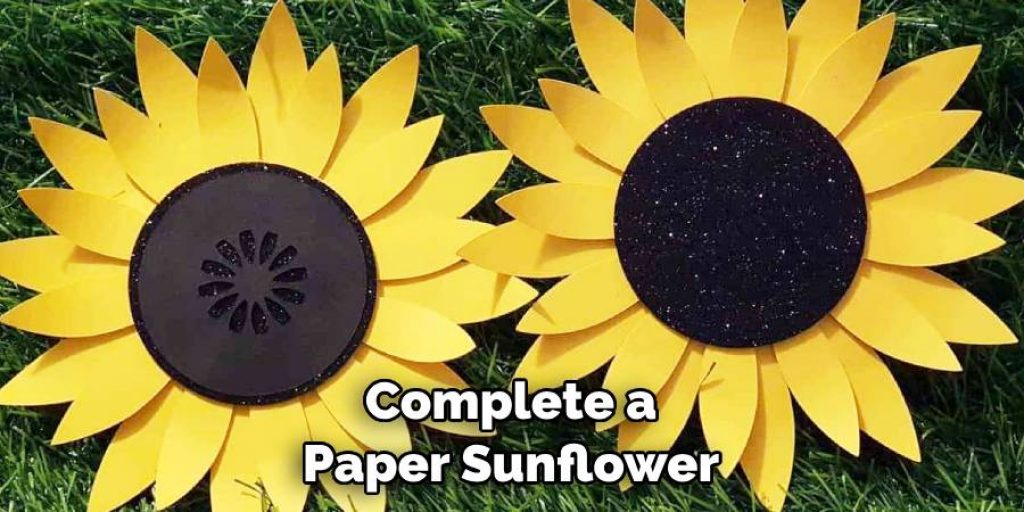
Creating the center of your paper sunflower is a vital step that adds authenticity and charm to your craft. Start by selecting materials such as brown paper, sponge, or foam to form the sunflower center. Cut brown paper into a circle, approximately the size of a hand, to serve as the foundation.
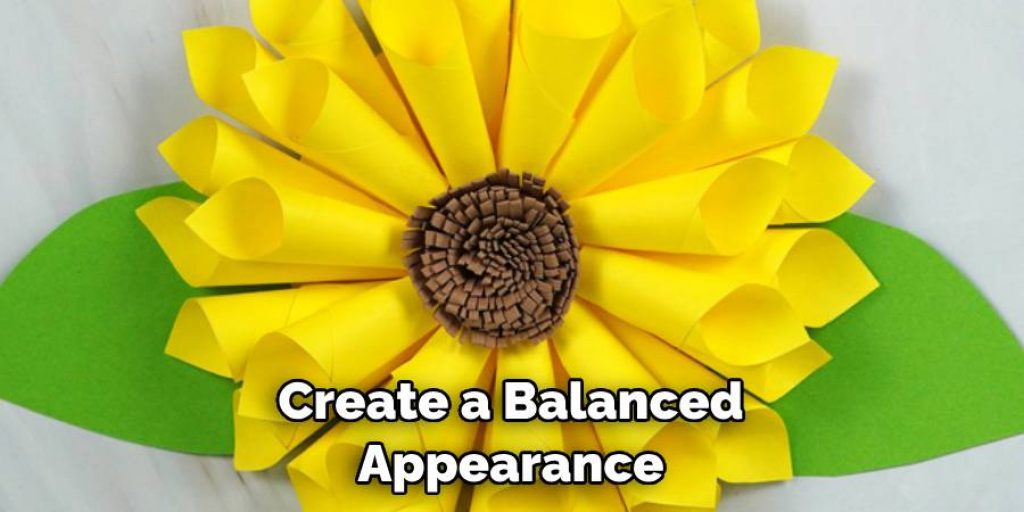
For a textured look that resembles sunflower seeds, you can also use a sponge or foam, cutting it into small shapes that mimic seeds and painting them with dark hues. Once your material is prepared, attach it securely to the petals’ base using a hot glue gun. Ensure that it’s centered within the petal arrangement, as this will create a balanced appearance for your sunflower.
Attaching Petals to the Flower Center
With the flower center in place, it’s time to attach the petals, creating an eye-catching bloom. Start by arranging the petals in a circle around the center, experimenting with their positioning to find the most aesthetically pleasing layout. Once you have a design you like, begin gluing each petal securely to the flower center, ensuring a firm bond.
For added fullness, overlap the petals slightly as you go along, enhancing the visual appeal and providing depth to the sunflower. Adjust the petals as needed to maintain symmetry—this will give your paper sunflower a polished and harmonious look, perfectly capturing the essence of the real flower.
Adding Leaves and Stem
Adding leaves is essential to enhancing your paper sunflower. Start by cutting shapes from green paper, opting for simple oval or elongated forms to mimic natural leaves. Vary the sizes slightly for a more organic look, and consider using both lighter and darker shades of green to add depth. Once your leaves are cut, attach them to the base of the flower using a hot glue gun, ensuring they are positioned attractively around the stem area.
For the stem, cut a length of floral wire to your desired height, which will serve as a sturdy core. Wrap green paper or floral tape around the wire to create a seamless and charming stem. Make sure to attach the stem securely to the bottom of the flower center, using glue to create a strong bond. This not only adds durability but also completes the classic sunflower aesthetic.
Final Touches and Detailing
After assembling your sunflower, it’s time to focus on the final touches that will elevate your creation. Consider adding extra details such as paint, glitter, or textured materials to the petals and center. A light dusting of glitter can bring a sparkly effect, while paints can enhance the natural tones. Adjust the shape and arrangement of the petals and leaves to achieve a balanced and natural look.
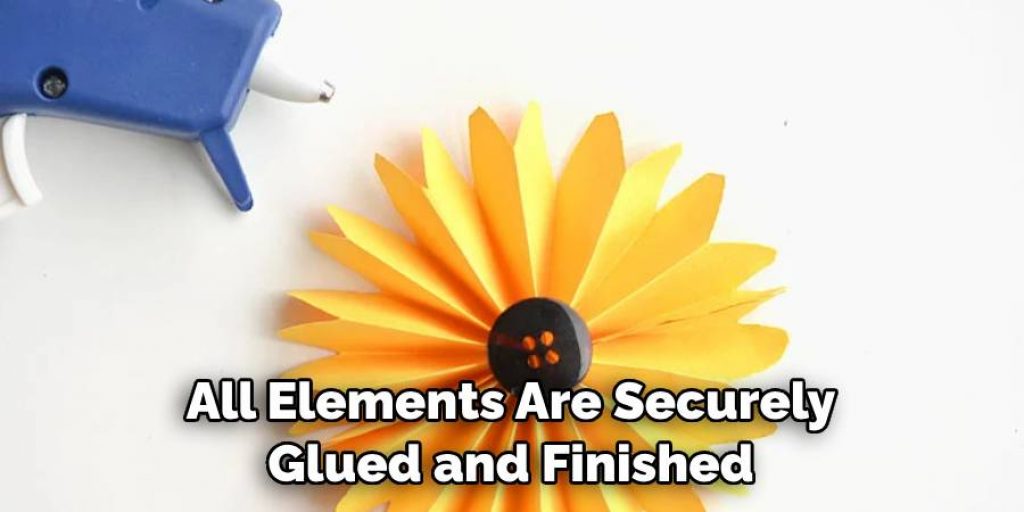
Finally, carefully ensure that all elements are securely glued and finished. Inspect each attachment point, reinforcing any areas that may need extra glue. These final adjustments guarantee that your paper sunflower will be visually captivating and withstand handling and display. Enjoy showcasing your beautiful craft!
Displaying and Using Your Paper Sunflowers
Once your paper sunflowers are complete, numerous ways exist to display and use them creatively. Consider placing them in a decorative vase filled with pebbles or marbles to add an attractive touch to your home. Alternatively, you can create wall art by arranging several sunflowers on a canvas or mounting them individually in shadow boxes.
For those looking to incorporate them into gifts, a bouquet of paper sunflowers makes a thoughtful present for any occasion. To ensure your creations last, store them in a dry place, away from direct sunlight, and handle them gently. A light mist of sealant can also help protect the colors.
Frequently Asked Questions (FAQs)
What Materials Do I Need to Make Paper Sunflowers?
To create paper sunflowers, you will need supplies such as colored paper (yellow, brown, green), scissors, a craft knife, a hot glue gun, floral wire, and optionally, paint or glitter for added detail.
Can I Use Recycled Paper for This Project?
Absolutely! Recycled paper can add unique textures and patterns to your sunflowers, making each one special. Just ensure the paper is sturdy enough to hold its shape.
How Do I Store My Paper Sunflowers to Keep Them Looking Nice?
Store your completed paper sunflowers in a dry place, away from direct sunlight to prevent fading. Use a box or a protective bag to keep them dust-free, and handle them gently to avoid damage.
Can I Create Sunflowers in Different Sizes?
Yes! You can adjust the size of your petals and flower center to create sunflowers of varying sizes. This allows for more creative freedom in your decoration or gifting options.
How Long Does It Take to Create a Paper Sunflower?
The time required depends on your crafting speed and the level of detail you wish to include, but on average, you can complete a paper sunflower in about 1 to 2 hours.
What Should I Do if I Run out Of Glue During the Project?
If you run out of glue, take a break and acquire more before continuing. Insufficient glue may cause your sunflowers to fall apart or not adhere securely. Always make sure the glue is heated adequately for the best bonding results.
Conclusion
In summary, learning how to make paper sunflowers involves crafting the petals, assembling the center, and attaching leaves and stems, culminating in a beautiful creation. Don’t shy away from personalizing your sunflowers; experiment with colors, patterns, and sizes to truly make them unique. The joy of crafting lies in the projects we complete and the creativity we explore. Paper sunflowers are versatile, bringing bright cheer to any space or occasion, and they remind of the beauty and joy in creative expression.

