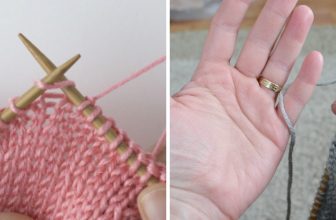
How to Crochet without Hook
Finger crochet is an innovative approach to creating crochet projects without traditional hooks. This technique offers a unique way for beginners and experienced crafters to engage with yarn, making it easier to learn and more portable. The absence of a hook allows for a straightforward, beginner-friendly experience; your fingers and yarn are all you need to start!
In this article, we will dive into how to crochet without hook, exploring essential materials, basic techniques, and an easy step-by-step project to help you on your journey.
Materials Needed
Selecting the right materials is crucial to successfully embarking on your finger crochet adventure. Chunky and medium-weight yarns are particularly suitable, providing sufficient thickness for easy handling while creating solid stitches.
Additionally, you will need some basic tools like scissors to trim your yarn and a measuring tape to ensure precision in your projects. Choosing the right yarn enhances your experience and contributes to the quality and durability of your finished pieces, making it an important step in the process.
Basic Techniques and Stitches
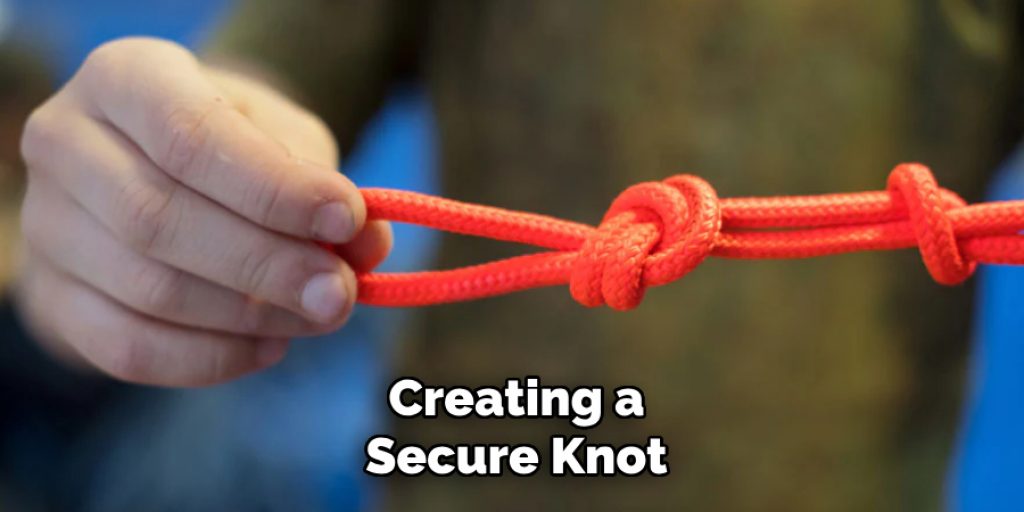
Creating a Slip Knot
To begin your finger crochet journey, creating a slip knot is essential. Start by taking a length of yarn and forming a loop, leaving a tail on one side. Hold the loop with your thumb and index finger. With your other hand, take the tail of the yarn and wrap it around the loop, creating another loop. Pull the new loop through the initial loop, then gently pull both ends of the yarn to tighten the knot. A secure slip knot forms the foundation of your project, ensuring your stitches stay in place as you work.
Chain Stitch
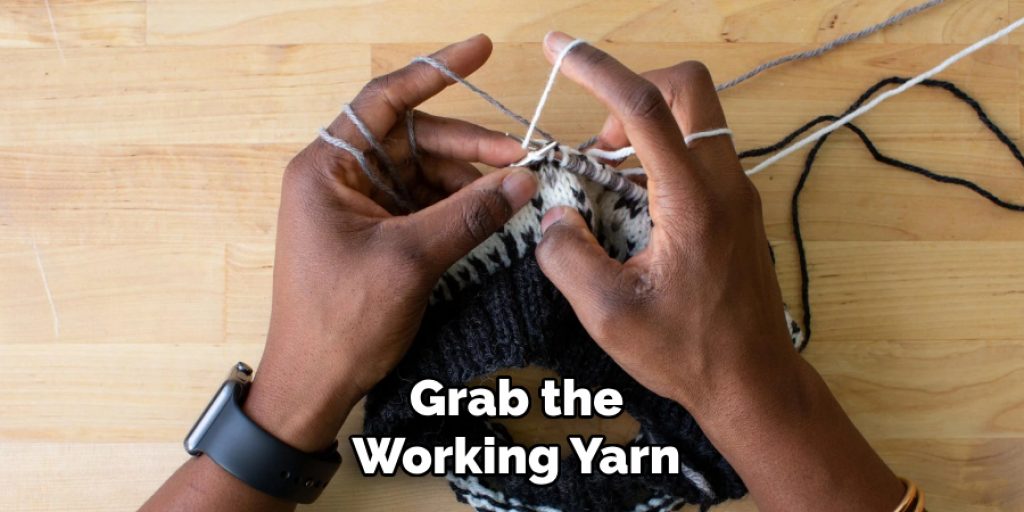
Once your slip knot is secure, you can create chain stitches. With the slip knot on your finger, use your index finger to grab the working yarn and pull it through the slip knot loop. This action creates your first chain stitch. Repeat this process, ensuring to consistently pull the yarn with even tension. Maintaining uniform tension is crucial, as it facilitates a smooth, neat look in your crochet work and makes it easier to complete subsequent stitches.
Single Crochet Stitch
To make single crochet stitches, start by inserting your fingers into the stitch of the previous row. Yarning over means grabbing the working yarn and pulling it through the stitch. With two loops on your fingers, yarn over again and pull through both loops. This completes one single crochet stitch. Common mistakes include working too tightly or missing stitches. If you find your stitches uneven, simply adjust your grip or take a moment to loosen your tension for better control.
Starting a Finger Crochet Project
When beginning a finger crochet project, it’s best to choose simple items such as scarves or small blankets. These projects allow you to practice core techniques without the pressure of complex patterns. Estimate the amount of yarn you’ll need by measuring the desired length of your project and accounting for additional yarn for any fringe or borders.
Lastly, set up a comfortable workspace with adequate lighting and room to spread out your materials. A dedicated space enhances your focus and enjoyment, making the crafting experience much more rewarding.
How to Crochet without Hook: Step-by-Step Project
1.Foundation Chain
To begin your finger-crocheted scarf, create a foundation chain that matches the desired width. Wrap the working yarn around your fingers to create loops, pulling each loop through the previous ones. Count your stitches as you go and aim for a smooth, consistent length. Keeping the chain even and not twisted is essential, as this will set the foundation for the entire project. Once you’ve reached your desired length, gently tighten the last stitch to secure your foundation chain in place.
2.First Row of Single Crochet
With your foundation chain completed, it’s time to work the first row of single crochet stitches. Start by inserting your fingers into the first chain stitch at the base. Yarn over by grabbing the working yarn and pulling it through the stitch, creating two loops on your fingers. Yarn over again and pull through both loops to complete your first single crochet stitch. As you progress, focus on consistency: aim to make each stitch with the same tension to achieve a uniform look.

If you find some stitches tighter or looser than others, adjust your grip slightly—taking a moment to breathe and refocus can help. Continue this process across the row, inserting your fingers into each chain stitch until you reach the end.
3.Continuing the Rows
Upon completing the first row, turn your work around to begin the next row. To maintain the scarf’s width, simply chain one at the beginning of each new row. Insert your fingers into the first stitch of the previous row, and repeat the single crochet process. It’s crucial to maintain consistent tension throughout your project; too tight may make it difficult to insert your fingers, while too loose can lead to floppy stitches.
If you notice that your scarf is becoming wider or narrower, don’t hesitate to adjust your stitch counts by either adding or omitting stitches as needed. Continuously check for evenness in both tension and stitch count as you progress, making small corrections to keep your scarf looking neat. This part is essential, as it lays the groundwork for a polished and inviting finished piece.
Finishing Techniques
Binding Off and Securing the Final Stitch
Binding off is a crucial step in completing your finger-crocheted scarf. Begin by making a single crochet stitch in the last stitch of the final row. Then, yarn over and pull the yarn through the loop on your fingers, creating a secure knot. Make another knot by yarning over again and pulling it through the newly created loop to ensure stability. This secures the stitches and prevents unraveling, ensuring that your hard work remains intact.
Weaving in the Yarn Ends
Once your scarf is bound off, it’s time to weave in the yarn ends for a clean finish. Using your fingers, tuck the loose ends into the fabric of the scarf, following the direction of the stitches to keep the finish seamless. This step helps maintain the overall appearance and durability of the scarf, ensuring no ends peek out.
Adding Finishing Touches
Consider adding embellishments like fringes or decorative beads to enhance your scarf. For fringes, cut strands of yarn, tie them at intervals along the shorter edges, and trim them to your desired length. This simple addition lends a personal touch and elevates your finished project.
Tips and Tricks for Finger Crochet
How to Fix Common Issues
If you experience uneven stitches or tightness while crocheting, take a moment to evaluate your grip and tension. Loosening your hold can alleviate tightness, while consistently checking your stitch counts can help maintain evenness. A little patience and correction can drastically improve your work’s quality.
Practicing for Improved Speed and Consistency
Regular practice is key to mastering finger crochet. Try repeating the same project multiple times to build speed and consistency. Set aside time each week to work on your skills, gradually incorporating more complex patterns as you grow comfortable with the basics.
Experimenting with Different Yarn Types and Textures
Don’t hesitate to explore various yarn types and textures to see how they affect your crocheting experience. Chunky yarns may yield quicker results, while finer yarns can lead to more intricate designs. Experimentation is enjoyable and provides insights into how various materials can alter the aesthetics and feel of your finished pieces.
Advanced Finger Crochet Techniques
Exploring Other Stitches
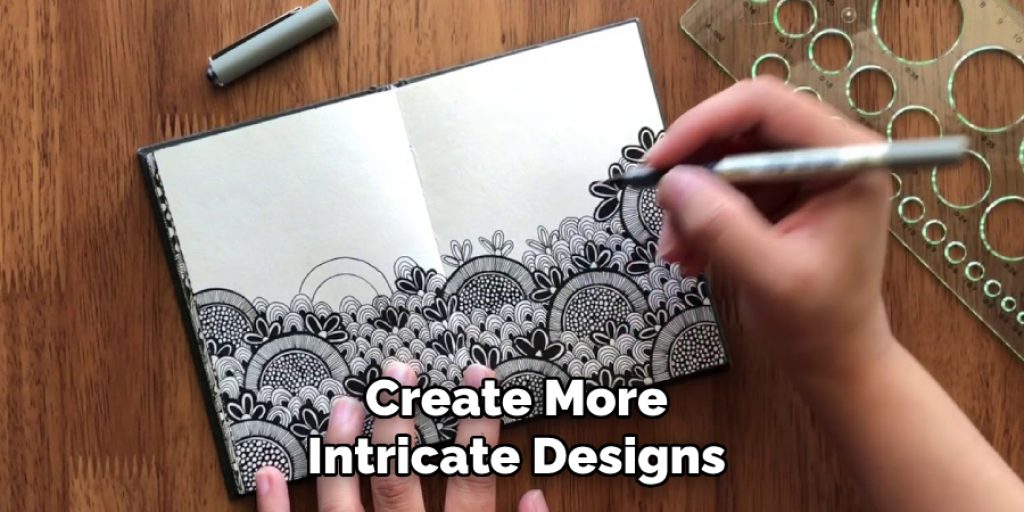
Once you have mastered the basics of finger crochet, you can enhance your skills by exploring other stitches such as double crochet and half double crochet. These stitches add texture and visual interest to your projects, enabling you to create more intricate designs. To perform a double crochet using your fingers, yarn over, insert into the stitch, yarn over again, pull through, then yarn over once more, and pull through all three loops. Mastering these techniques opens the door to creating more complex patterns.
Combining Finger Crochet with Traditional Crochet Methods
You can also blend finger crochet with traditional crochet techniques, merging the use of a crochet hook with your fingers for unique effects. This hybrid approach allows for greater versatility, letting you experiment with various styles and finishing touches.
Benefits of Finger Crochet
Finger crochet offers numerous therapeutic benefits, serving as a stress-relief activity that fosters mindfulness through the repetitive motions involved. It’s also highly portable, allowing you to craft on the go without the need for bulky equipment—perfect for travel or quick sessions while waiting. Additionally, finger crochet encourages creativity, providing a versatile medium for experimenting with textures, colors, and patterns.
Conclusion
In recap, finger crochet is an approachable yet rewarding craft that involves foundational steps like creating a chain and mastering a single crochet. Whether you are looking to explore how to crochet without hook, or simply wish to make a handmade gift, the joy of creating with your own hands is immeasurable. Embrace the process, engage your creativity, and start your next finger crochet project today to experience the incredible satisfaction it brings.
Elizabeth Davis
Elizabeth is a creative writer and digital editor based in the United States. She has a passion for the arts and crafts, which she developed from a young age. Elizabeth has always loved experimenting with new mediums and sharing her work with others. When she started blogging, she knew that DIYquickly would be the perfect platform to share her tutorials and tips. She's been writing for the blog from the beginning, and her readers love her helpful advice and easy-to-follow instructions. When she's not writing or editing, Elizabeth enjoys spending time with her family and friends.