
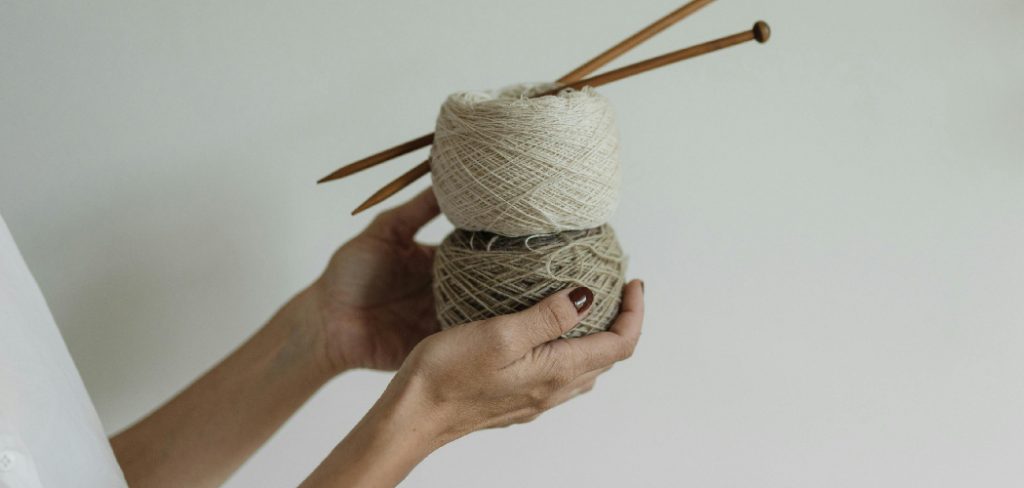
How to Cake Yarn
Caking yarn is an essential practice for knitters and crocheters that transforms skeins of yarn into neatly wound cakes, making them easier to work with. A yarn cake is a cylindrical shape that allows for smooth, uninterrupted feeding of the yarn during projects, minimizing tangles and mess.
This article aims to guide readers on how to cake yarn effectively, providing step-by-step instructions and tips for success. By the end, you’ll understand the benefits of caking your yarn and be equipped with the knowledge to do it yourself, enhancing your crafting experience.
Materials and Tools Needed
To successfully cake yarn, you will need the following materials and tools:
Materials:
- Skein of yarn
Tools:
- Yarn winder
- Swift
- Scissors
- Yarn bowl
Optional Tools:
- Crochet hook or knitting needle (helpful for untangling knots)
Preparing the Yarn
Before you start caking your yarn, it’s crucial to prepare it properly to ensure a smooth process. Begin by identifying the type of yarn you are working with. Most yarns are sold in skeins that can be loosely twisted, forming a circular shape. If your yarn is already in a ball or a cake, there’s no need to re-cake it unless you prefer the uniformity of a new cake.
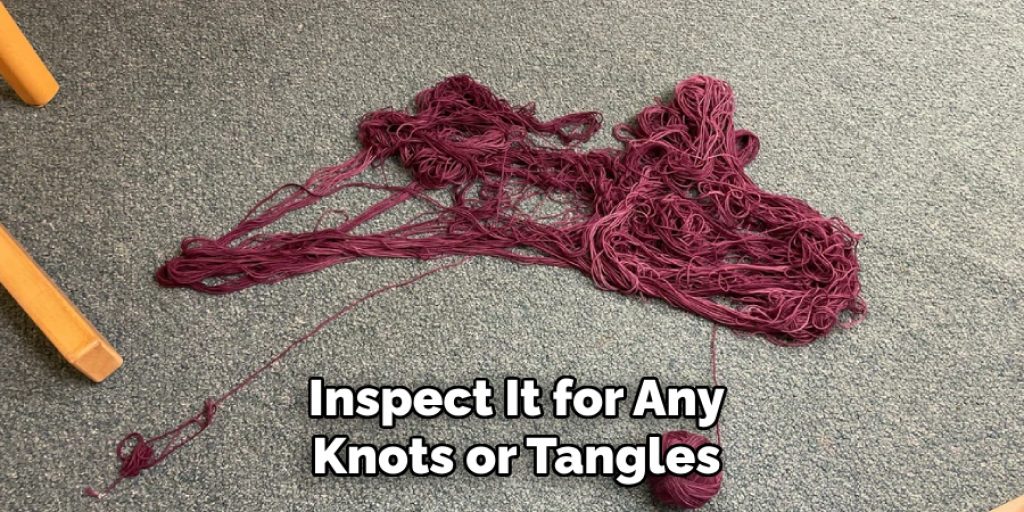
Once you’ve chosen the skein, inspect it for any knots or tangles. It’s best to untangle these before proceeding, as knots can complicate the caking process. If you encounter a tough knot, use scissors carefully to cut it free, but avoid cutting the yarn itself.
Next, set up your yarn swiftly and attach the skein securely. The swift allows the yarn to be held in place as it is unwound, preventing it from twisting or tangling during the caking process. Position the yarn winder nearby, ensuring it’s properly set up and within easy reach. With everything prepared, you’ll be ready to begin caking your yarn efficiently, minimizing potential issues, and maximizing your crafting enjoyment.
Setting Up the Yarn Winder and Swift
Setting Up the Swift
Start by installing the Swift according to the manufacturer’s instructions. Position it securely and adjust the arms to fit the skein snugly. When the swift is properly set up, it should hold the yarn taut while allowing it to rotate freely. Ensure that the swift is stable and rotating smoothly; any wobbling can lead to uneven caking or tangles during the winding process. A well-set swift is key to an enjoyable and successful yarn-caking experience.
Setting Up the Yarn Winder
Next, mount the yarn winder on a stable surface to prevent it from tipping over during use. The winder should be easily accessible and allow you to feed yarn without strain. Adjust the tension and yarn guide to ensure a controlled flow of yarn as it winds. Proper tension is crucial to prevent the yarn from becoming too tight or too loose in the final cake, which may affect your overall crafting experience. With both tools properly set up, you’re now ready to proceed with the caking process.
How to Cake Yarn: Caking the Yarn
1.Placing the Yarn on the Swift
To begin caking your yarn, carefully place the skein onto the swift, ensuring that it sits evenly and is securely held by its arms. The swift should be able to rotate freely, allowing the yarn to feed smoothly. Adjust the swift to keep the yarn taut; this is essential for even distribution as the yarn unwinds.
A well-placed skein will prevent the yarn from snagging or tangling during the caking process, making it easier to work with. Ensure that the yarn does not droop or have too much slack, which can lead to issues later on in the winding stage.
2.Winding the Yarn
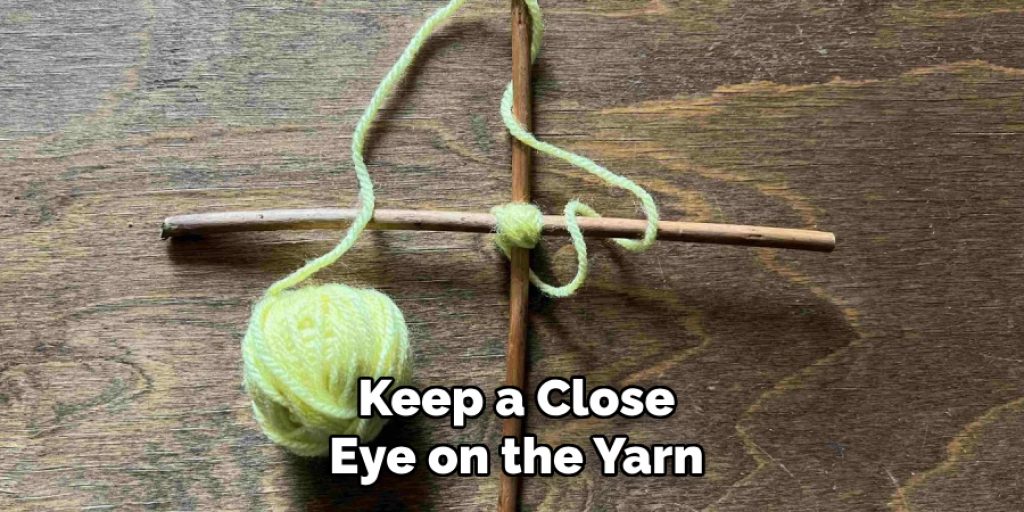
Once the skein is properly positioned on the swift, it’s time to start the winding process. Begin by feeding the end of the yarn into the yarn winder, ensuring it follows the yarn guide correctly. Turn the handle of the winder steadily to maintain an even tension; this is crucial for producing a uniform yarn cake. Keep a close eye on the yarn as you wind to monitor for any tangles or knots that may cause uneven caking. Maintain a consistent speed while winding to ensure that the yarn cake forms smoothly—rushing can lead to uneven layers or an improperly shaped cake.
3.Finishing Up
After winding the yarn, it’s time to remove the cake from the winder. Gently slide the finished yarn cake off the winder’s spindle, taking care not to disturb its shape. Secure the yarn cake with a yarn tie or a yarn holder to keep it intact. Finally, inspect the cake for any hidden tangles or issues that may have occurred during the winding process. Addressing any problems now will ensure that your yarn is ready for your next knitting or crocheting project without any unwanted interruptions.
4.Tips for Success
To ensure a successful yarn-caking experience, avoid common pitfalls such as tangles and uneven tension. Make sure to unwind the yarn slowly and carefully from the skein, and consistently monitor the winder’s tension. Keeping your workspace organized will also help prevent any tangles from forming.
Different types of yarn, such as bulky or lace, can affect the caking process; for instance, thicker yarn may require more attention to maintain even tension, while lace-weigh tight yarn may tangle more easily if not handled properly. Understanding the characteristics of the yarn you are working with can lead to a smoother caking experience.
Tips for Success
To ensure a successful yarn-caking experience, there are a few key practices to remember. Firstly, always unwind the yarn slowly and gently from the skein; pulling too hard can create tangles that may disrupt the winding process. Consistent monitoring of the tension on the yarn winder is essential; if the yarn is too taut, it can lead to a tight cake that is difficult to work with, while too loose can produce an uneven shape. Keeping your workspace tidy is beneficial, as a cluttered area can contribute to unexpected tangles.
Consider the type of yarn you work with, as different weights and textures can impact your caking technique. For example, bulky yarn may need more frequent pauses to maintain even tension, while fine lace yarn should be handled delicately to prevent snags. If you encounter knots or tangles during the winding process, take a moment to untangle them before proceeding, as this will save you time in the long run.

Lastly, always have a crochet hook or knitting needle handy to help with any stubborn knots, ensuring a smooth and enjoyable crafting experience.
Storing Yarn Cakes
Proper storage of yarn cakes is vital to maintaining their quality and preventing damage. Once you have finished caking your yarn, it’s important to keep it in a cool, dry place away from direct sunlight. Exposure to heat and light can cause the fibers to degrade, leading to faded colors and weakened strength. Choose containers that allow for airflow, such as open baskets or bins, to prevent moisture retention, which can promote mold growth.
Organizing your yarn cakes by weight or color can make it easier to find what you need when you begin a new project. You might consider using labels or clear containers so you can quickly identify the type of yarn inside. Additionally, be cautious about stacking yarn cakes on top of one another; this may cause squishing or deformation. Instead, opt to store them side by side or in separate compartments.
If you are working with particularly delicate yarn, such as silk or cashmere, consider wrapping them in tissue paper or using protective sleeves to safeguard them from dust and potential snagging. By implementing these storage practices, you can ensure that your yarn remains in prime condition, ready for your next crafting adventure.
Troubleshooting Common Issues
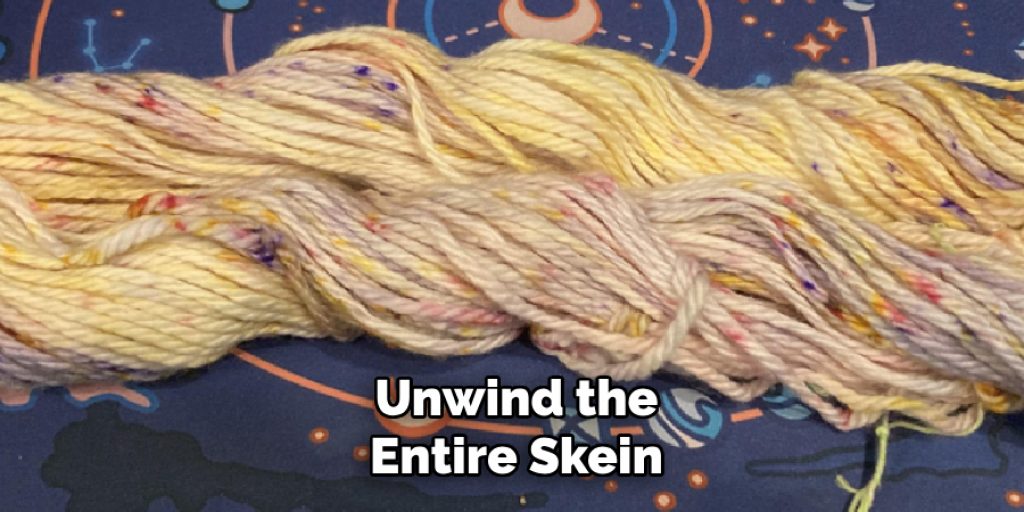
While caking yarn is generally straightforward, you may encounter some common issues along the way. Tangles or knots in the yarn can be frustrating, but keeping a calm approach helps. If you notice a knot, pause winding and gently untangle the yarn while maintaining the integrity of your work. For persistent tangles, it may be beneficial to unwind the entire skein and start anew, ensuring there are no hidden knots.
If your yarn winder or swift is malfunctioning, check for any obstructions and ensure everything is assembled correctly. Without proper alignment, the yarn may snag or wind unevenly. In addition, confirm that the yarn tension settings on the winder are correctly adjusted for the type of yarn being used.
Inconsistent tension during the winding process can result in an uneven or loose yarn cake. If this occurs, gently reshape the cake by hand, applying a bit of pressure to compact it.
Conclusion
Caking yarn is essential in preparing for your knitting or crocheting projects. Understanding how to cake yarn properly sets the foundation for smooth, enjoyable crafting experiences. Don’t be discouraged by initial challenges; practice will significantly improve your techniques over time. With patience, you’ll become adept at producing beautiful yarn cakes that enhance your projects, ultimately making your crafting sessions more efficient and enjoyable. Remember, the benefits of well-caked yarn extend beyond aesthetics; they also allow for easier handling and reduced frustration while working on your creations.
Elizabeth Davis
Elizabeth is a creative writer and digital editor based in the United States. She has a passion for the arts and crafts, which she developed from a young age. Elizabeth has always loved experimenting with new mediums and sharing her work with others. When she started blogging, she knew that DIYquickly would be the perfect platform to share her tutorials and tips. She's been writing for the blog from the beginning, and her readers love her helpful advice and easy-to-follow instructions. When she's not writing or editing, Elizabeth enjoys spending time with her family and friends.


